Amazingly Healthy Brownies!

IMG_1115I’ve been wanting to make a recipe like this FOREVER! I’ve read a lot of different recipes, debated the ingredient list in my mind, stalled out and done nothing!

Finally, motivated by the fact that it was Mother’s Day and I could splurge in a healthy way, I dived in.

My daughter had shown me a similar recipe a couple of weeks ago by a British healthy foodie, but her recipe called for 2 cups of coconut sugar. Firstly, I have no coconut sugar on hand. Secondly, that is WAY TOO MUCH for me to feel good about using.

I asked my daughter to read me the list of ingredients used by healthy foodie for her avocado chocolate brownies, and I modified it radically to fit into my ideals for health indulgence. Before I give you the recipe I want to encourage you to make this well in advance of the time you would like to eat it.  I wanted to eat it right away, but the texture and experience was about a 3 out of 10. However, after it spent the night in the refrigerator, it is a 9 out of 10.  So be warned, it looks good and you will want to eat it immediately, but you will be rewarded by WAITING! You also might want to hide it from other family members who don’t have as much self-control as you!

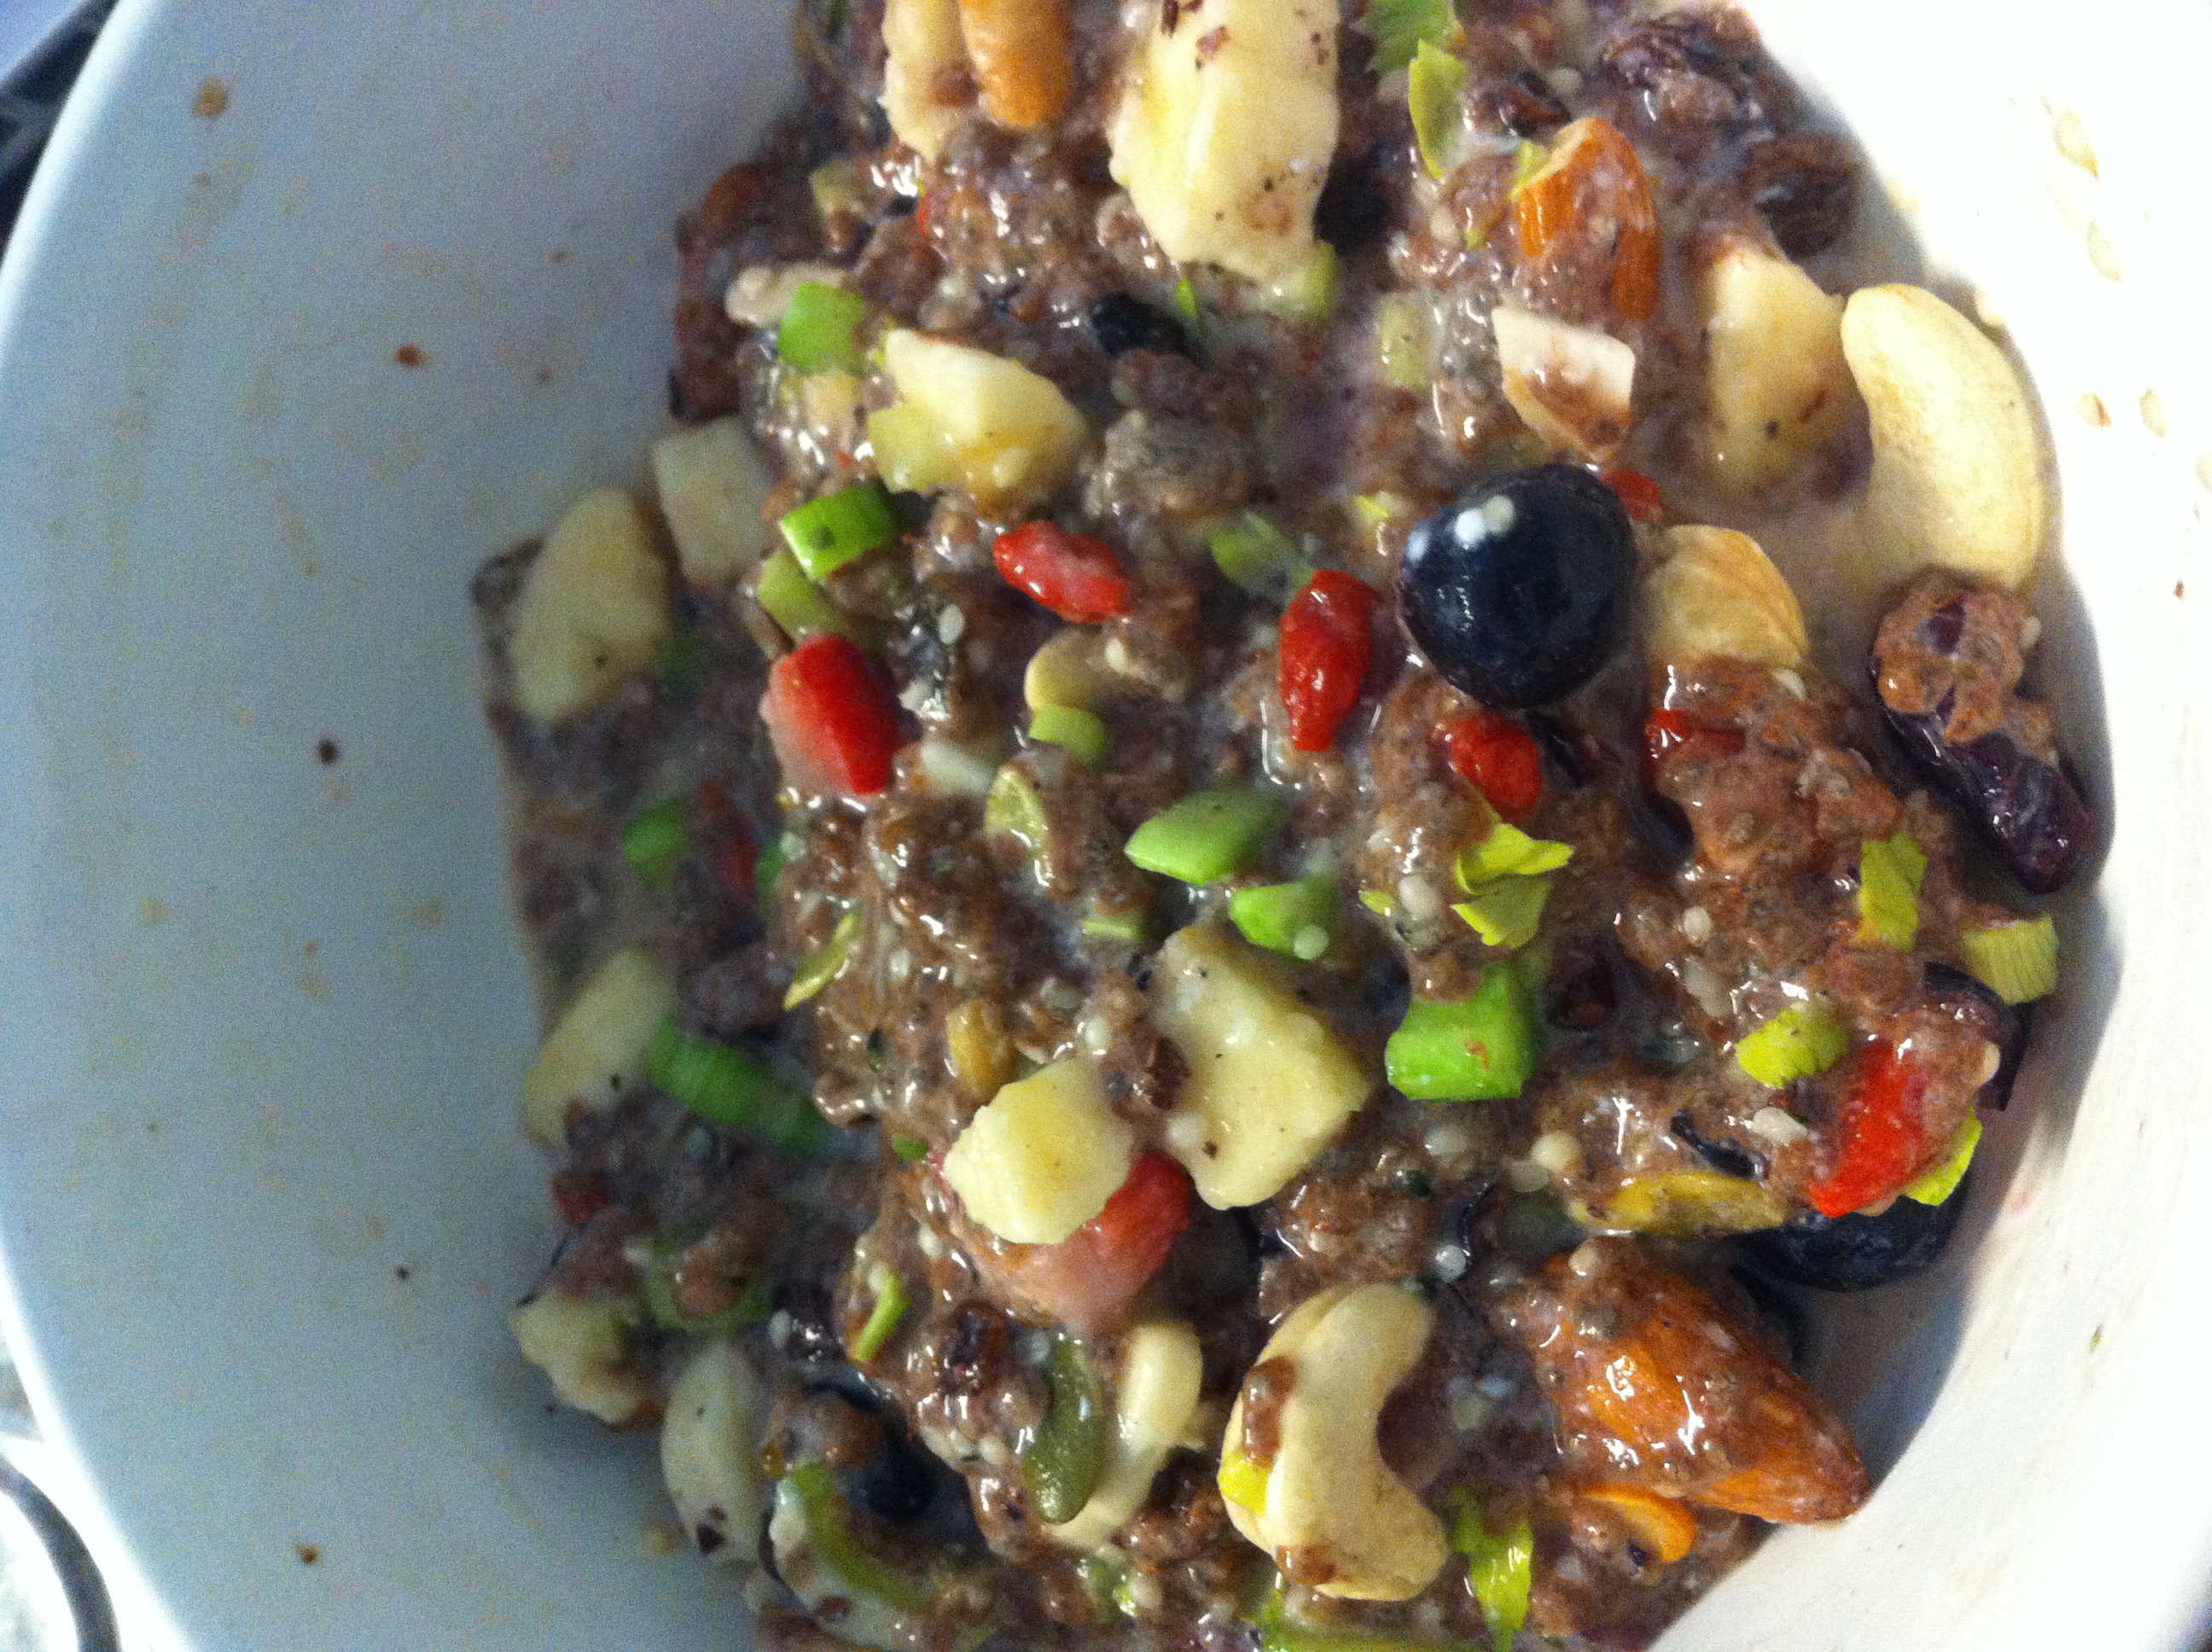
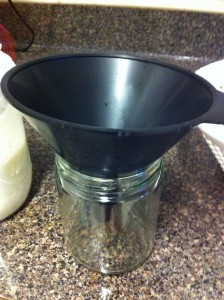
Avocado Coconut Oil Brownies 
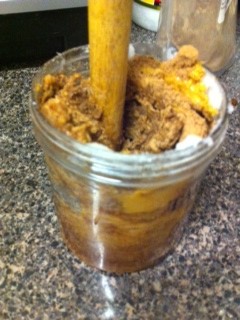
  • 3 eggs
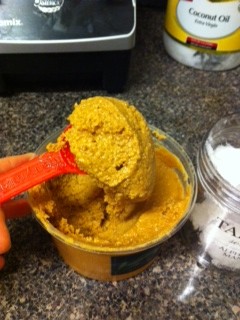
  • 1 cup or so coconut oil (it was very soft because the inside temperature was warmish)
  • 6 blended dates
  • 1 cup or so of honey (I think it was a bit less, but I don’t measure because I don’t want to waste the ingredients!)
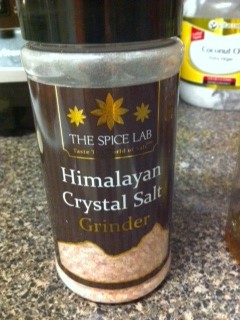
  • a couple of turns of Himalayan salt
  • 1/2 – 1 tsp baking powder
  • ¾ cup almond flour (approximately)
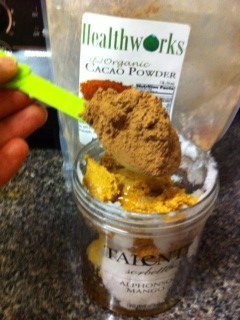
  • 1 cup cacao powder (again, approximate! If you add it 1/4 cup at a time you can see the desired darkness you like)
  • ¾ avocado mashed (that was all I had on hand. Feel free to use more!)
  • ¾ cup whole pecans (add after well mixed)

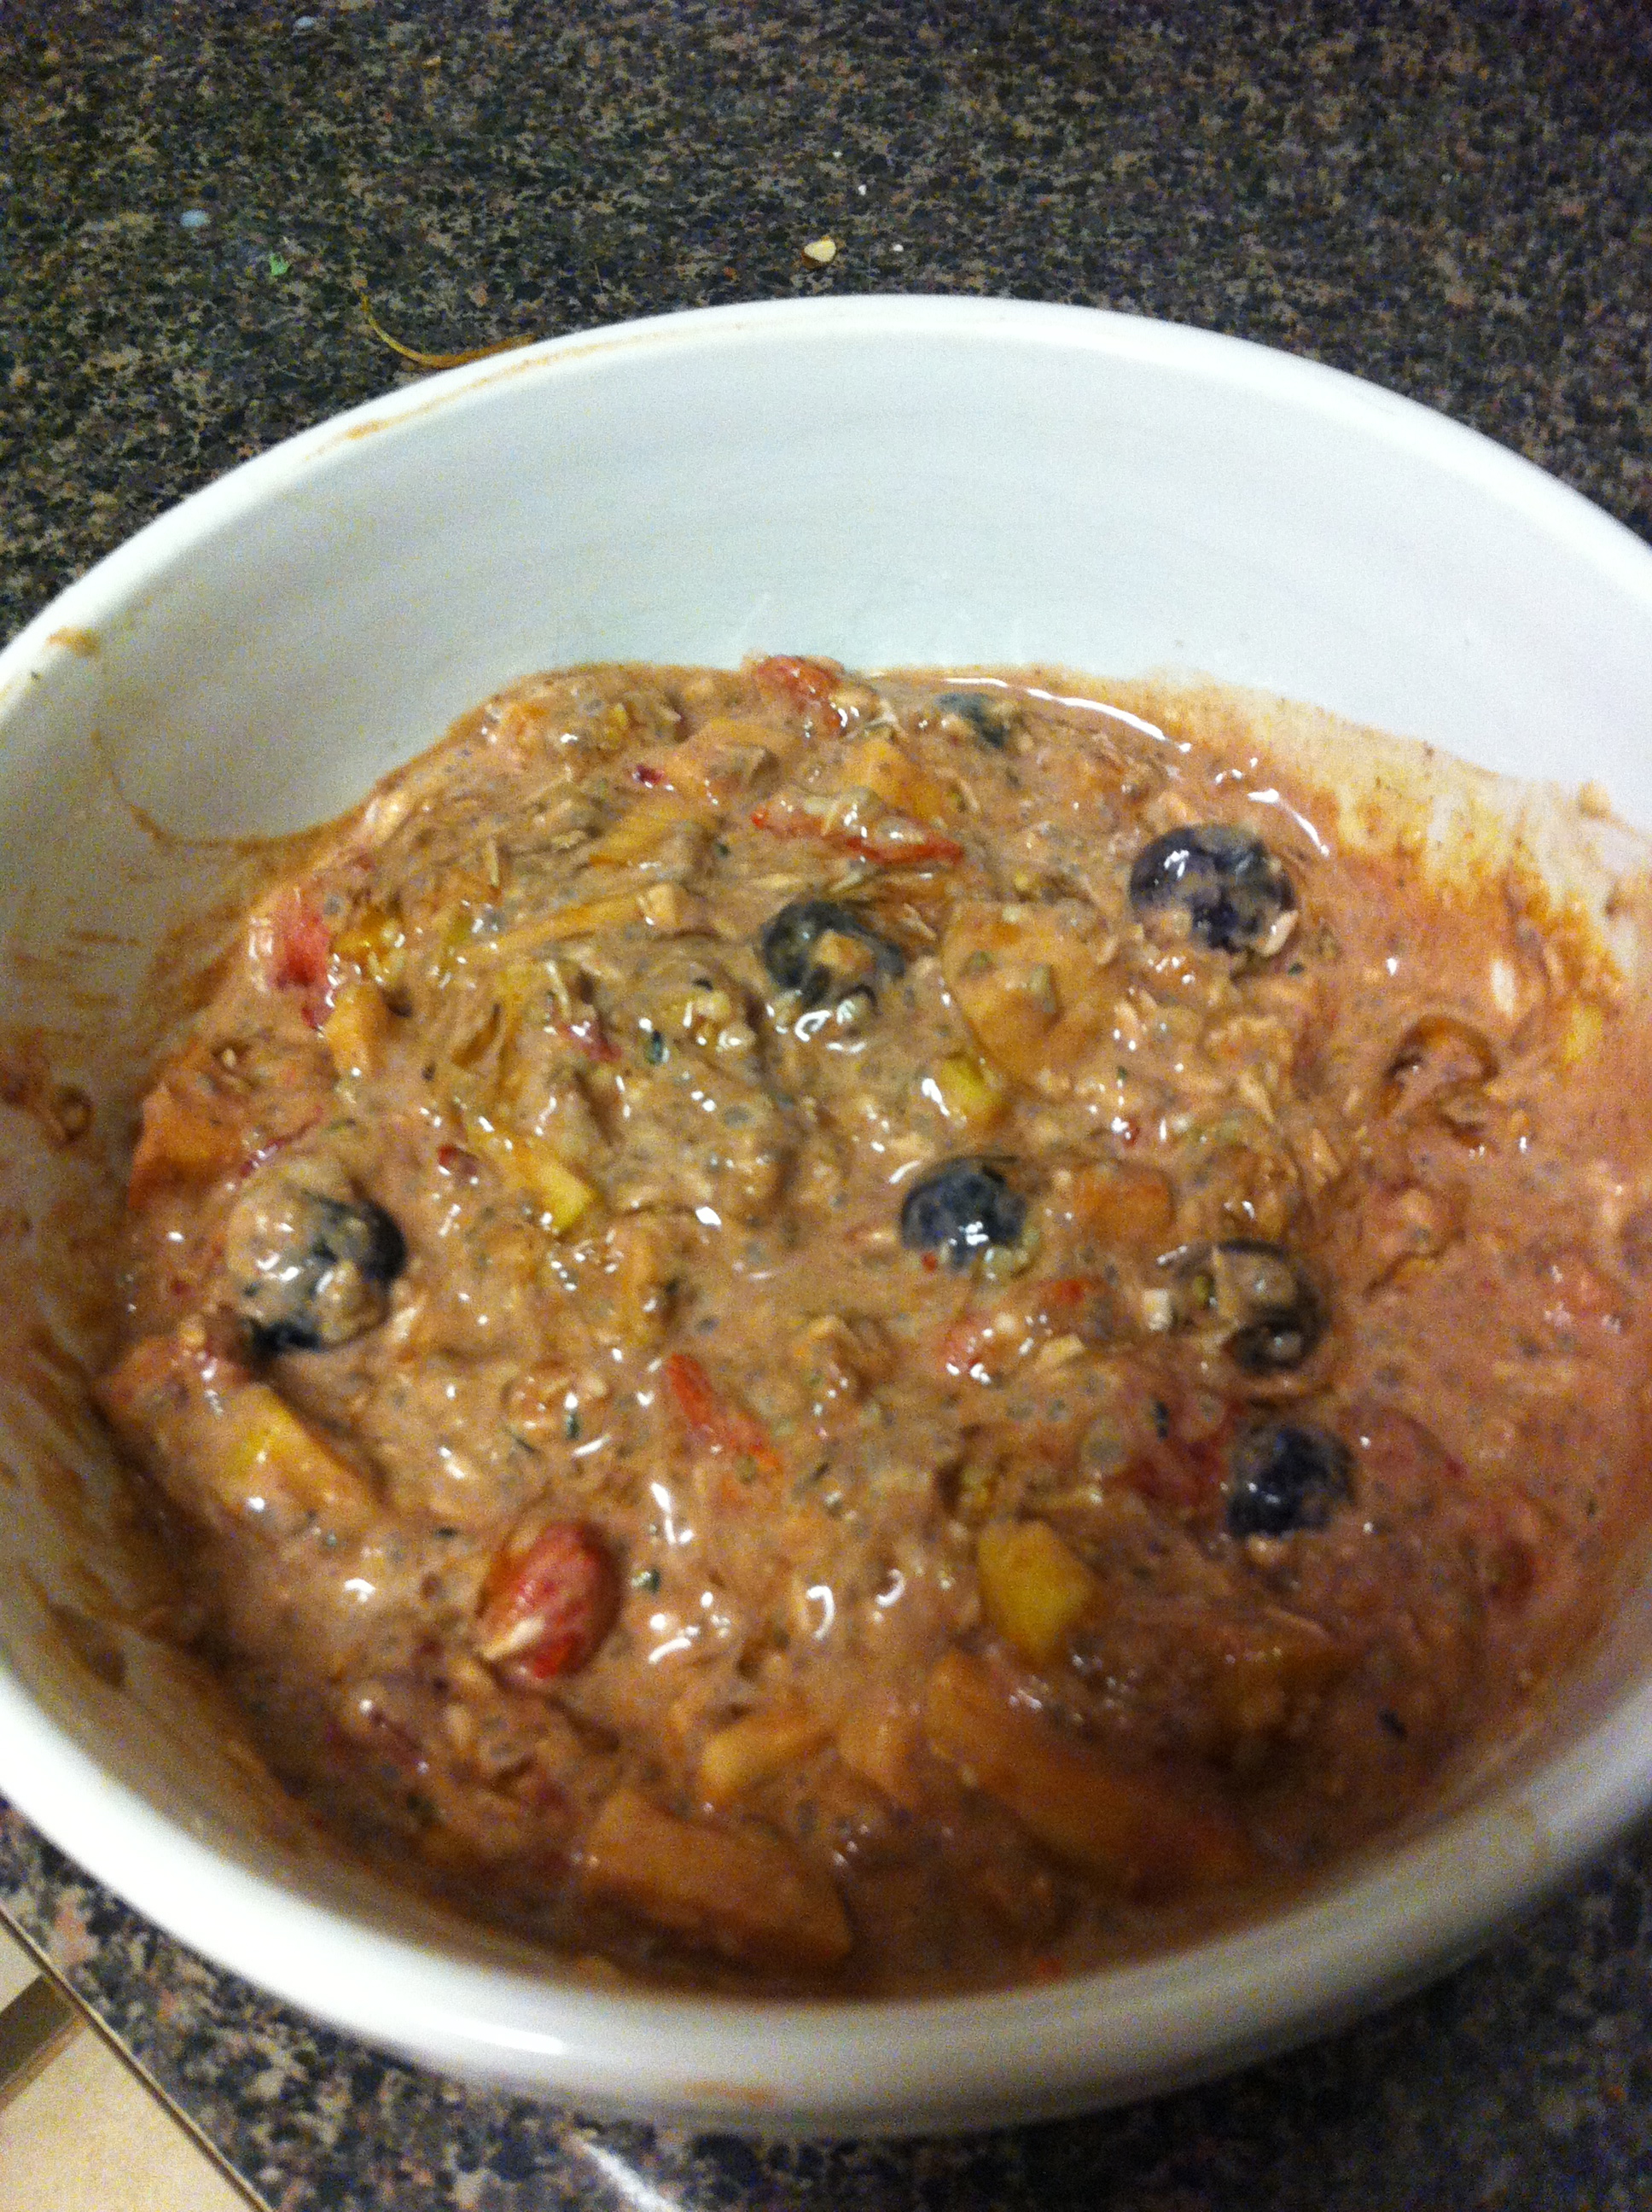
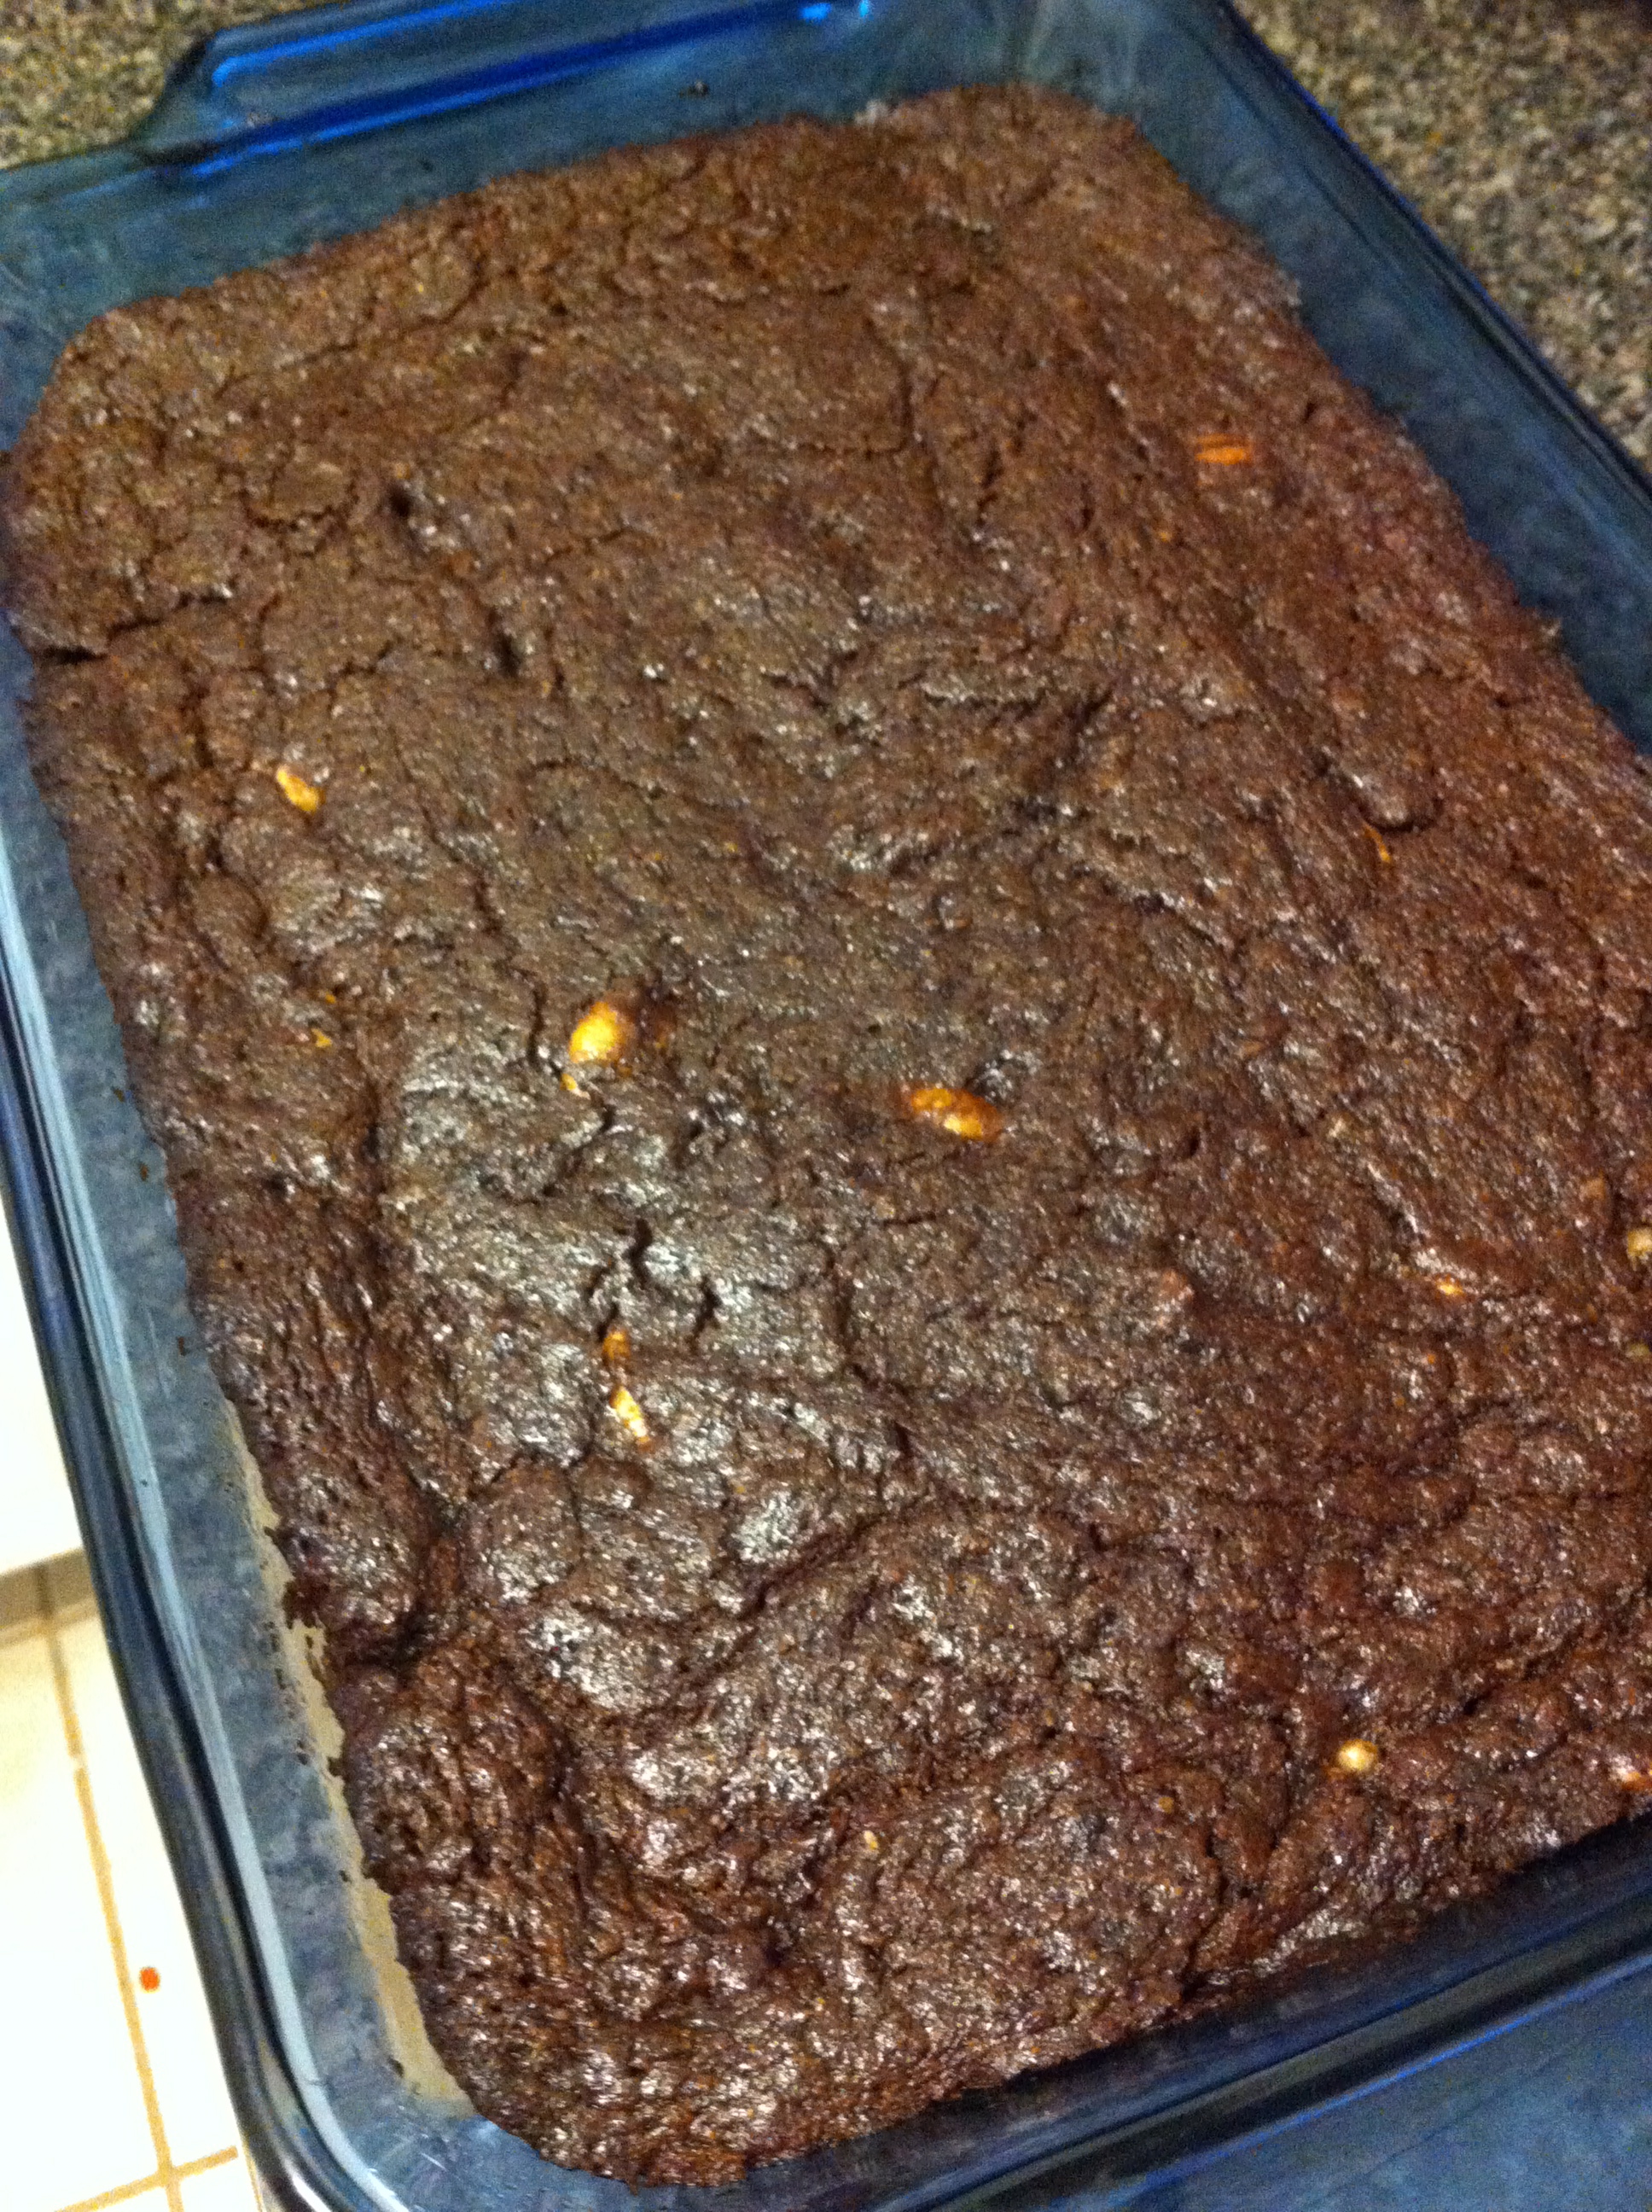
I whisked it together in a bowl until it was well blended, then put it into a glass baking dish and baked it at 350 for 25 minutes. Allow to cool and then put into the refrigerator (or freezer if you want a faster result). Wait until cold for the best results!

While these are probably the best brownies you can make – the coconut oil, avocado, eggs, and nuts are all good for you – they should be still considered a treat because of the potential of raising the blood sugar!  However, I confess I did have them (and nothing else) for supper on Mother’s Day and for lunch the following day!

Please fee free to modify as you desire, and please, let me know your results!

Breakfast to Go

IMG_0928We all love fast food.  Many times we NEED fast food.  We have a deadline, a place to be, an important reason to be there, but not enough time for eating our healthy breakfast.

It is time to think differently.  What can I make that is fast, nutritious, good for me AND will travel well? Chia porridge to go.  I wrote about chia porridge previously, this is an expansion. Choose your favorite flavors and personalize it!  The great thing about Chia porridge is that the chia seeds need about 15 minutes of soaking to expand, so it can travel with you and get better on the way! I made this chia porridge to go for my husband to take with him for his early morning appointment:

  • 1/2 Tablespoon chia seeds
  • water to cover
  • 1/2 Cup or so of homemade kefir
  • 1/4 Cup hemp seeds
  • 1 Tbl raw cacao powder
  • 1 Tbl raw maca powder
  • nuts, raisins, seeds
  • 1/2 Tbl honey
  • chopped pear
  • chopped strawberry

For those who are more hard-core you could add a few veggies (celery, cucumber, kale) and omit some fruit.  Others might want to top their chia porridge with homemade granola or add different fruits. The hemp gives you the energy and will sustain you so you don’t feel hungry.  The chia is a great source of omega 3s. The maca powder is optional, but gives a great boost. We’re all at different stages of our journey, but I think most people will be able to find some way to modify this concept in a way they can enjoy it.  If you decide to have eggs for breakfast, you could always have a bowl of chia porridge for lunch!

Other chia ideas here

and here

Chocolate Binge

IMG_0915

G U I L T   F R E E ! ! !

You know the adage, if it sounds too good to be true then it is probably….

But, not in this instance!  Truly this chocolate is good for you!  It will stem your cravings, it will feed your brain, it will send great messages to your metabolism, it might even help you lose weight!  I take no responsibility, but urge you to do your own experimentation!

A lady in front of me at the local grocery store yesterday semi-apologized for hoisting three enormous boxes of a popular beverage aka, canned liquid poison (one of many toxic-liquid-evils widely marketed around the world by those who have a taste for death) onto the check-out conveyor belt.  “One of my few vices,” she said.  Out of the blue, because I had not tried to offer any health education AT ALL – ask my daughter.  I sometimes want to, but in this case I hadn’t even gotten that far.  Then, as she was leaving she says in a very friendly way to the cashier, “But you have to watch chocolate because it makes your clothes shrink!”  I’m sure you’ve heard that before.  It took me awhile, and then I thought out loud “Not raw chocolate!  If you eat raw chocolate your clothes get baggy.  In fact, you might even need to buy new clothes because you may drop a size or two!”  At least, that’s what happened to me!

IMG_0914So here is yet another way to roll up the raw chocolate, courtesy of my client who liked my ideas and then experimented a bit more!

  1. Coconut Oil,
  2. Organic Peanut Butter
  3. Honey
  4. Raw Cacao Powder

Just four ingredients.  Each one has a smaller amount.  So if you start with 2 huge spoons of coconut oil, add 2 spoons of peanut butter, one spoon of honey.  Mix the first three ingredients completely, then add 2 huge spoons of cacao powder, or add the amount to give you the darkness you desire.  The ratio will probably be just less cacao powder to the combined amount of coconut oil and peanut butter. Experiment with the ratios until you get it just like you like it! You could even add more ingredients, but I’m trying to keep it really simple!

Mix or stir well.

Refrigerate briefly to help it get itself together (depends on the temperature in your kitchen).

IMG_0916

Roll out onto a plate (pre-cool the plate in the freezer in warm weather) like a snake, or roll into balls.

Refrigerate or freeze to harden.  Store in an airtight container in the fridge or freezer and have a slice when you are craving a treat!

Hide all evidence, or else the next time you have a craving you are going to find your family has completely consumed it!  But hey, it’s good for them too!  So I guess it’s time to make some more!

More raw chocolate ideas here and here and here…  Just for a taste!

I’m on a chocolate journey!  Where has your chocolate journey taken you?


Healthy Snack

nuts

We all know that Snack Attack feeling!

My friend shared this great idea with me.  Whenever you feel hungry – like you want some sort of a sweet treat, mix together equal parts:

  • goji berries
  • cocoa nibs
  • raisins
  • Brazilian nuts
  • sunflower seeds
  • pumpkin seeds

in a big glass jar, shake and grab a handful – or two (maximum is two!)  And your cravings will be gone!

I’m sure you could try different ingredients, like walnuts (brain food), cashews, almonds, coconut flakes, cranberries, whole cacao beans, etc.  But since my friend is such a great researcher, I think she might have specific reasons for each of her selections!

I like to do a mix something like this for my husband to keep in his briefcase so he’s not tempted to have processed food snacks at the office!  It’s also great to have a mix like this on long road trips. If I’m driving I always like a constant supply of snacks to help me keep awake and paying attention!


Basic Granola

IMG_0898Easy, delicious, nutritious, must be more economical than buying the best you can buy in the store, but I confess I have not done a cost analysis!

I have made granola for my family for years.  With five children it was one of the most obvious healthy economical things I could do.  I loved a recipe I got from the Tightwad Gazette.  Also, since I never bought cereal for them because of all the yuck ingredients, I had to have something to give them for breakfast!  (I confess, before my enlightenment, I went through a long phase where I did buy corn flakes, but only corn flakes.  They would have corn flakes with granola on top!)

When my first two boys were small I only purchased fruit flavored yogurts.  I had one friend who had a toddler who happily ate plain yogurt and I thought she was a freak!  Now I only buy plain yogurt – and have been for years and everyone in the family enjoys combining their own breakfasts with plain yogurt, fresh and dried fruits, nuts, seeds and granola. I am now  making my own kefir so soon I can stop buying large factory produced yogurt!

Since entering my current ultra health (aka crazy) phase I have stopped eating wheat and then removed oats and I feel SO MUCH BETTER that I have never wanted to eat them.  My family, however, still enjoys granola so I have been buying the best organic brands I could find and wincing with every expensive purchase!  I have been contemplating making my own and wondering how to incorporate coconut oil, which is also part of my ultra healthy phase.  Recently my friend shared this great simple granola recipe and I admire her a lot, so I was inspired to start making granola again – immediately!!  This is what I did, including some slight modifications, because it is impossible for me to follow a recipe!

In a saucepan melt over very low heat, stirring with a wooden spoon:

  • 1/2 Cup coconut oil
  • 1/2 Cup honey

IMG_0896

Because I hate wasting ingredients in measuring cups, I just eyeballed the amounts straight into the pan!  I weighed the pan first, then weighed it while adding the ingredients to give me an idea if I had it right!

I just melted it until it was able to mix thoroughly, then I added 1 tsp vanilla.

IMG_0897In a bowl, mix the following dry ingredients:

  • 4 Cups old fashioned rolled oats
  • 1 Cup shredded coconut
  • a few shakes of cinnamon
  • a few turns of Himalayan crystal salt

Pour mixed coconut oil mixture into dry ingredients and stir thoroughly.  I baked it in a roasting pan for 10 minutes on 400 degrees F, then turned the oven off, stirred the granola and put it back into the hot oven for another 10 minutes.   after you have achieved the brown color you are looking for, be sure to stir the granola one last time to prevent it from cooling and sticking to the pan!  Next time I think I will go for a lower slower cooking.  The mixture got a bit too brown, and I remembered it’s always better to cook low and slow!

IMG_0899

There was a delicious smell in the house while it was baking and the test taste was great!

I can tell that I might be experimenting often with this recipe!  You can eat granola plain as a snack, with yogurt, fruit and nuts, or sprinkle on top of your Chia Porridge! The family is sure to love it! And I may even incorporate a bit of oats into my crazy hectic nutritional plan!

This recipe made 32 ounces of wonderful granola.  I’ll try to work out a costing, but I’m pretty sure it is a lot more economical and better than what you can buy!  And it is filled with love for those you love!

Super Breakfast

Chia porridgeI’m not sure if that picture looks really really appetizing, but it is delicious AND amazingly nutritious!  My friend Simela motivated me to experiment even more with

the idea of “Chia Porridge”

I decided to have Chia Porridge for lunch.  It is super easy to make.  But you and the kids might prefer to have it for breakfast! I’m giving you the quantities for one serving, to make more just use a bit more of everything!

  • 1 Tablespoon chia seeds
  • water to cover the seeds

Allow the chia seeds to sit for 10-15 minutes and they will soak up the water and become gelatinous!  So do that first while you are collecting all the other ingredients and chopping whatever you like.  Or, make yourself a cup of tea!

  • 1 tsp cinnamon
  • 1 tsp cacao powder (optional)
  • 1 tsp lucuma powder (optional)
  • raisins
  • cacao nibs
  • honey
  • yogurt, kefir or nut milk of your choice

I also added cashews, almonds, frozen blueberries, 1 chopped frozen strawberry, 1/2 chopped banana, dried coconut, goji berries, hemp seed and chopped celery (you can never get enough celery and I love crunchy things – and I was having this for lunch, and they do put celery in a Waldorf salad!).

IMG_0900Here is a breakfast version I made for my husband: chia, goji, water, cinnamon, cacao, macs, honey, chopped apple, 2 chopped strawberries, blueberries, coconut, hemp, yogurt, kefir and a tad of homemade granola.

So, get creative and try it!  Stock your kitchen with healthy nutritiously dense items and then dream up new ways of combining them!  Let me know what you discovery in your experimentation!


Rationing Onions

I never thought I would be so careful with my onion usage!

I caught myself thinking, ‘I’ll use ¼ of an onion in hash browns so that I can still have a lot left for another dish.’

onionWhat is happening to me???

Eating organic in the USA is changing the way I prepare food, and the way I think about vegetables!  Since one organic onion costs approximately $1 from my local grocery store, I have learned to use as many layers as possible and think about how to share it among meals!

Another way of stretching organic value is to use every part of every organic vegetable that I purchase.  No throwing away the broccoli stalks anymore! Broccoli stalks and cauliflower stalks can be cut up and lightly sautéed with coconut oil or saved to go in the morning green smoothie!  No peeling ginger, why waste any part?  Cauliflower leaves? Chop em up!  Outside leaves of the organic cabbage that was a cool $4??  Chop it fine, no more waste from this girl!

Brown spot on bananas?  Into the frozen fruit tub for smoothies… Mushy bits of strawberries? The same.  In fact sometimes I even freeze strawberries whole with the green bits still on!

“Don’t throw anything away!”  Is my new battle cry to my family!

I even eat organic apple cores, as long as there is no fungus, and while other members of the family might not take my new ideas this far, when they leave a cut out apple core on the cutting board – it goes into the frozen fruit tub for smoothies!

Don’t tell me you can’t afford organic – think about ways to prioritize organic and don’t waste any!  Reduce expenses in other areas by making your own and by organic so you send a financial message – LOUD AND CLEAR – to retailers and big agro that you won’t buy non-organic! Another reason to choose organic produce is because in nutrient analysis organic fruit and vegetables score significantly higher than their non-organic counterparts.  Buying organic is about what you AREN’T getting – pesticides and herbicides – but it is also about what you ARE getting – more bio available nutrients for you money!  You also have the added satisfaction of supporting a local brave farmer!

If finances are really tight, buy the clean fifteen, but always buy organic of the dirty dozen!  Thanks to the Environment Working Group for keeping on top of this information.


Making Kefir

I’m assuming you know all the benefits of adding probiotics to your diet.  You’ve bought your own plain yogurt, bought plain kefir, even bought pro-biotic supplements and now you are looking for a more economical way to keep a regular supply of probiotics in your life.

IMG_0843You are now ready to begin this new adventure of making your own kefir.  The first step you need is to find a friend who is currently making their own kefir and let them know you would love to have some kefir grains whenever they have an abundance.

The word ‘grain’ is a bit of a misnomer because they are not ‘grains’ but more like cottage cheese curds that provide the positive bacteria to turn your milk into kefir.  You might not have to wait too long, so watch this video and prepare yourself.  You will need a couple of glass jars 16 – 32 ounces.

My friend gave me kefir grains in a ziplock bag with water to keep them hydrated. I wasn’t quite ready, so I put them in the refrigerator for a couple of days.  It turns out kefir grains are pretty hearty creatures and didn’t mind my neglectfulness!

IMG_0844

I started by draining the water off of the kefir grains and putting them into a clean jar.  I added about 2 cups of 2% organic milk, covered it with some tissue paper and a rubber band, and left it to sit on the counter for 24 hours.

The first batch took a bit longer than 24 hours (more like 36) and never seemed to get as thick as I thought it should.  The second batch was much better.  I started to get a bit overwhelmed with the amount of kefir I was producing, so for the next batch I only added one cup of milk.

IMG_0841

I have used raw milk and organic 2% milk from Kroger.  When I added only 1 cup, the kefir turned out a lot thicker – which I liked.

After sitting on the counter for about 24 hours it is time to strain the kefir, keeping the grains for your next batch.  I used a funnel (left) topped with a plastic strainer (below).  As the video mentions, it is preferable to strain it with plastic, or at least stainless steel.

IMG_0842

Pour the kefir into the strainer, and use a spatula to help push the kefir through.  Take the grains and put them in a clean jar to start all over again!

IMG_0825

It wasn’t too long before my grains had multiplied significantly and I had some to share with a friend!

Making kefir is a LOT EASIER than making plain yogurt.  It might not taste exactly the same, but to me, it is delivering all the good pro-biotics with very little effort.  It’s all about just keeping it going every day.

Many times I put the kefir into the refrigerator before I strain it. It can actually stay like that for many days. You can also strain and keep the grains in a small amount of milk in the refrigerator if you will be away from home for an extended time. To make the next batch, rinse the grains in pure water and start over.

Now my challenge is finding ways to use the kefir and trying to convert my girls from plain yogurt to kefir!  I’ve made kefir ice cubes for my morning smoothie, added as liquid to a smoothie snack and I even drank a whole glass just by itself!

I’d love to hear about your adventures with kefir!

More posts about kefir here, and here.

Author Becky Hastings, wife, mother, grandmother, health seeker and reporter. Becky shares health information especially to help parents raise healthy children. She loves sharing healthy recipes and kefir grains!

Chocolate Bar in a Jar

My hope is that this simple recipe will be made and enjoyed by my grandchildren for years and years!

Start with an empty jar.                                              Put in a big scoop of coconut oil.

 2 coconut oil1 jar


Add 2 spoons of all natural peanut butter.  Add two heaped spoons of raw cacao powder.

3 peanut butter

4 cacao powder


Add a generous spoon of honey.                                Add a pinch (or twist) of salt.

5 honey6 salt


Mix it all together.                                                       Enjoy.

7 mixing8 eating


Other wonderful ingredients you can add:

  • raisins or other dried fruit (or even fresh berries)
  • seeds or nuts (pumpkin seeds and walnuts are what I chose this time)
  • cacao nibs (for a nice crunch)
  • hemp seeds/hearts (provides sustaining energy)
  • cinnamon (helps with blood sugar metabolism)

You can eat it right away, or you can put it into the fridge to get a little harder.  You can eat it out of the jar with a spoon, or scoop it into a flatter container and cut it into squares when it gets hard.  Whatever choices you make, enjoy it!

Let me know what your favorite version is.  How do you experiment with Chocolate Bar in a Jar?