Smoothie for Children

Girl Cook

One of my favorite activities as a child was “cooking” in my Easy Bake Oven.  I loved independently creating things to eat! Later I received a child’s recipe book with recipes aimed just at me.  I loved reading and following the recipes and sharing my creations with others.

I hope this recipe will be one children will find easy and delicious to make themselves!


Ask an adult to help you get these things ready.

Bananas

  • 1 Frozen banana
  • 1 Cup Kefir, plain yogurt or spring water
  • 5 big ice cubes, frozen Kefir cubes, or frozen pineapple chunks
  • 2 Tablespoons Raw Cacao Powder
  • 2 Tablespoons Coconut Oil
  • 2 Tablespoons Hemp Seeds
  • 1 Tablespoon Honey

Put them all into a blender.  Put the top on and start it and put it up to high speed. If your blender gets ‘stuck’ add a little more of your liquid.

Optional:  berries, fruit (frozen or fresh), Cacao nibs or beans, coconut


And then we had Sauerkraut!

Sauerkraut Jar

It all started on January 31.  First I chopped up some organic cabbage.

Sauerkraut start

The recipe I used was very helpful.  It also motivated and inspired me to get started and just do it! I’d been reading and hearing about the benefits of sauerkraut for a long time, but reading how simple it was with this method, got me excited and started!

Basically, you chop the cabbage and then layer with salt in the bowl. Once you’ve added it all, the recipe said to “punch” the cabbage with your fist to get the cabbage/salt mixture to create the brine.  Punching the cabbage was not working for me, so I looked around and found the Vitamix tamper and started pounding the cabbage with that.  It worked much better.

Sauerkraut JohnFortunately I even got some help with this stage, as the recipe did not quite explain the effort that was required!  The tamper is in one hand and an orange spatula in the other to help slide the cabbage back down from the side of the bowl.  Did I mention how happy I was to get some help?

The process produces brine and the aim is to get enough brine to cover the cabbage.  After the liquid covers the cabbage you find a way to seal it that still allows the gas to escape. And Voila! The fermentation process just happens!

Sauerkraut set


The recipe suggested putting a smaller bowl on top of the cabbage and then putting a large ziplock bag of water on top of the small bowl to keep it weighted down so the cabbage stays below the brine.  This is what I came up with and let it sit for five days or so.

When I checked it, there was a lot of mold (as expected) around the edges and not much fermentation. In the meantime I think I read a few more blogs and as I was about to put the washed small bowl back on top of the cabbage, I suddenly thought ‘why not just put the plastic bag straight on top of the cabbage and leave the small bowl out completely,’ which is what I did.  I then put a kitchen cloth on top of the bowl to give it some darkness and left it on the kitchen counter until today, February 15.

Sauerkraut bagThe whole process is really an illustration of faith! You do each step and trust that the instructions you’ve been given will give you the result you want!  And it worked!

I tentatively removed the towel, lifted off the bag of water, and found the cabbage looking quite a bit different.  I tasted it and it was sauerkraut!

I’m assuming you know all about the excellent pro-biotic benefits of fermented foods.  Learning more about fermented foods has given me a great desire to consume more – and it turns out sauerkraut is easy to make!

Sauerkraut JarSo the plan is to start eating a little bit 15 minutes before a meal and gradually work up to about 2 tablespoons.

Let me know when you make your first sauerkraut attempt!  Also, if you have any ideas on how to get my daughters (13 and 20) to love eating sauerkraut – let me know!

Clean Chicken Chili Con Cashew

DSC_0040My older daughter can sometimes be my biggest food critic and she RAVED about this chili – which is why I decided to share it on my blog!

Economical – Healthy – Easy – Food Preparation – we all need more ideas!  Here’s one:

Feed a family of four two meals (supper and lunch for the following day) using two chicken breasts (organic from $8-$10) and all the other ingredients you generally might have on hand. Since I’ve been buying organic in the USA I’ve been using a lot more of the vegetable than ever before! I’ve included the prices of some of the ingredients to give an idea of the total cost.

  • 2 organic or hormone free chicken breasts cut into chunks
  • 1 Tablespoon coconut oil

Put large, deep pan on medium low heat (if you are not eating raw, it is preferable to cook low and slow to maintain most nutrients) and allow to ‘brown’ (stirring once or twice) while you are chop the following:

garlic

  • 1 organic onion  ($.50-$1.00)
  • 5-10 cloves of garlic
  • ½ – 2 chilis , depending on your need for heat.  I used 1 whole fresh jalapeño
  • 1 stalk organic celery (more or less) with tops
  • ½ – 1 Cup organic cauliflower.  I used all the green leafy bits at the bottom and one big stem section.  I am not wasting the stalk or leafy bits of organic veggies! If you don’t have cauliflower, you can substitute any other vegetable, i.e. broccoli, carrots, beans, etc.

Add those to the pan and stir. The chicken might still be pink.  That is ok.  Keep the heat low.  Now chop these things:

  • 1 organic tomato ($1)
  • coriander, cilantro, dhania (did you know these three words all refer to the same herb???) as much as you like.  Fresh if possible.  I just chopped the rest of my bunch which ended up being about ¼ cup chopped.

Add to pot and stir.  By now, the chicken should be mostly not pink, but it is ok if it is not thoroughly cooked through, as that is what is going to happen as the chili continues to simmer.  Now add:

  • ½ – 1 C Black beans (I buy organic black beans from Kroger because those are the only organic beans I see on the shelf.  I cook more than I need – usually in a slow cooker – and keep some in the fridge or freezer to add to stews or soups). If I didn’t have any cooked beans on hand, I would have left them out.
  • ½ jar Organic tomato sauce (±12 oz or 350 ml). (±$1.60) This is one “cheat” I allow myself.  It is a processed food that has more than 5 ingredients (a guideline that can sometimes be helpful).  If you want to avoid it, you could make your own at the peak of tomato season, or just add more tomatoes and maybe more herbs and spices.
  • Spring water – add to empty tomato sauce jar to make sure not to waste any organic ingredients! Never use tap water. If no spring water, filter or boil water?
  • Salt Himalayan or other organic crystal, to taste
  • Pepper, organic whole freshly ground
  • ¼- ½ C raw cashews
  • ¼ C organic raisins

photo 1

Put the top on, turn the heat onto the lowest setting and walk away for 20 -40 minutes. You could set your timer for 30 minutes and then go and turn the heat off, leaving the pan on the stove until your family is gathered for the meal. Or, if you were really advanced in planning you could cook it all in the slow cooker. I add the last two ingredients because they come from a recipe I loved in the Whole Foods for the Whole Family Cookbook published by La Leche League International A LONG TIME AGO and the add to the deliciousness!

I served my Clean Chicken Chili Con Cashew with organic tortilla chips (just a few per person!), a little bit of grated organic cheddar cheese and a coleslaw (really “chopped organic cabbage” with a tiny bit of salad dressing – because it was all I had left! – and organic plain yogurt). Stay health – eat more cabbage!

small head shot

It was a huge hit with everyone and we all enjoyed the leftovers the following day.

What modifications do you enjoy to make your recipes clean and economical?

Best Chocolate Ever!

chocolate bowlIn case you haven’t noticed my recipes are not exactly structured, so I thought I would share how I came up with my latest greatest chocolate recipe!

I’m busy working, going about my day.  I suddenly have a desire for something delectable – sweet and gooey, yet nutritiously dense and still good for me!

I go to the kitchen with no prepared plan.  I ask myself ‘what have I got?’  And I start.  This is what happened today….

I took a small bowl out and started adding things. Of course, I didn’t measure anything, I’ve just added approximate quantities!  Use what you feel works for you.

  • 2 Tablespoons of coconut oil with a rich coconut smell. Every brain needs more coconut oil.  It improves cognitive function in everyone!
  • 1 Tablespoons organic FRESHLY ground peanut butter NOW STOCKED AT MY LOCAL KROGER – thank you Kroger!!!
  • ½ Tablespoon honey, local raw organic
  • 1 Tablespoons organic pumpkin seeds now stocked by same Kroger!!
  • 1 Tablespoons roasted cashews also from Kroger
  • 1 Tablespoons of goji berries – because I just read more about their awesome anti-aging properties!  I love goji berries more than ever!
  • 1 Tablespoons hemp seed
  • 1 heaped teaspoon raw cacao powder

Best Choco EverI just spooned it into a smallish bowl and stirred.  No heating, nothing!  Just stirred it all until it was all mixed up and then spooned it into 4 small containers and popped them into the freezer because I decided I would share it with my family!  I was very tempted just to spoon it into my mouth – so they should really be thankful!

Alternatively I was thinking of plopping the whole bowl straight into the freezer to get hard and then spoon it into my mouth a bit later!

Anyway you look at it, it’s an instant chocolate bar worth 5000 times more than the highly processed stuff you can buy sold by large companies that I have been told exploit slave labor.  So it is a labor of love for my body, my taste buds and the welfare of Fair Trade.

Have you ever plunged into the delicious nutritious world of Fair Trade raw cacao?

Morning Smoothie

IMG_0243

Superfood Morning Smoothies set me up for the day to have a clear mind, no aches and pains.  I am feeding my body information that is going to set me up for feeling great all day long! Liz Lipski, from The Future of Nutrition Conference

Of course I have consumed smoothies, but mainly fruit blends made at Kauai (serving deliciously good and good for you food fast in South Africa).  I first read about the idea of consuming super nutrient smoothies regularly in August 2012 when I read Abs Diet by David Zinczenko.  At that stage I didn’t have a blender, so I just made a mental note that it was an interesting idea.   My daughter-in-law made me my first super nutrient smoothie in June 2013.  She told me about the ginger and lemon – which I have come to realize are absolutely essential for a great tasting smoothie!

I’ve been practicing making and drinking superfood smoothies for over six months now and would like to share my method.  It’s not a recipe, because no two batches are ever the same.  It is a method for using what you have and making something nutritious and delicious.  I LOVE my superfood smoothies.

I think of the ingredients for the smoothie in terms of three categories:  items I collect from the Cupboard, Refrigerator, and Freezer.

I try to keep these three places stocked with what I am going to be needing.  However, if I run out of anything, I simple make it without!
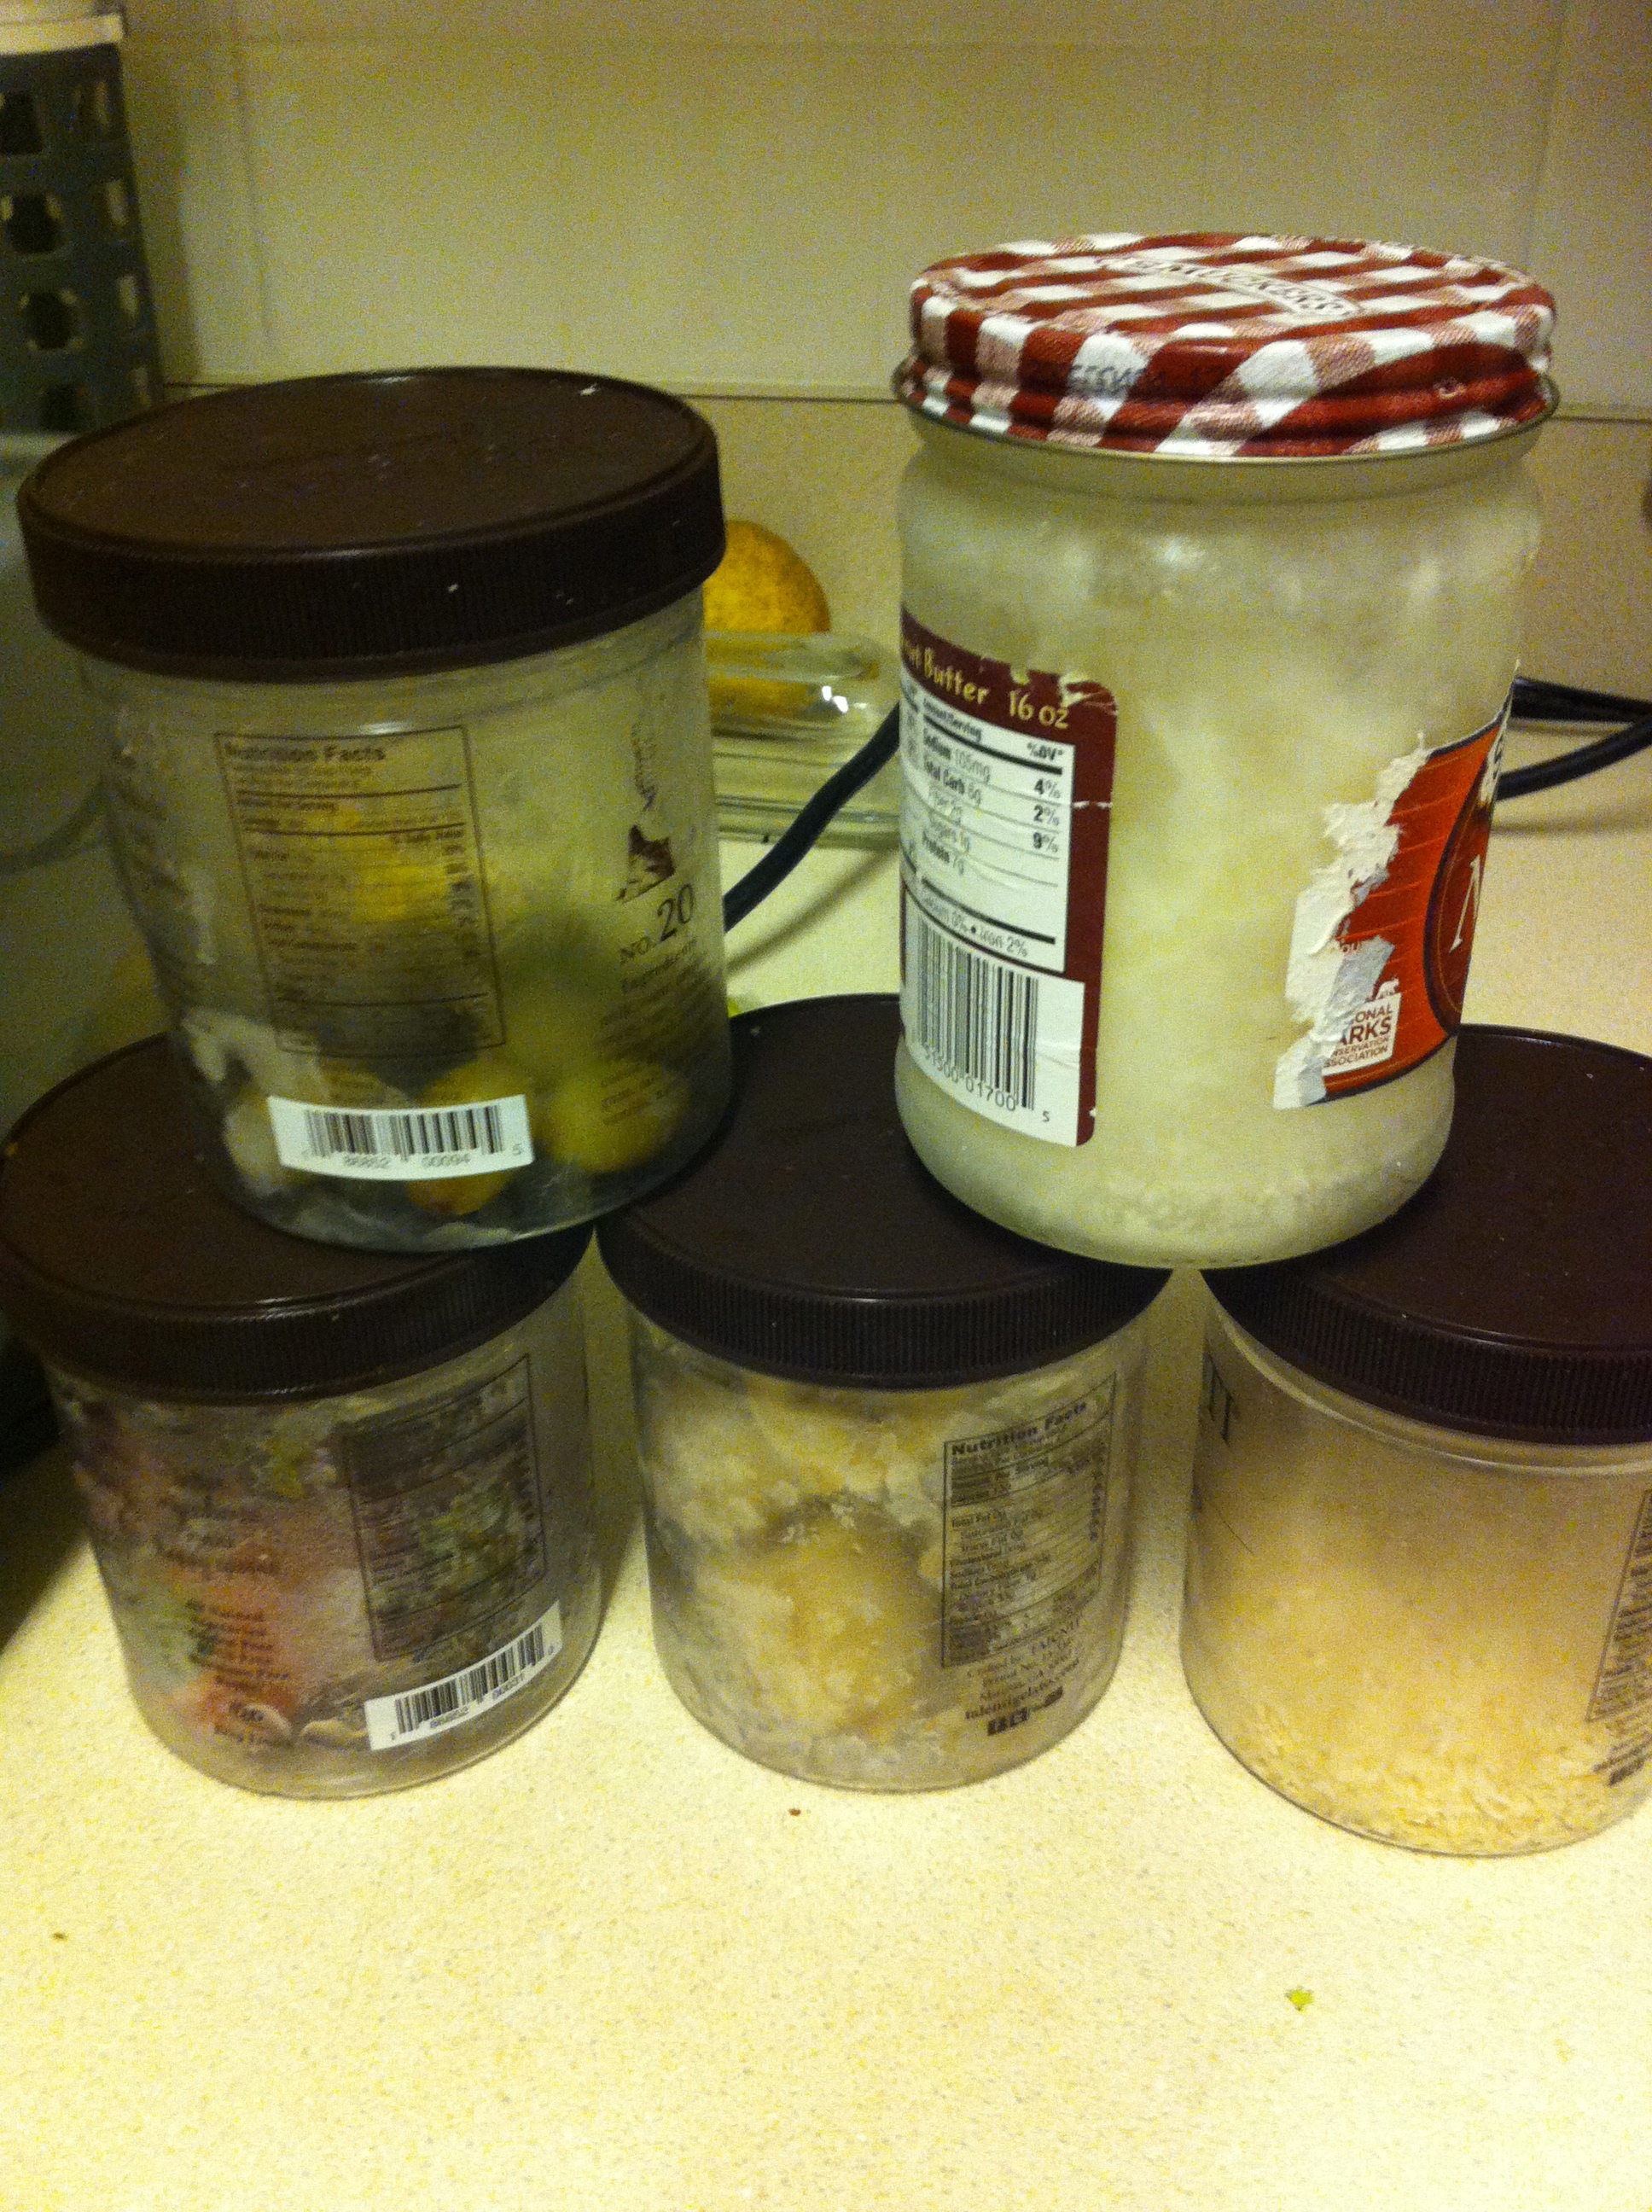
  1. Cupboard

IMG_0236
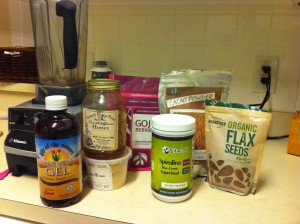
The ingredients that I store in the cupboard I usually purchase on-line from either Vitacost or Amazon.  If you find a better source, or better prices, please let me know.

  • Goji berries*
  • Raw Cacao* (powder, nibs or whole beans)
  • Maca powder* (a high priced item that I don’t always have available due to budgetary constraints!)
  • Aloe Vera* bottled gel or fresh aloe vera (my local Kroger stocks whole fresh aloe vera)
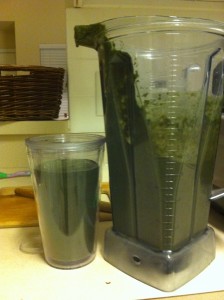
  • Spirulina* powder (when I have it.  Beware, the strong green color TOTALLY DOMINATES the smoothie, which is fine for me, but some newbies might object)
  • Coconut flakes* (once opened I keep in the freezer, sometimes I also add a Tablespoon of coconut oil)
  • Hemp seeds* (once I open them I keep them in the refrigerator)
  • Chia seeds
  • Honey*, 1 Tablespoon (or to taste)
  • Cinnamon, 1 teaspoon or to taste
  • Pinch Himalayan crystal salt

* Superfoods that made David Wolfe’s Top 10 list

How much??  Well, that is entirely up to you.  Do you have a huge stock on hand – be generous!  Not too much left in the bag? Then go a bit easier.  Generally two heaped spoons of most of the items, except for the honey, cinnamon and salt.
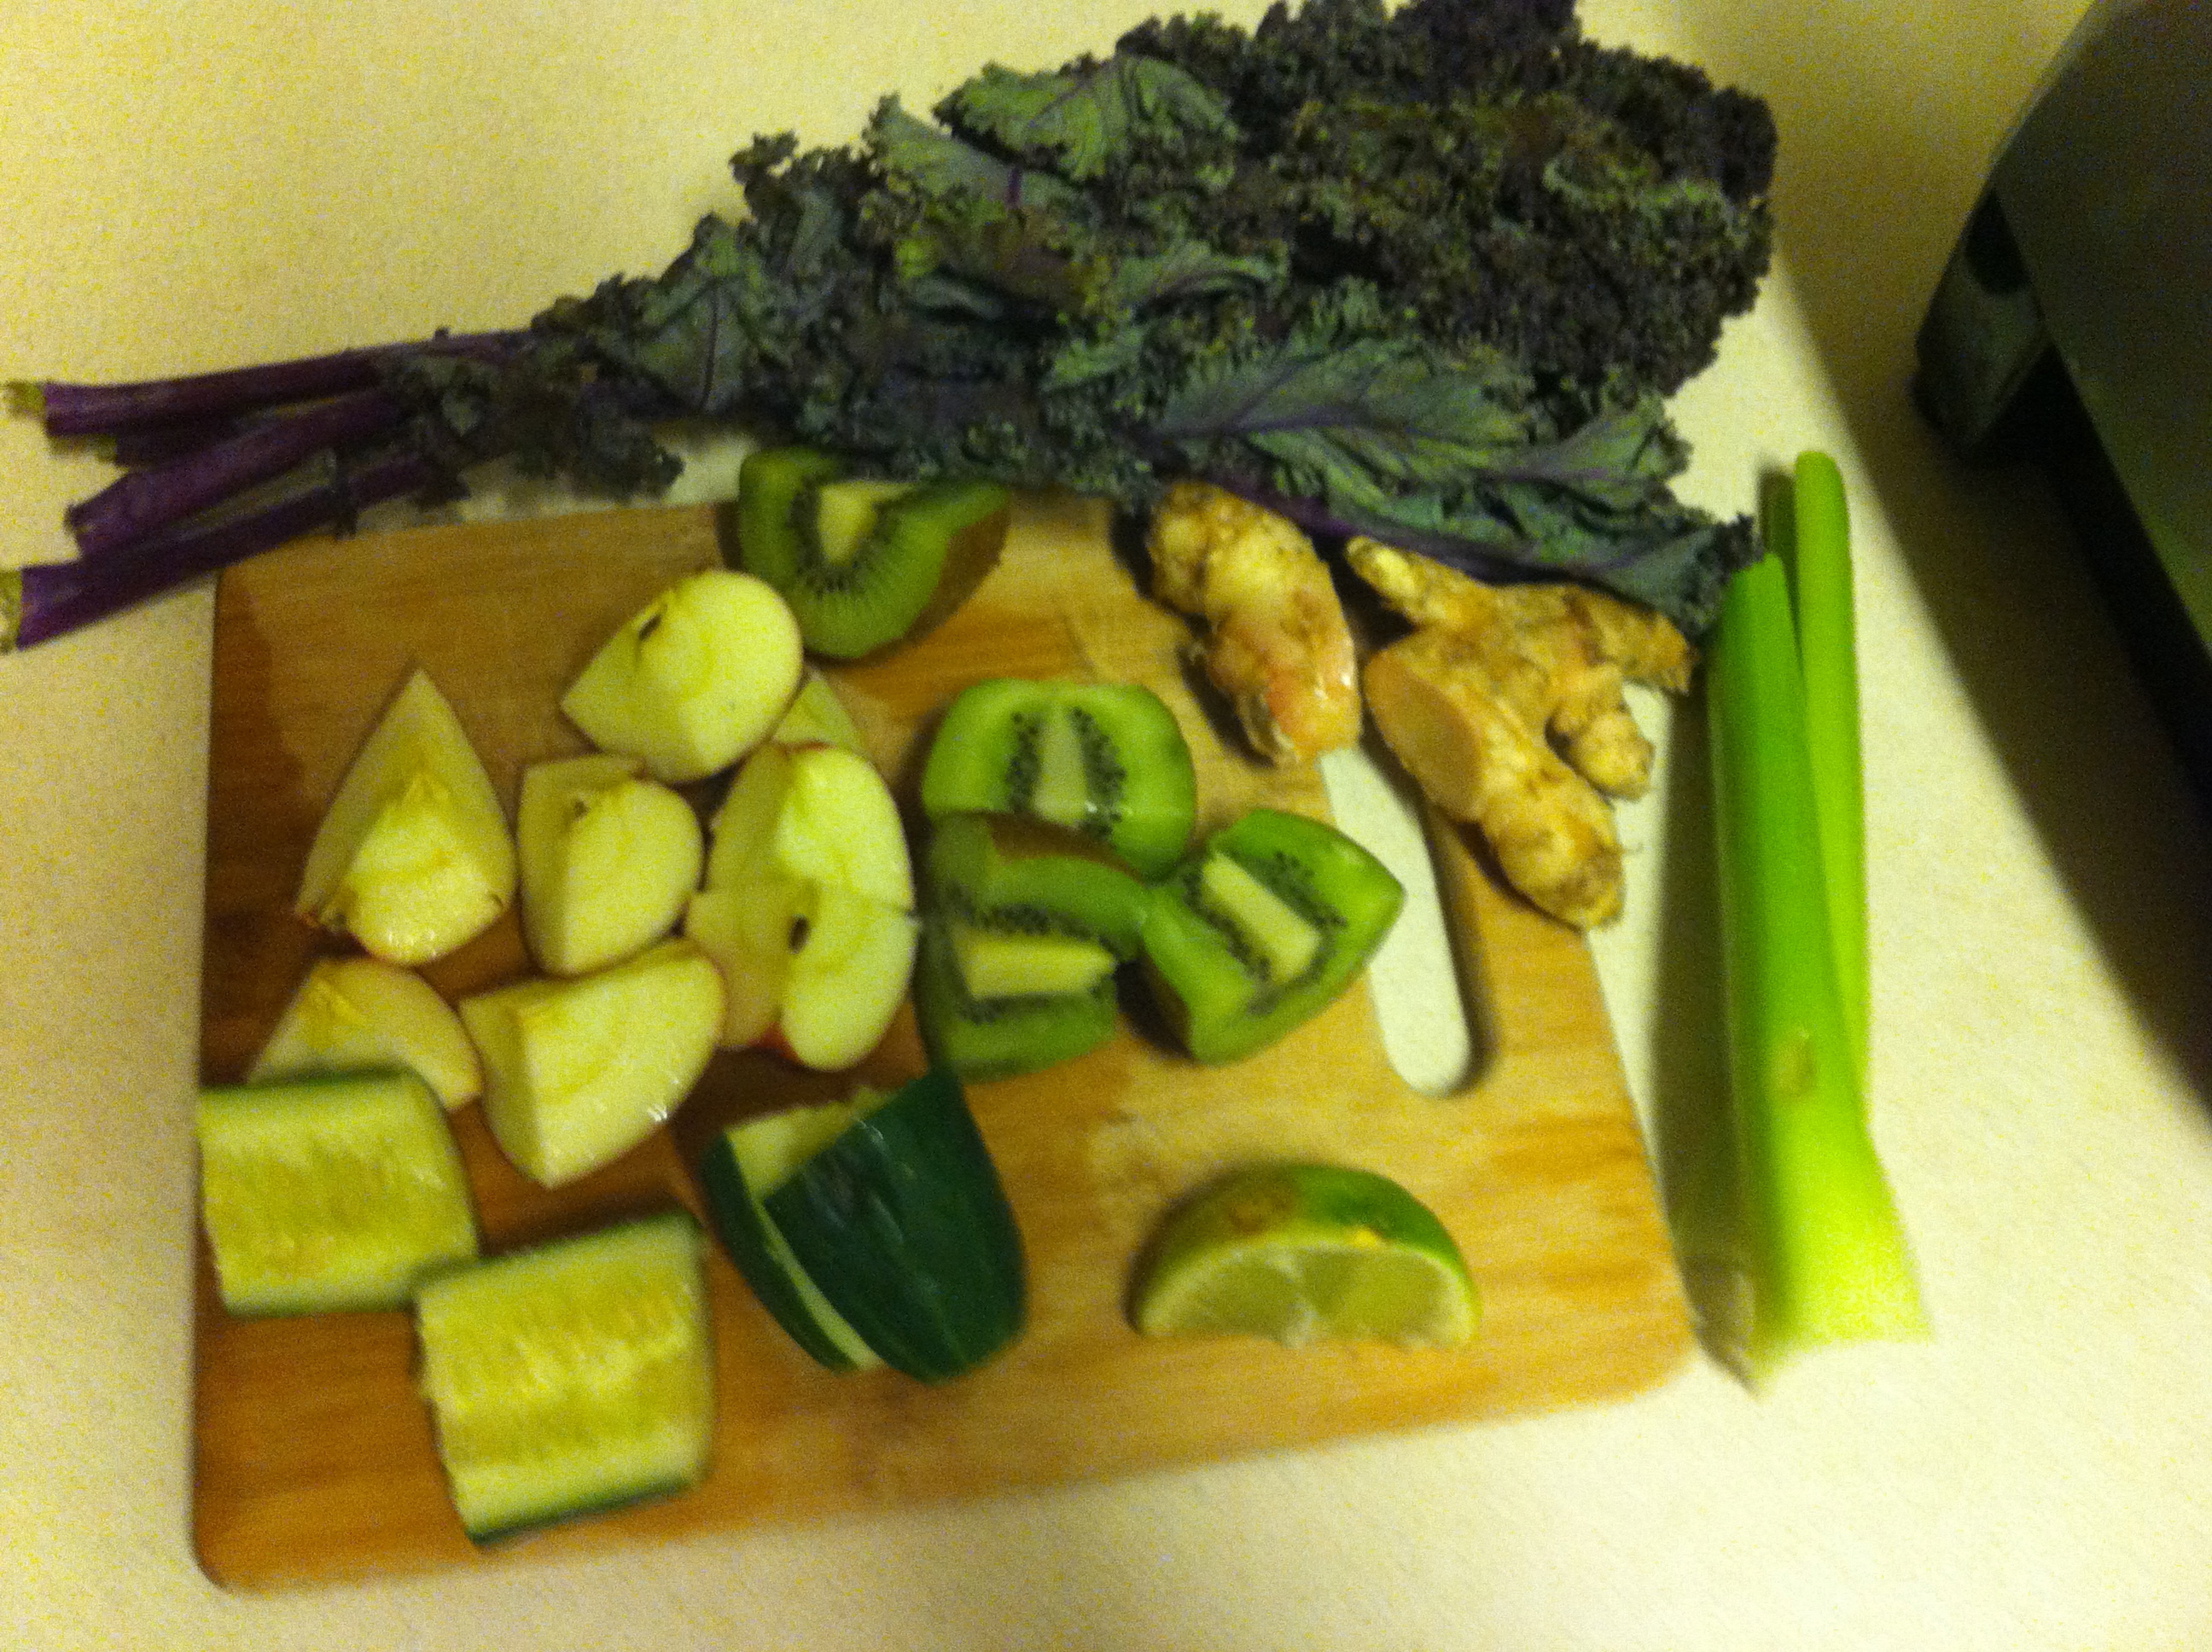
2.  Refrigerator

IMG_0237

  • 1 – 2 apples** I put the whole apple, cut into quarters – seeds, core and all
  • 1/3 – ½ lemon – organic preferred because I use the peel, but remove seeds
  • fresh ginger – gives it a bit of a bite.  I use about 1 inch, but you might start with less
  • 1-2 sticks Celery**
  • 1/3 – ½ cucumber**
  • fresh coriander
  • kale**
  • kefir or yogurt (don’t always use this, but I intend to start making kefir and will include it regularly)
  • kiwi or other seasonally available fruit

**These are part of the dirty dozen so you should really buy organic, or at least peel them.
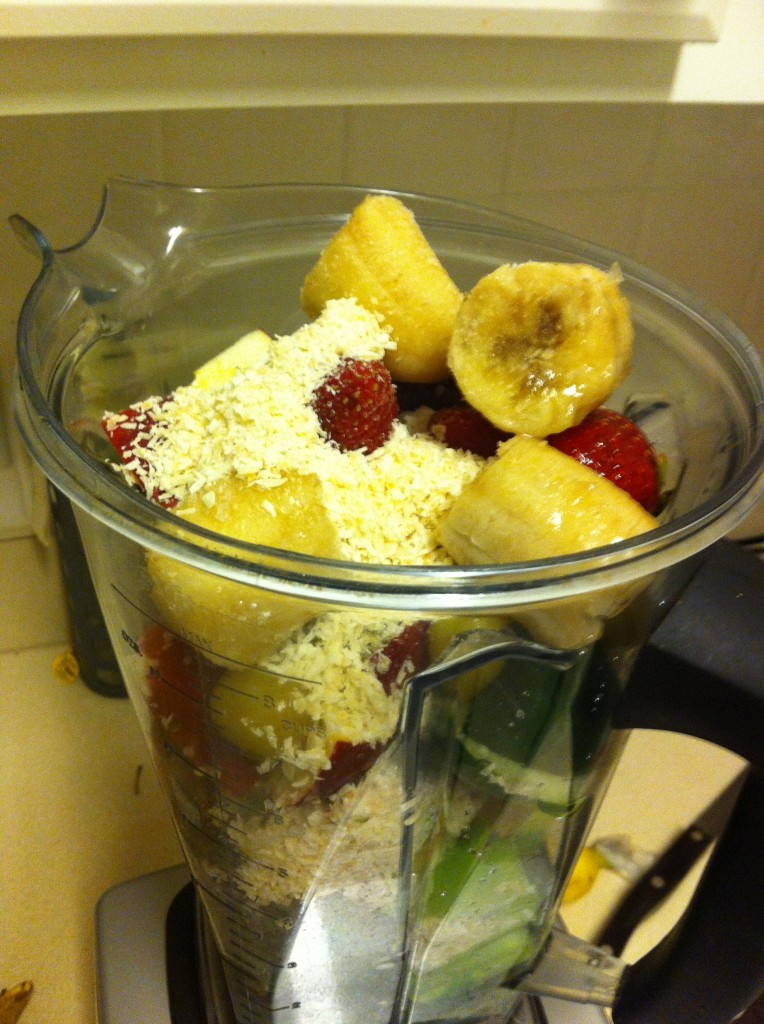
3.  Freezer

  • IMG_0239
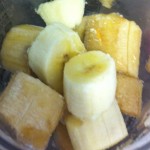
±1 frozen banana.  I buy extra bananas, peel them and chop or break them into a container and keep them in the freezer.
  • Any other frozen fruit:  blueberries, mangos, peaches, etc.
  • Ice cubes made with raw milk or spring water (sometimes)
  • Coconut flakes* a handful

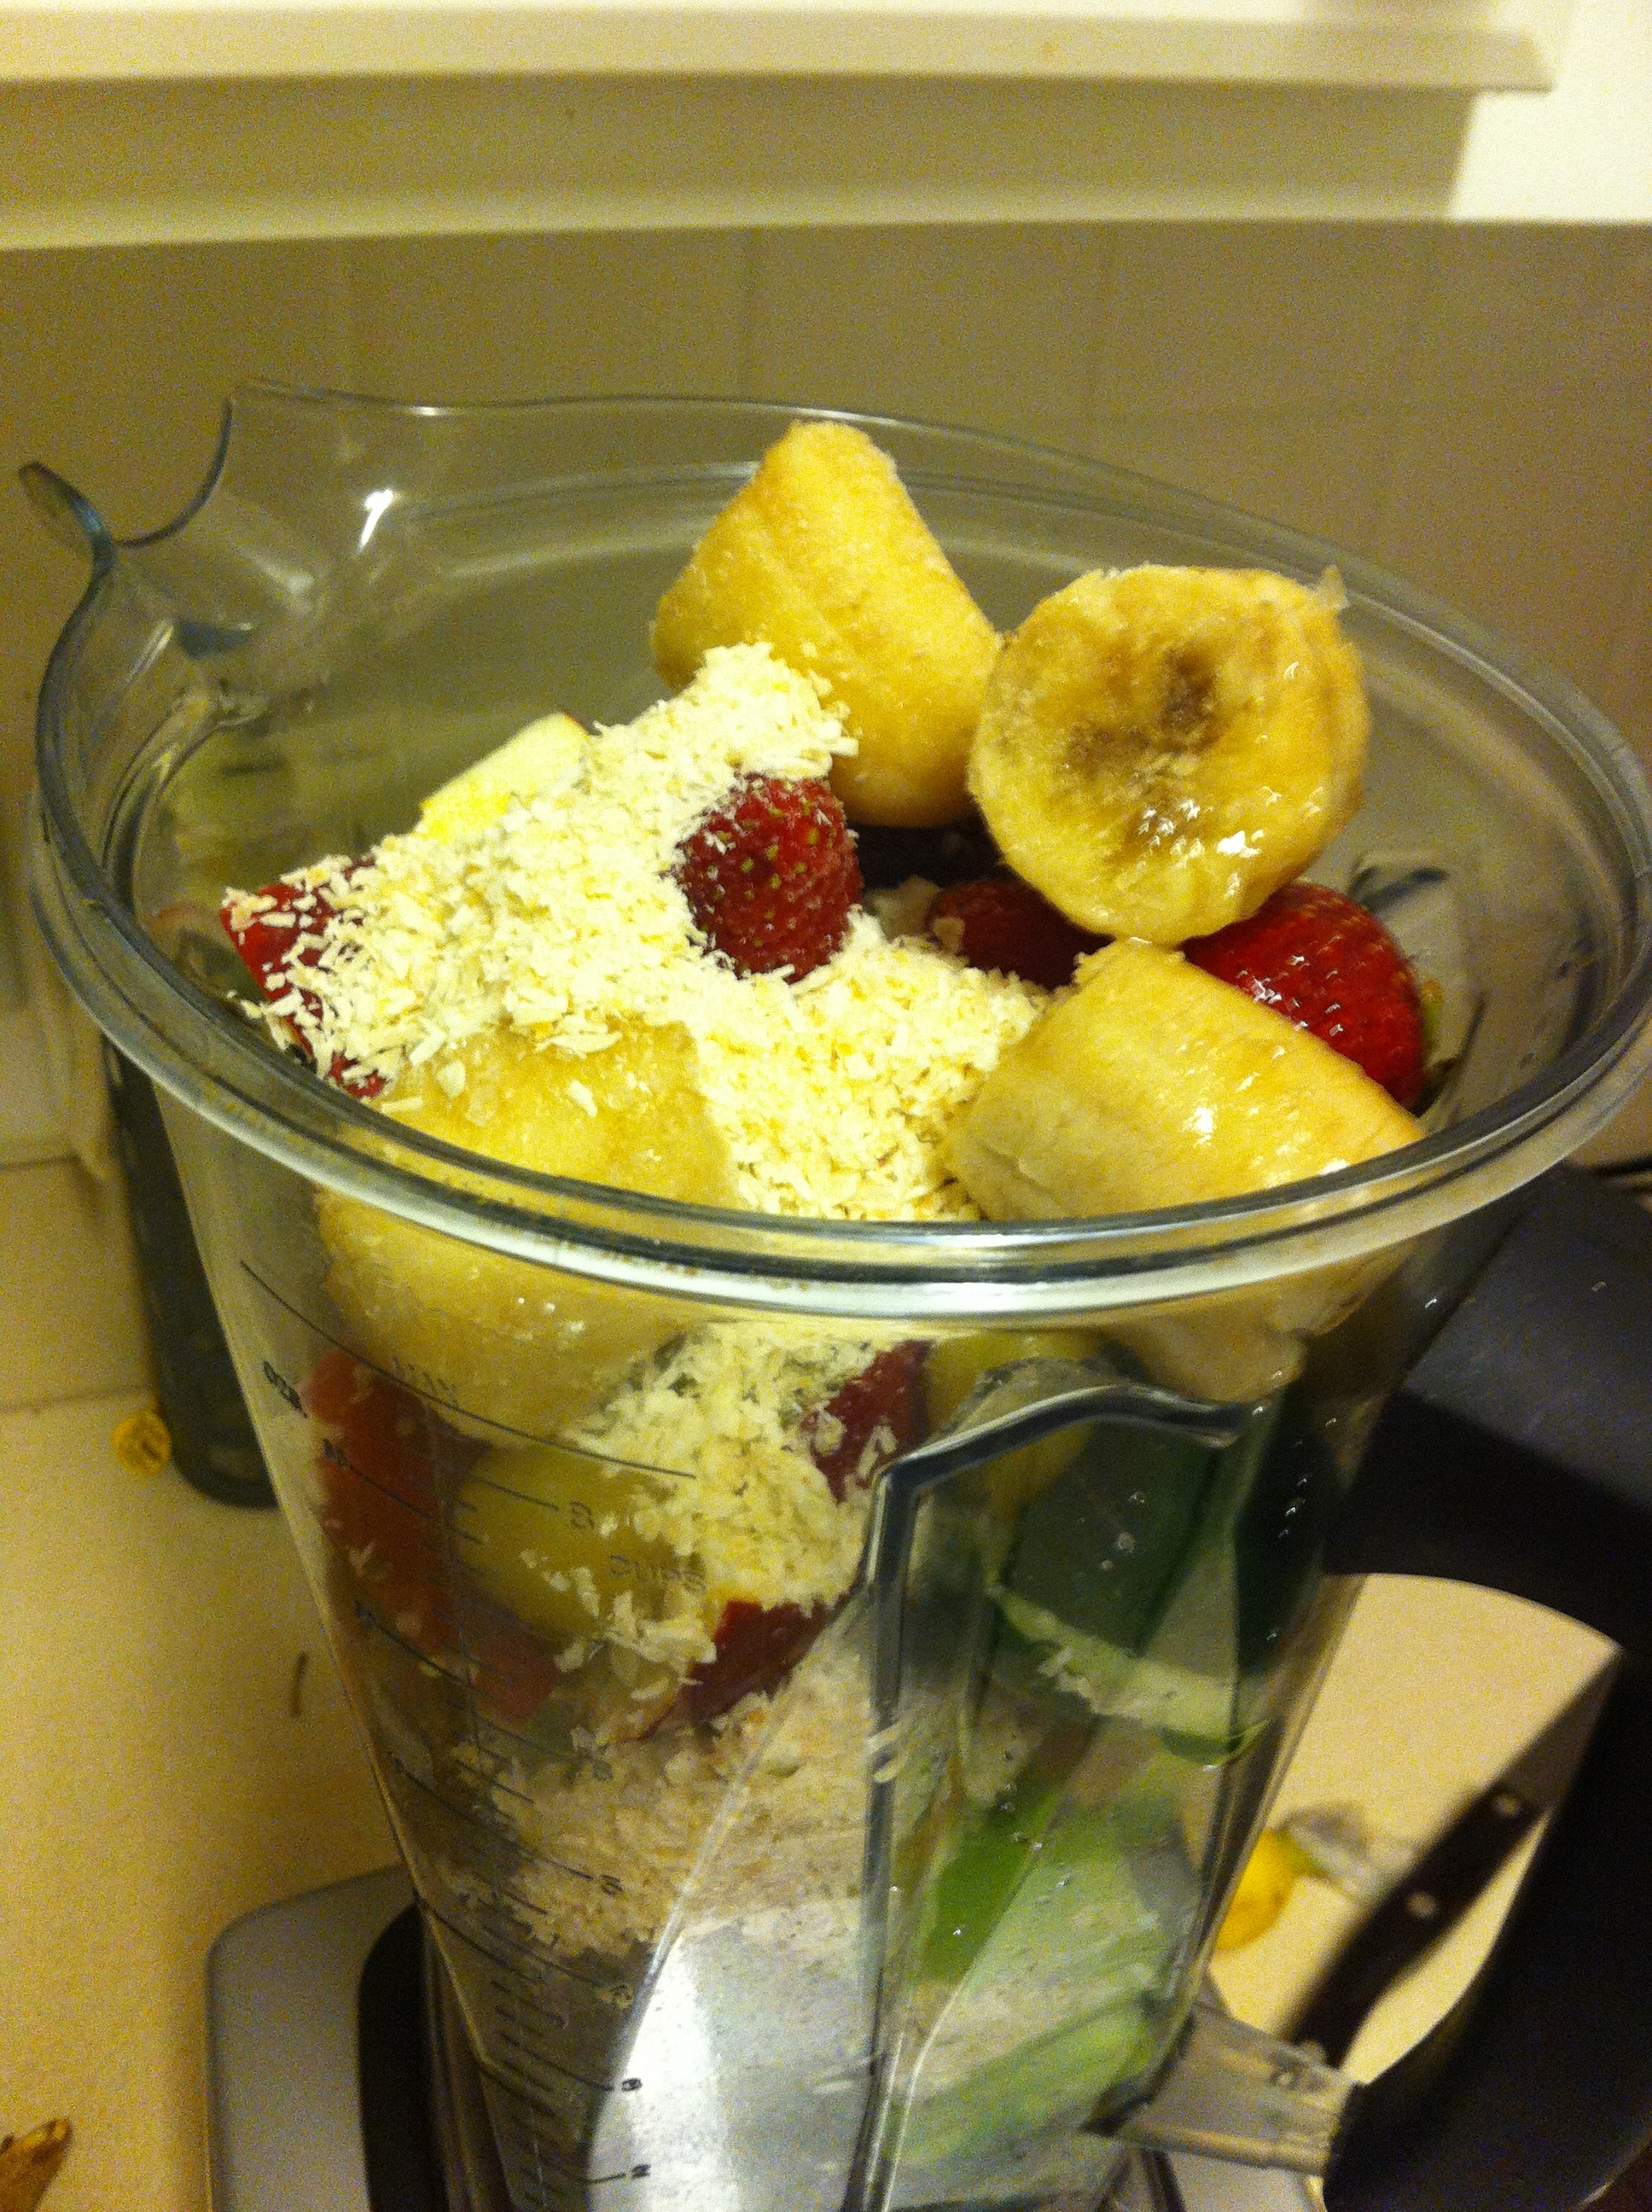
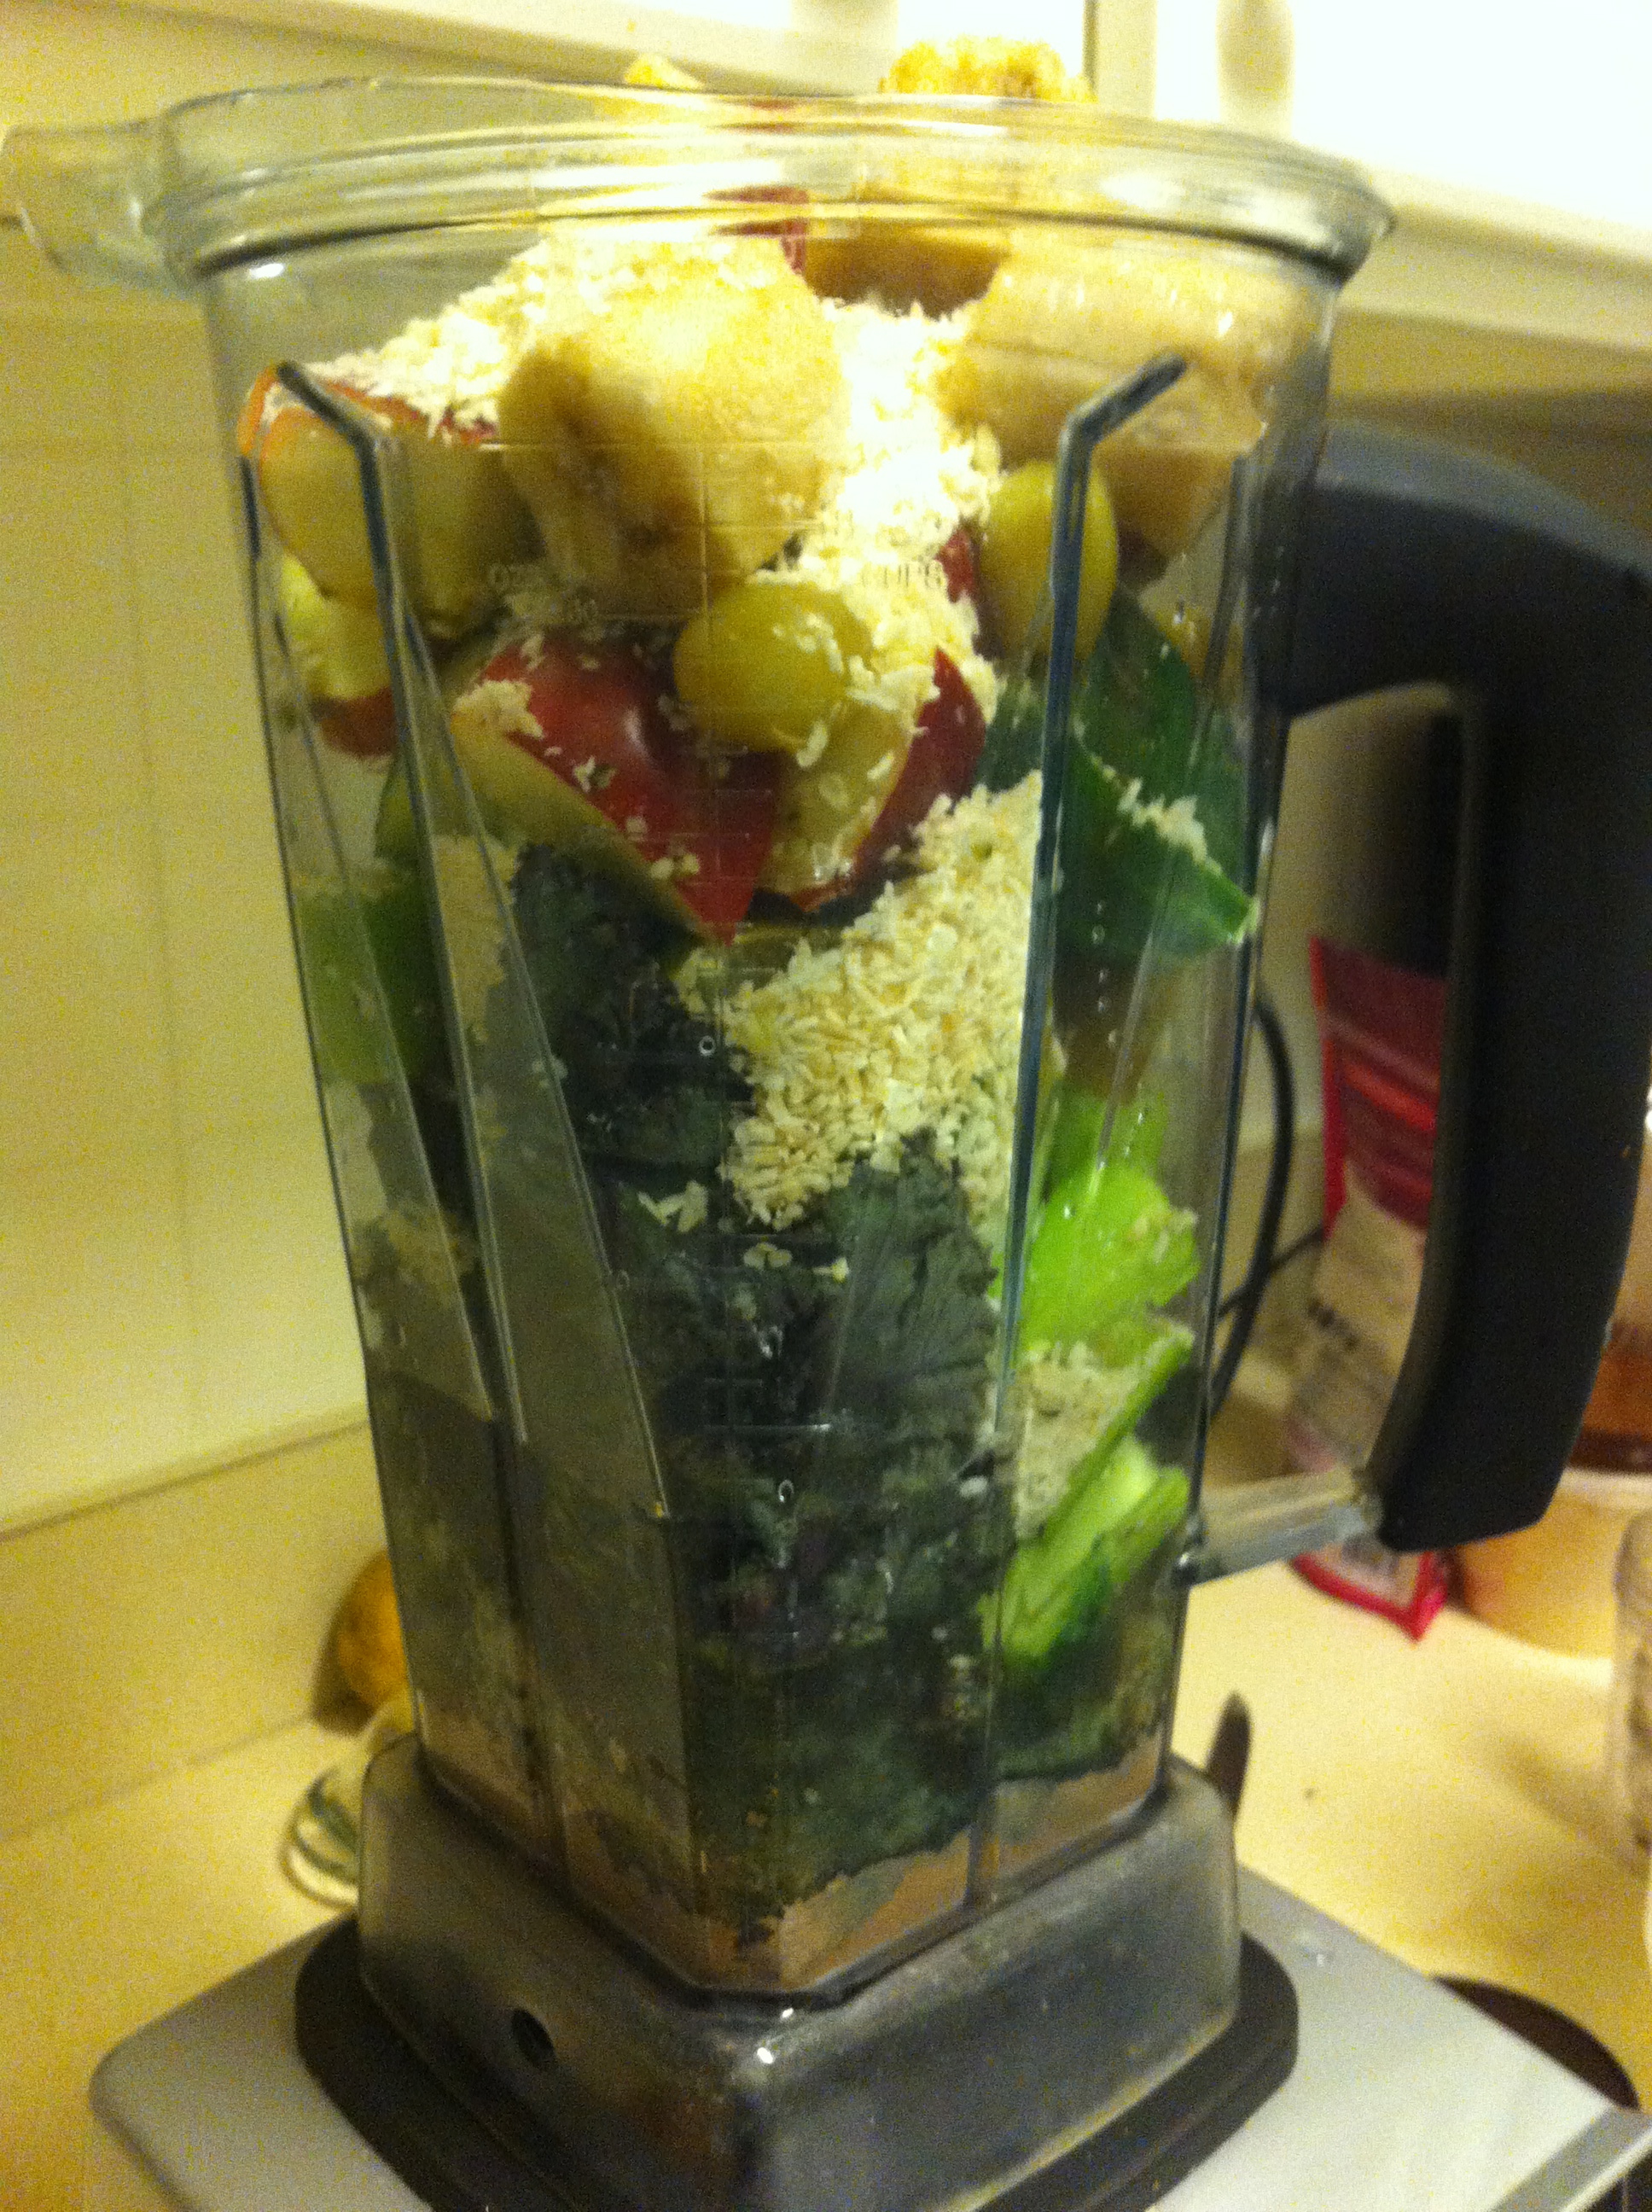
I have a Vitamix.  I just dump everything in, and then add spring water. I process on high till it seems like it is all mixed, pushing down with the tamper as needed.  I haven’t ever tried with any other brand of blender. You can let me know how it goes, or what modifications you have to make if you have a different type.

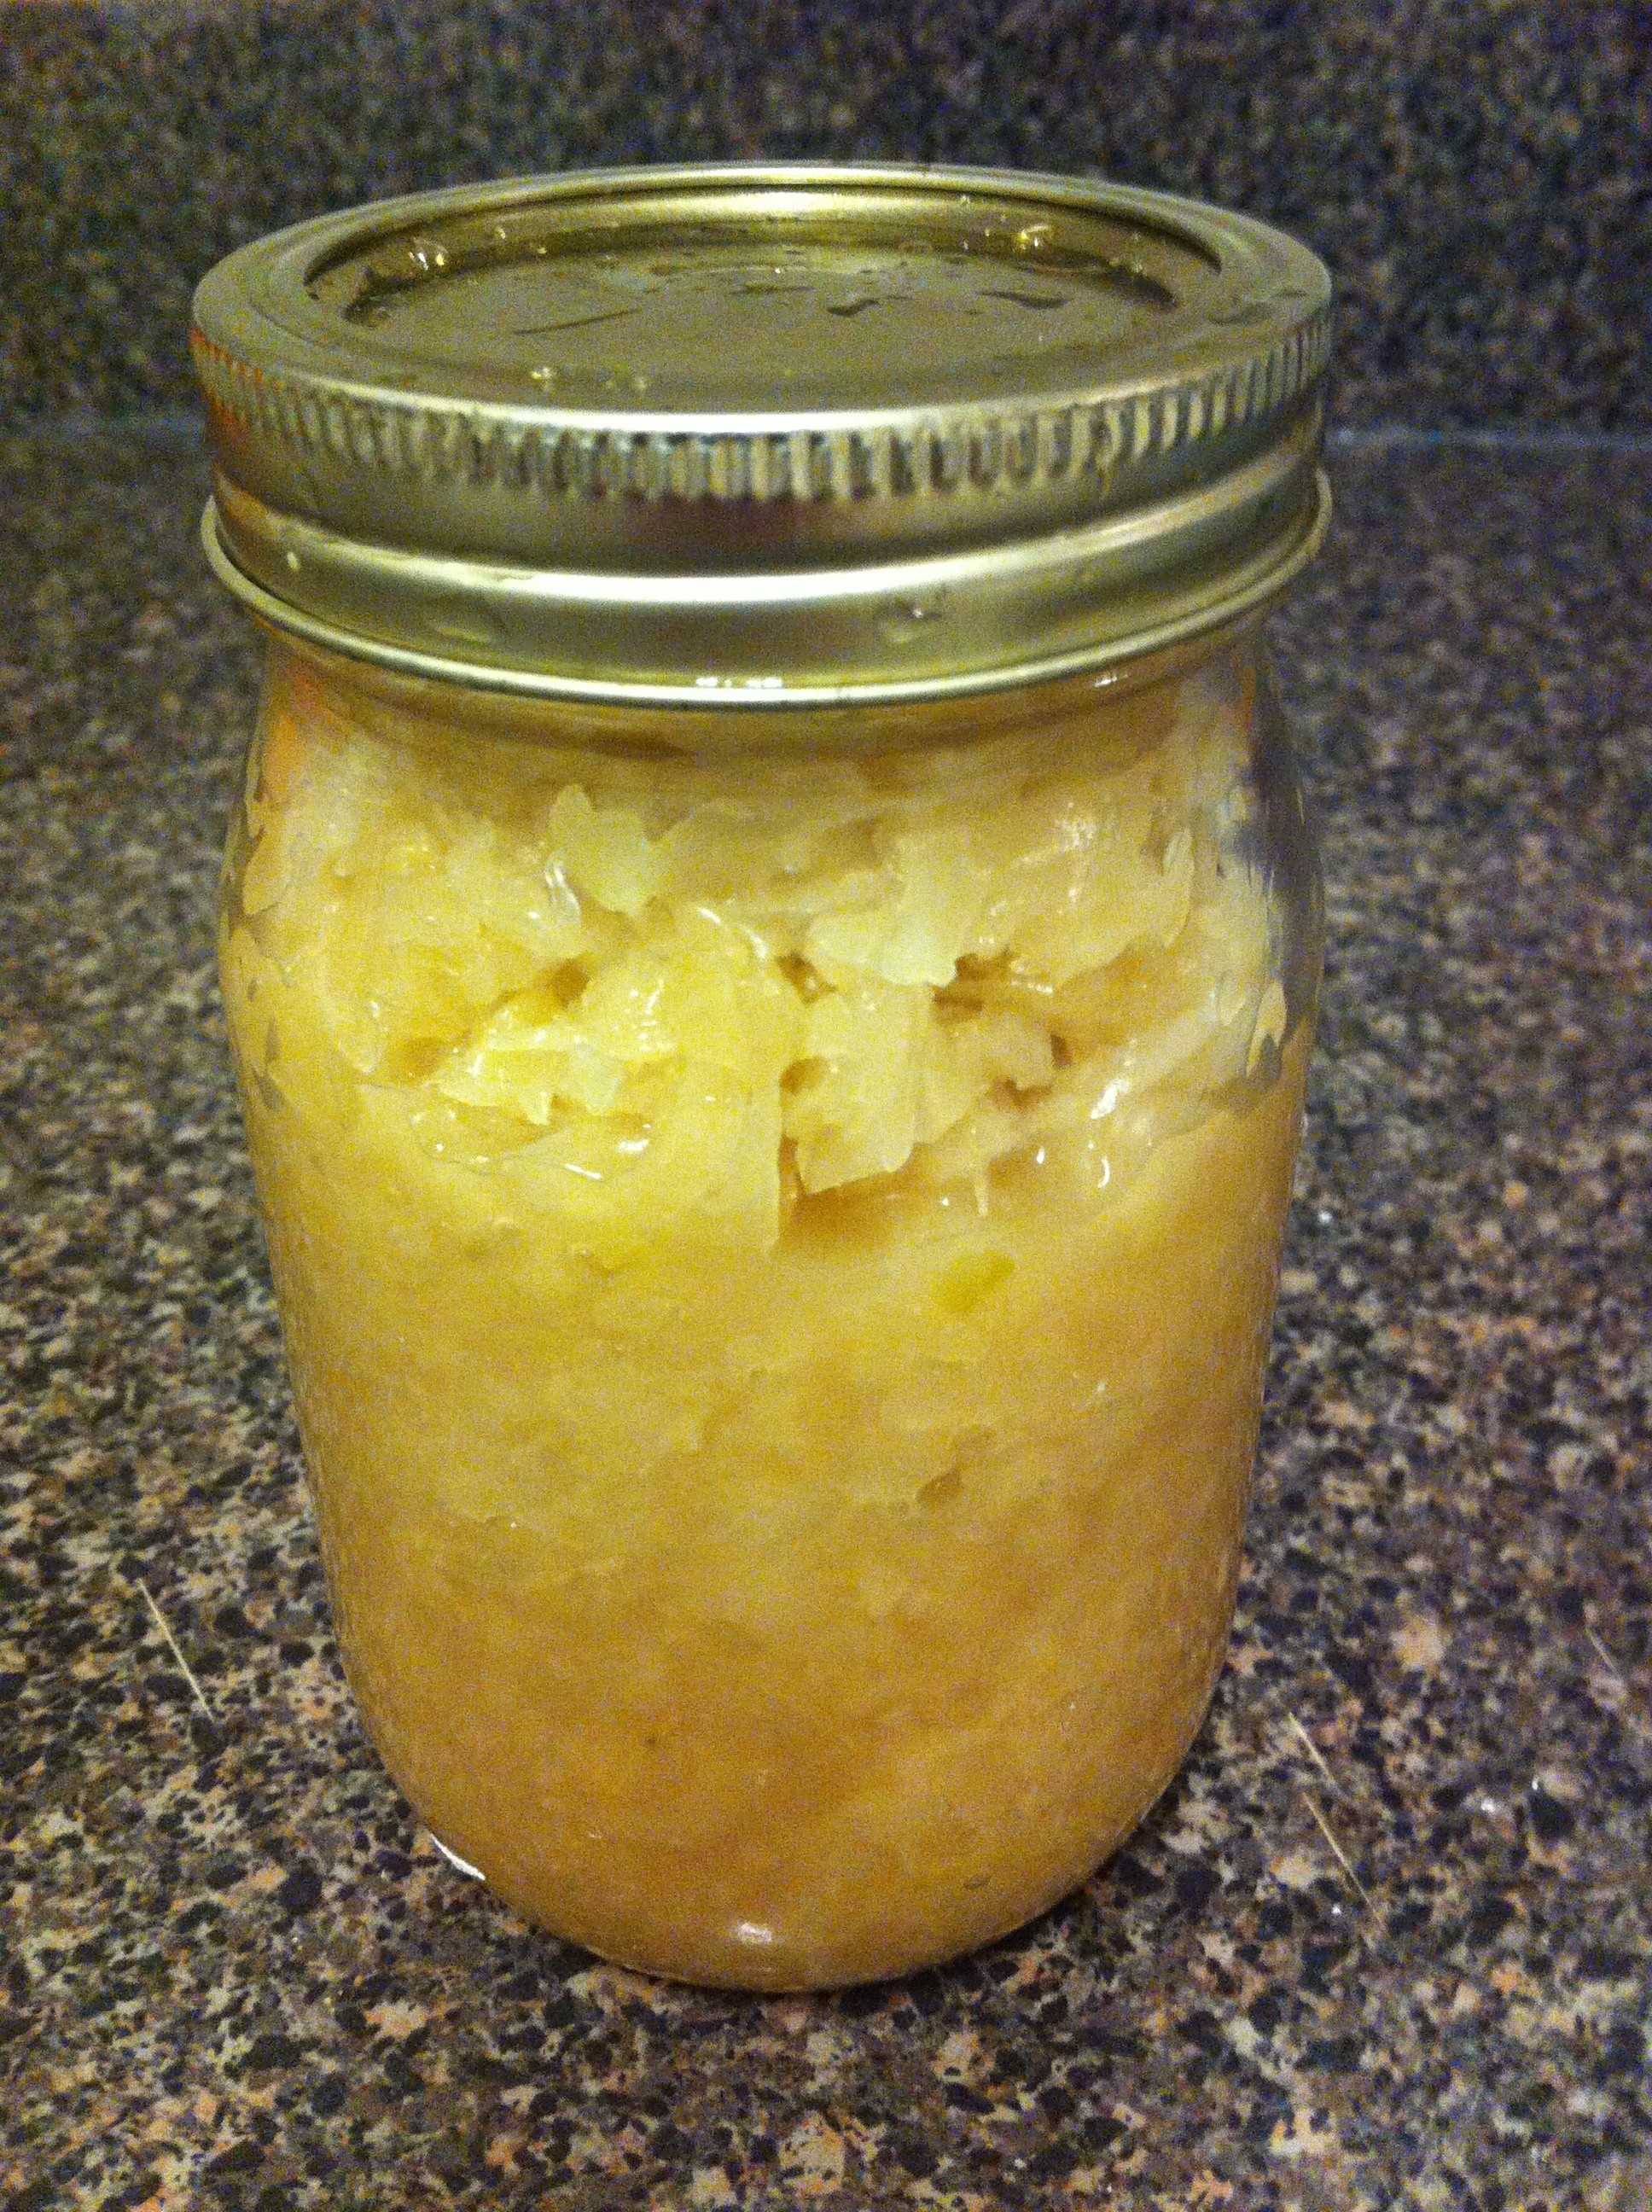
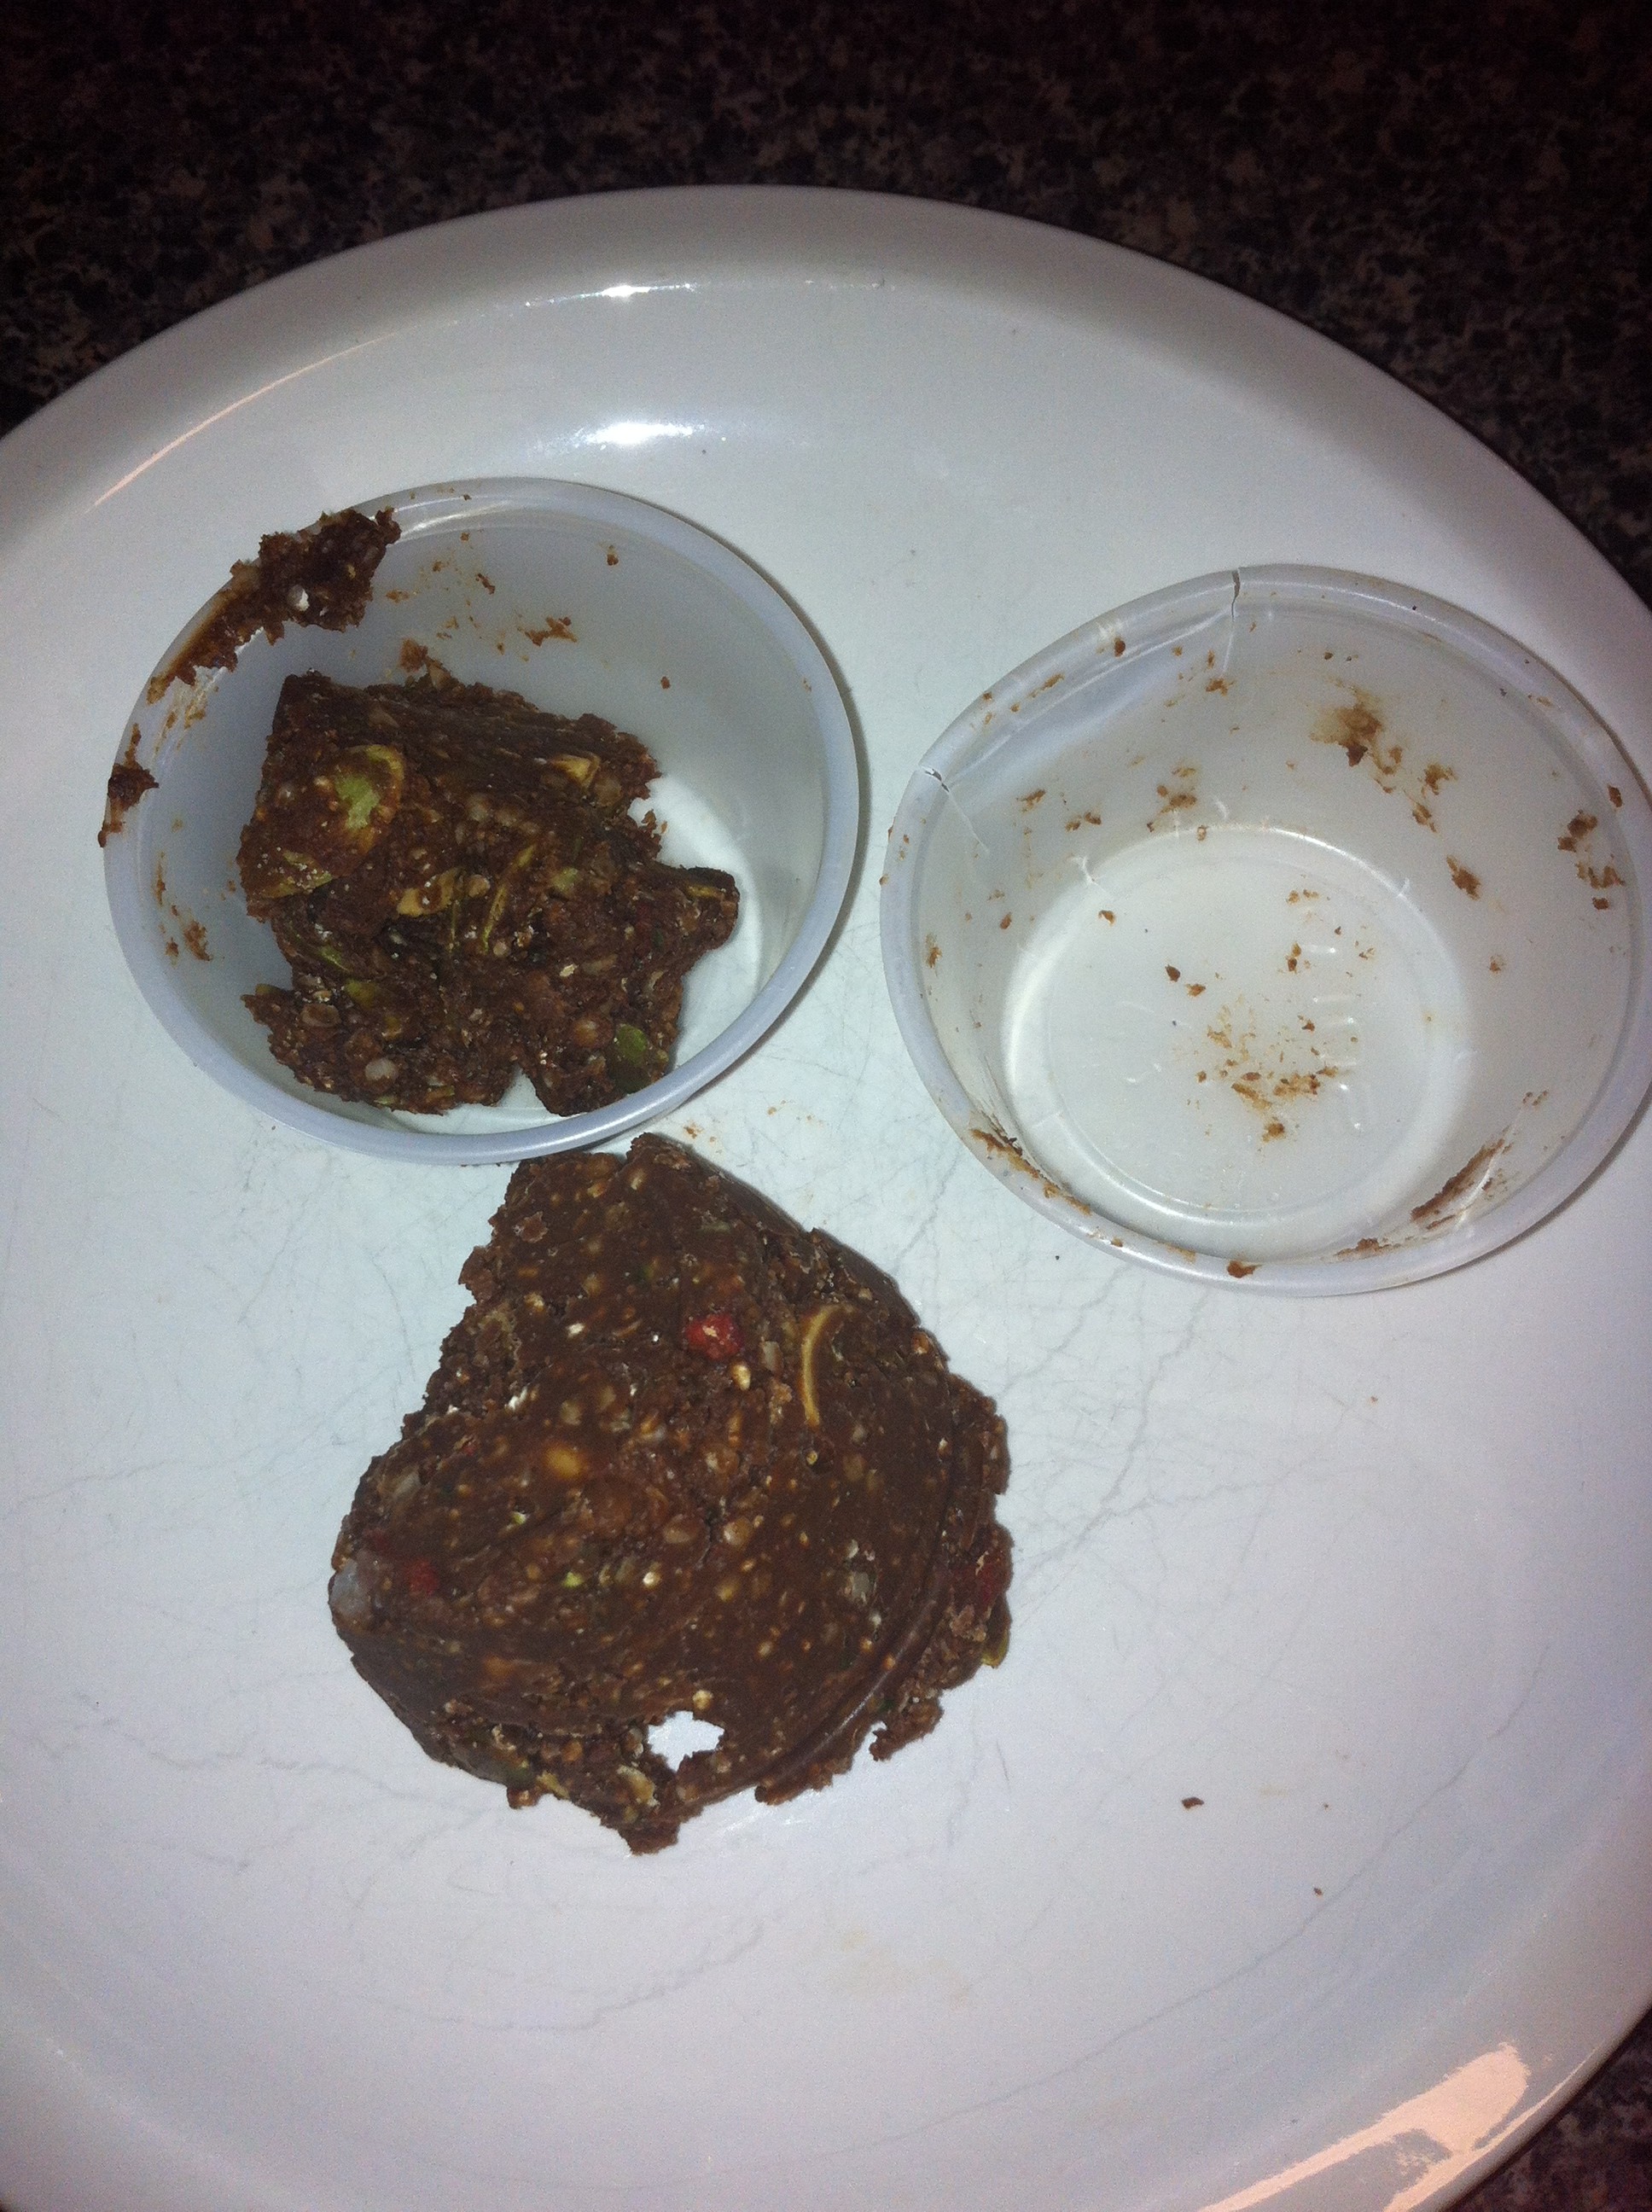
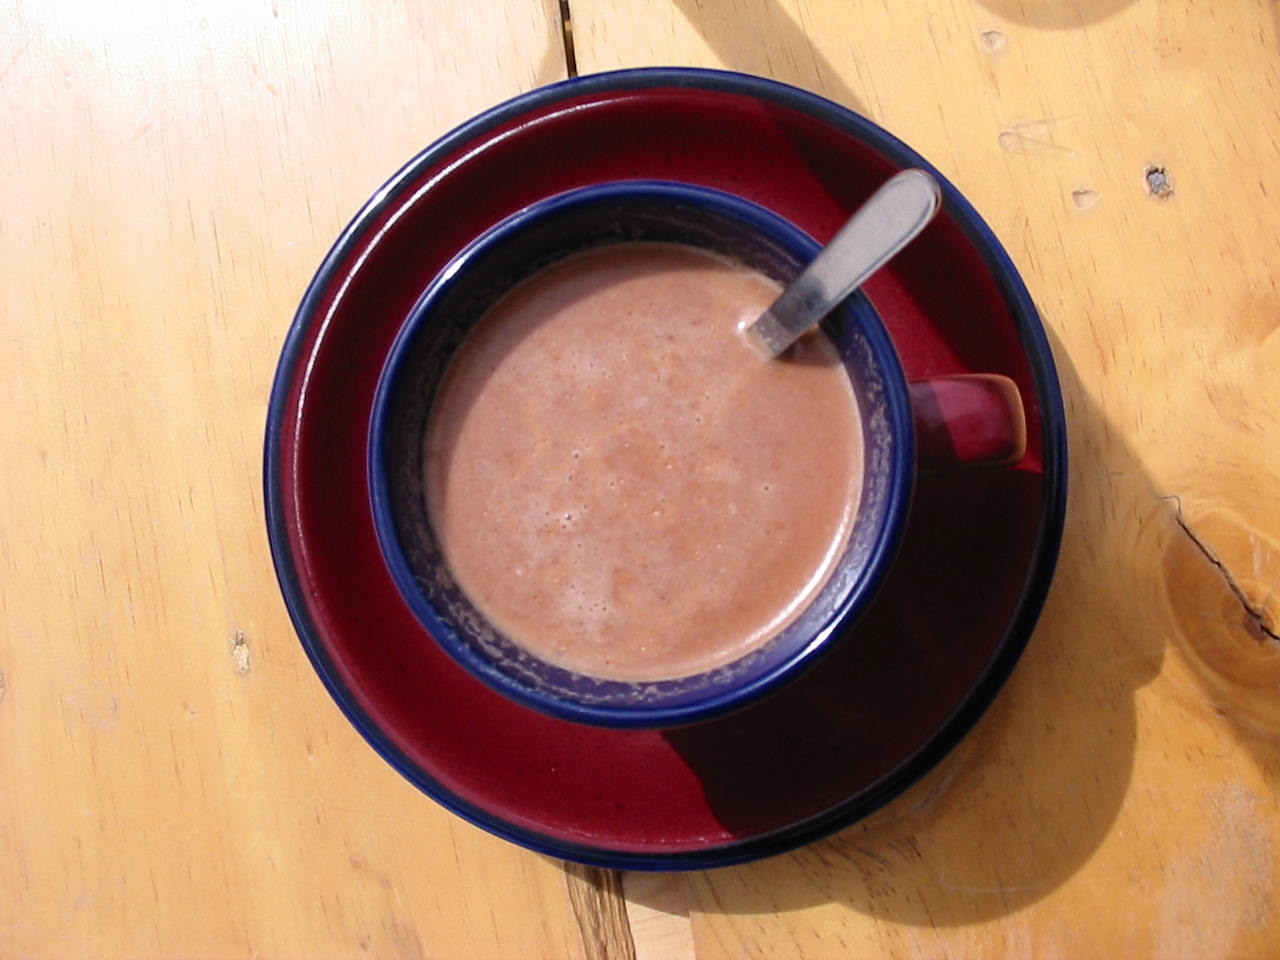
I distribute the mixture evenly among 4 x 16 oz containers (500 ml) and they are usually 3/4 full.  It makes enough for John and I to have one today and have two to put in the freezer for tomorrow.  For the freezer, if I remember to transfer it from the freezer to the refrigerator just before I go to bed, it is the perfect consistency in the morning.

Since organic fruit and vegetables are so expensive, I try to utilize every bit.  I sometimes collect the little bits of leftover apples, or celery and put them into a container and store in the freezer for the next smoothie.

IMG_0242

IMG_0244


I love my morning smoothie.  I love the taste.  I love the fact that the cucumber, celery and cilantro are naturally helping my body to detox.  I love the fact that the Superfoods are providing my body with nutritious dense ingredients.  I love how I feel all day long.  I love the fact that I’m not hungry for a long time and even if there aren’t too many options for lunch, I know my body has what it needs!

Tell me about your best habits that promote your health….

Future of Nutrition Conference

952189_52999227I love learning.

I’m passionate about health.

A free on-line conference taking place on 27, 28, 29, 30 and 31 January 2014.  This conference is providing an abundance of information on how to be healthy, happy and fit in 2014.  It is also about understanding how our brain works, how our bodies work and what signals we put into them through the foods we choose.

I am learning so much.  There are still 2 1/2 more days to enjoy this information for free.  Check it out.

Wherever you are in the world you can learn how to be healthier right where you are.  Learn how to be healthy so you don’t have to experience the “health care system.”


Healthiest Hot Chocolate EVER!

Hot chocolate

Easy, Easy, Easy.  

Delicious, Delicious, Delicious.  

Healthy, Healthy, Healthy.

I’m not sure why it took me so long to try this. Kids love hot chocolate. Truth be told, I love hot chocolate!  But the ingredients in most “hot chocolate mixes” make me shudder.  Why bother with them, when you can make your own and it REALLY IS NOT HARD AT ALL!  So just try it until your figure it out the proportions you like for yourself!

  • 1 mug full of raw milk (include lots of the top cream, if you like it)
  • 1 Tablespoon local raw honey
  • 1 heaped teaspoon raw cacao powder
  • pinch salt

Heat on low heat in a saucepan, whisk the cacao powder into the milk a bit – avoid touching the whisk to the sides or bottom of the pan – or stir with a wooden spoon. Heat until it is the temperature that you like.

Drink and enjoy!  You can vary the amount of honey and cacao powder.  You can add a pinch of cinnamon.

Everyone is going to love it!

Experimenting with Raw Chocolate – Again!

Raw Chocolate ExperimentThis version of my Raw Chocolate earned high praise from my daughter, “Mom, these are the best you’ve made!”

My friend asked me to share a recipe for raw chocolate.  One challenge I have with recipes is that you have to write down what you do in order to be able to do it again! Raw chocolate is something you can experiment with.  It is really good, and good for you.  Raw Cacao powder is loaded with minerals and has an outrageously high ORAC score.  Coconut oil is a healthy fat which provides more benefits than I can explain!

Just make it – and eat it and enjoy!

In a small saucepan combine, and melt slowly on the lowest heat possible (or you can use a double boiler). Quantities are just rough guidelines. Use what you have.

  • ±½ Cup peanut butter (organic ground peanuts)
  • ±¾ Cup coconut oil
  • ±¼ Cup or more raw local honey
  • ±¼ Cup cacao butter (if you can find any)

Blend in blender or finely chop and add to the above mixture when it is fully melted:

  • ¼ – ½  Cup  coconut flakes (unsweetened)
  • A handful of goji berries
  • 10 whole cacao beans, or cacao nibs
  • ±¼ – 1/2  Cup pecans, walnuts and/or cashews

Add:

  • A sprinkle of cinnamon
  • A pinch of salt
  • 2 Tablespoons hemp seed
  • ¼ – ½ Cup Raw Cacao powder
  • raw organic oats

Stir together and put into silicon chocolate molds, a glass dish or BPA free plastic containers.  Put into the refrigerator (or freezer if you need it quickly) until hard. You can keep the chocolate in the refrigerator or the freezer, cut into pieces as needed.  Raw chocolate melts easily, so don’t hold it in your hands for long!

If you don’t have any cacao butter, goji berries, cacao beans or hemp, just leave it out! Don’t let, “not having all the ingredients” keep you from experimenting with delicious Raw Chocolate.  I add these superfoods, when I have them, to boost the nutritional value.  If you do leave them out, you might need to add more cacao powder. You can vary the type and quantity of nuts depending on what you enjoy.  In fact, you can vary most everything! My daughter-in-law didn’t believe it when I told her that you can’t mess up this recipe.  She was thrilled with the chocolate she made and said “It’s so rare for a recipe to work for me!”

Happy Grandparents June 13Author: Becky Hastings, wife, mother, grandmother, passionate follower of Jesus Christ and truth seeker, especially in the areas of health and children. Facing a world quite different from the one in which I grew up, I seek to research and understand the true route to health, freedom and joyful family living!

Superfood Rich, Guilt Free, Chocolate Ice Cream

chocolate ice cream

I quickly need to write down my recipe so I don’t forget how to create this frozen deliciousness!  It was 100% an experiment with no outside input.  I did read about raw cacao last night from David Wolfe’s Superfoods – which is probably where I got the inspiration.  Or maybe I dreamed it up during the night.  Anyway, first thing this morning I just had to try mixing the following ingredients together in my Vitamix (like most of my recipes, everything is more or less – an approximation.  I apologize to those for whom this drives them crazy, i.e. Gary).

  • 1-2 Cups of raw milk with lots of cream included (don’t tell my microbiologist husband).  (I think it was actually 1 1/2 Cups, but I didn’t measure)
  • 1/2 Cup coconut* oil (I did not melt it, I might try melting it next time)
  • 1-2 Tablespoons flake coconut*
  • 1-2 Tablespoons goji berries*
  • 1-2 Tablespoons hempseed*
  • 1-2 Tablespoons honey*
  • 5 heaped teaspoons (Menchies plastic spoon) raw cacao powder
  • pinch Himalayan salt
  • 10 or so almonds (save till last)

I added everything to the Vitamix and blended for nearly a minute, then I dropped the almonds in last in the hope that some of them wouldn’t get too blended.  I was hoping for a bit of crunch.

If you don’t have a Vitamix you can either blend or grind or chop the chopable ingredients and then shake everything else together.  The hard part is distributing the coconut oil evenly throughout, which is why melting it might work better.

I then poured it into some empty Talenti gelato containers.  My plan was to put it in the freezer and shake it every so often on its way to getting frozen.  I only managed one shake before I had to go out.  It doesn’t have a genuine smooth creamy ice cream consistency, but it is GOOD!  Now my ‘reluctant to enjoy truly healthy foods’ thirteen year old daughter, was not quite as excited about this concoction as I was, so it may have more appeal to those already enjoying their journey towards health!  Truly, I think it was better than any chocolate ice cream around – because I know every ingredient is good for me and it wasn’t too sweet.  But we have to allow for differences of opinion and also growth!

* The ingredients marked thus are all listed as the top 10 Superfoods according to David Wolfe.  Count them – there are 5 different super nutritious foods in this unique frozen blend!  I tried to think of as many of them as I could that I had available and that would add to the flavor and nutritional content of this delightful dairy blend. Next time I hope to add Maca Powder.

Did you know?  Some of the benefits of raw cacao:

  • it is off the charts for its ORAC score (which means it is VERY HIGH in antioxidants –  about 100 times higher than blueberries)
  • it is a natural great source of magnesium – which is great for so many reasons
  • it is a natural appetite satisfier – which means you won’t feel so hungry
  • it has a lot of other good minerals too – in fact, it’s like taking a mineral supplement!
  • it makes you feel good!

That’s all I can tell you from memory, but I do recommend reading Superfoods.

Top 10 Superfoods:

  • Goji Berries
  • Raw Cacao
  • Maca
  • Bee products, including Honey
  • Coconut
  • Spirulina
  • Hempseed
  • Aloe
  • AFA Blue Green Algae
  • Marine Phytoplankton

Please experiment and let me know how yours turns out.  It really was super super easy and super super nutritious!  You can do this!  Let me know if you enjoy Superfood Rich, Guilt free, Chocolate Ice Dream!


Raw Chocolate Revisited

2 piecesThis is a great way to eat coconut oil and cacao deliciously! Coconut oil is a great healthy fat. It will help you beat your cravings, with a lot of other benefits. Cacao has so many minerals that it is like having a mineral supplement!

The following quantities are approximate only!  More or less of anything doesn’t impact too much.  I don’t usually measure too fastidiously.

Melt together in a double boiler, or in a bowl placed into a pan of hot water over a low heat on the stove. Raw chocolate must not be heated too hot or the nutrients will be destroyed.  Just melt it so you can mix it well.

  • 2 Tbl organic coconut oil
  • 1 – 2 Tbl local organic honey

Optional, but highly recommended:

  • ground peanuts (i.e. peanut butter) or other nut butters

Optional:  Cacao butter or cacao paste, if you can find it or afford it.

Remove from the heat.  Add to the coconut oil mixture:

  • Himalayan salt, a couple of turns
  • 1/3 – ½ Cup cacao powder (the more, the higher the % dark chocolate)
  • 1/3 – ½ Cup pecan or almond nut flour (optional, when I have it)
  • ½ – 1 Cup unsweetened coconut (flakes or shredded, or both)

Stir thoroughly with wooden implement.

More options:

  • ± ½ Cup Cacao nibs,
  • cashews,
  • pecans,
  • goji berries,
  • cranberries,
  • raisins,
  • espresso bits,
  • fresh ginger finely chopped,
  • cinnamon,
  • orange or lemon peel,
  • chili.

Use your creativity to mix and match your personal favorite flavors. Look at combinations in some processed chocolate bars and experiment. If you want a great energy bar, add hemp.  But be sure to only eat the hemp bar early in the day or else you might not sleep too well!

Stir everything together and pour into a suitable dish (or chocolate molds), either glass or BPA free plastic.  If needed, press down into the corners. Allow to set in the refrigerator (or faster, in the freezer).  Cut into pieces and be careful not to eat too much!  You also might have to hide it from other family members – or else you might go looking for it and find an empty dish – it’s happened to me!

Also, raw chocolate will melt on your fingers – so warn people. It needs to be eaten with clean fingers so you can lick all the deliciousness off!

Let’s do a chocolate collaboration.  What are your favorite options?