Healthy Snack

nuts

We all know that Snack Attack feeling!

My friend shared this great idea with me.  Whenever you feel hungry – like you want some sort of a sweet treat, mix together equal parts:

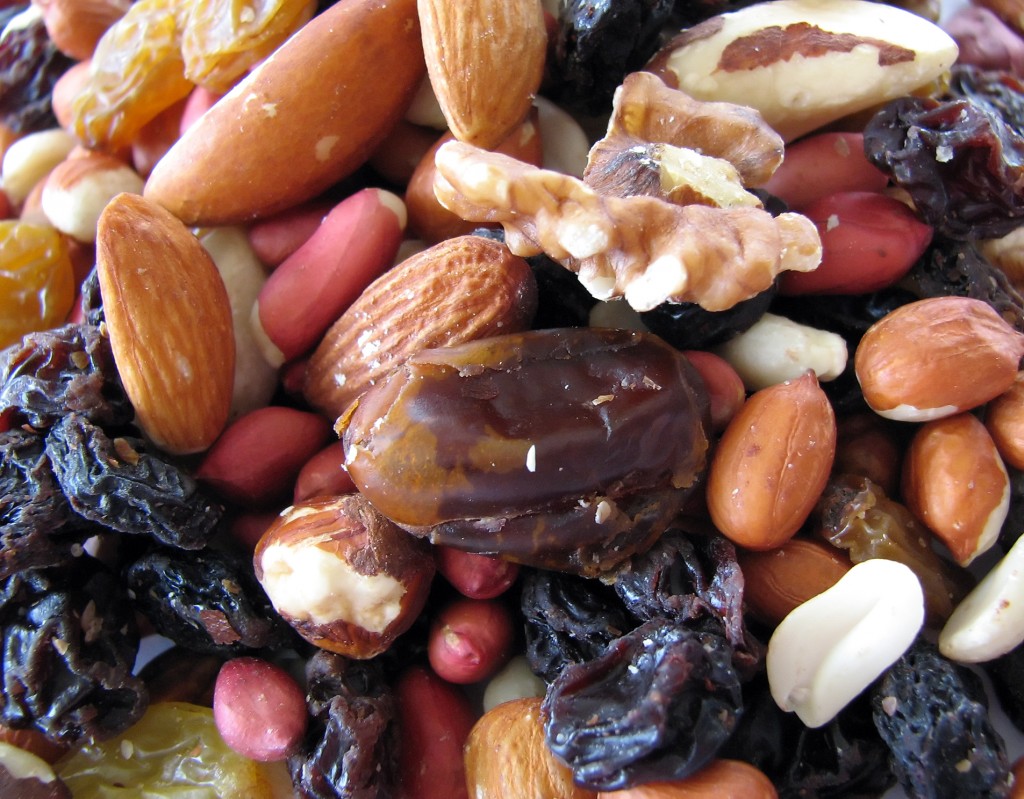
  • goji berries
  • cocoa nibs
  • raisins
  • Brazilian nuts
  • sunflower seeds
  • pumpkin seeds

in a big glass jar, shake and grab a handful – or two (maximum is two!)  And your cravings will be gone!

I’m sure you could try different ingredients, like walnuts (brain food), cashews, almonds, coconut flakes, cranberries, whole cacao beans, etc.  But since my friend is such a great researcher, I think she might have specific reasons for each of her selections!

I like to do a mix something like this for my husband to keep in his briefcase so he’s not tempted to have processed food snacks at the office!  It’s also great to have a mix like this on long road trips. If I’m driving I always like a constant supply of snacks to help me keep awake and paying attention!


Basic Granola

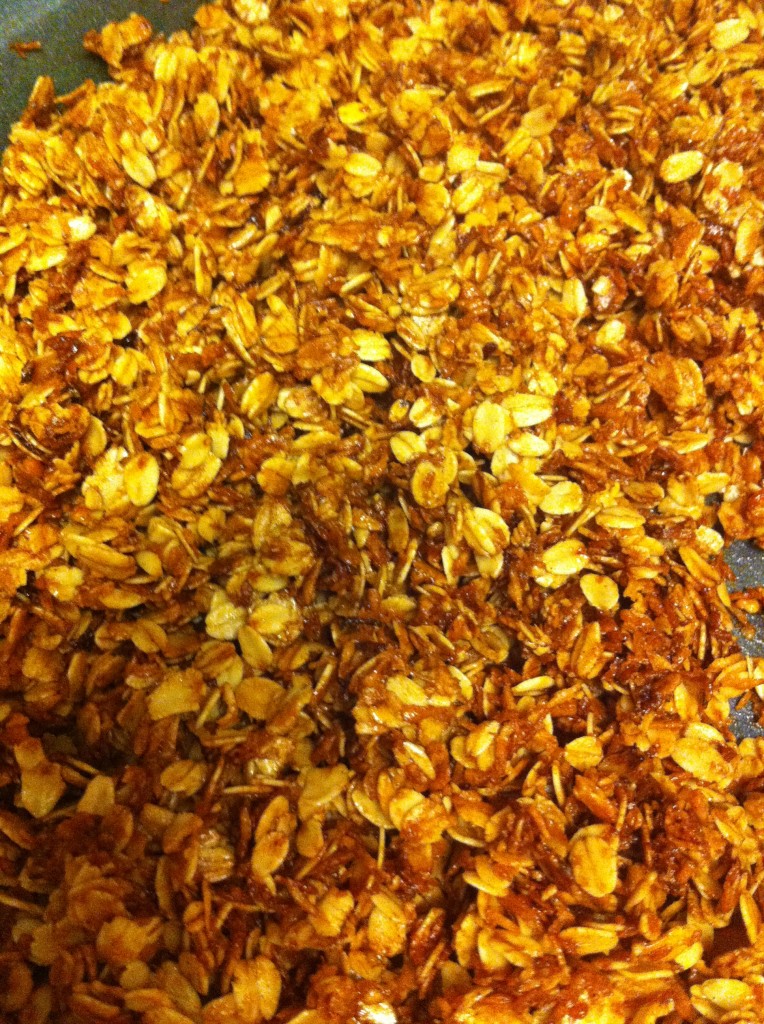
IMG_0898Easy, delicious, nutritious, must be more economical than buying the best you can buy in the store, but I confess I have not done a cost analysis!

I have made granola for my family for years.  With five children it was one of the most obvious healthy economical things I could do.  I loved a recipe I got from the Tightwad Gazette.  Also, since I never bought cereal for them because of all the yuck ingredients, I had to have something to give them for breakfast!  (I confess, before my enlightenment, I went through a long phase where I did buy corn flakes, but only corn flakes.  They would have corn flakes with granola on top!)

When my first two boys were small I only purchased fruit flavored yogurts.  I had one friend who had a toddler who happily ate plain yogurt and I thought she was a freak!  Now I only buy plain yogurt – and have been for years and everyone in the family enjoys combining their own breakfasts with plain yogurt, fresh and dried fruits, nuts, seeds and granola. I am now  making my own kefir so soon I can stop buying large factory produced yogurt!

Since entering my current ultra health (aka crazy) phase I have stopped eating wheat and then removed oats and I feel SO MUCH BETTER that I have never wanted to eat them.  My family, however, still enjoys granola so I have been buying the best organic brands I could find and wincing with every expensive purchase!  I have been contemplating making my own and wondering how to incorporate coconut oil, which is also part of my ultra healthy phase.  Recently my friend shared this great simple granola recipe and I admire her a lot, so I was inspired to start making granola again – immediately!!  This is what I did, including some slight modifications, because it is impossible for me to follow a recipe!

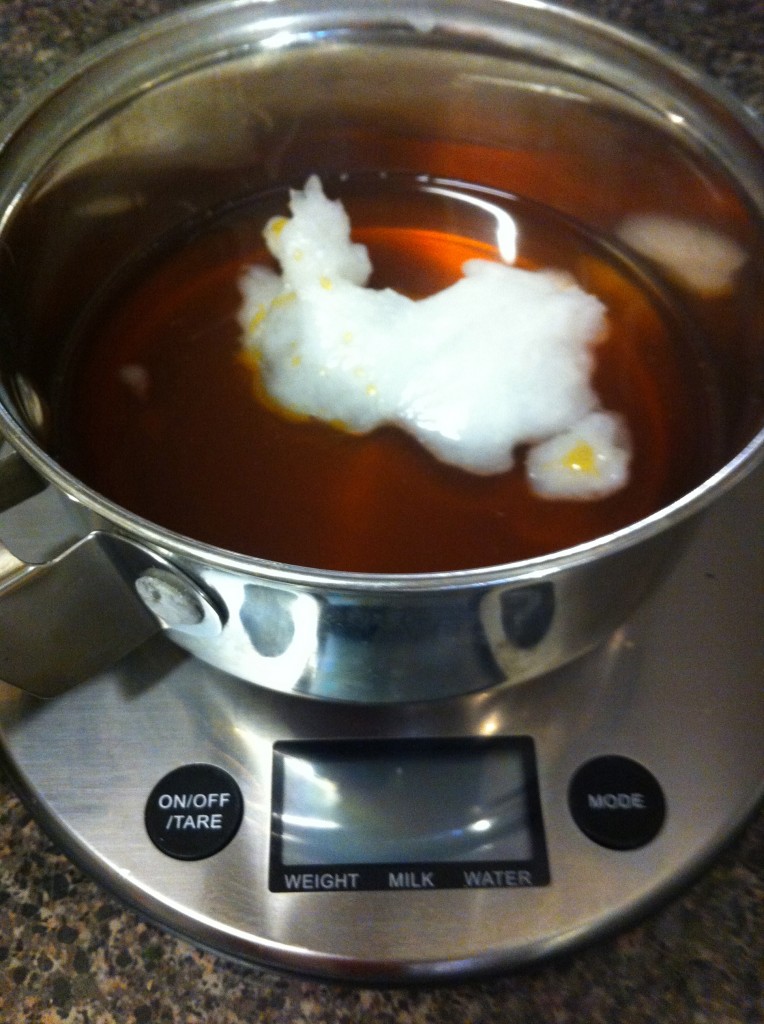
In a saucepan melt over very low heat, stirring with a wooden spoon:

  • 1/2 Cup coconut oil
  • 1/2 Cup honey

IMG_0896

Because I hate wasting ingredients in measuring cups, I just eyeballed the amounts straight into the pan!  I weighed the pan first, then weighed it while adding the ingredients to give me an idea if I had it right!

I just melted it until it was able to mix thoroughly, then I added 1 tsp vanilla.

IMG_0897In a bowl, mix the following dry ingredients:

  • 4 Cups old fashioned rolled oats
  • 1 Cup shredded coconut
  • a few shakes of cinnamon
  • a few turns of Himalayan crystal salt

Pour mixed coconut oil mixture into dry ingredients and stir thoroughly.  I baked it in a roasting pan for 10 minutes on 400 degrees F, then turned the oven off, stirred the granola and put it back into the hot oven for another 10 minutes.   after you have achieved the brown color you are looking for, be sure to stir the granola one last time to prevent it from cooling and sticking to the pan!  Next time I think I will go for a lower slower cooking.  The mixture got a bit too brown, and I remembered it’s always better to cook low and slow!

IMG_0899

There was a delicious smell in the house while it was baking and the test taste was great!

I can tell that I might be experimenting often with this recipe!  You can eat granola plain as a snack, with yogurt, fruit and nuts, or sprinkle on top of your Chia Porridge! The family is sure to love it! And I may even incorporate a bit of oats into my crazy hectic nutritional plan!

This recipe made 32 ounces of wonderful granola.  I’ll try to work out a costing, but I’m pretty sure it is a lot more economical and better than what you can buy!  And it is filled with love for those you love!

Super Breakfast

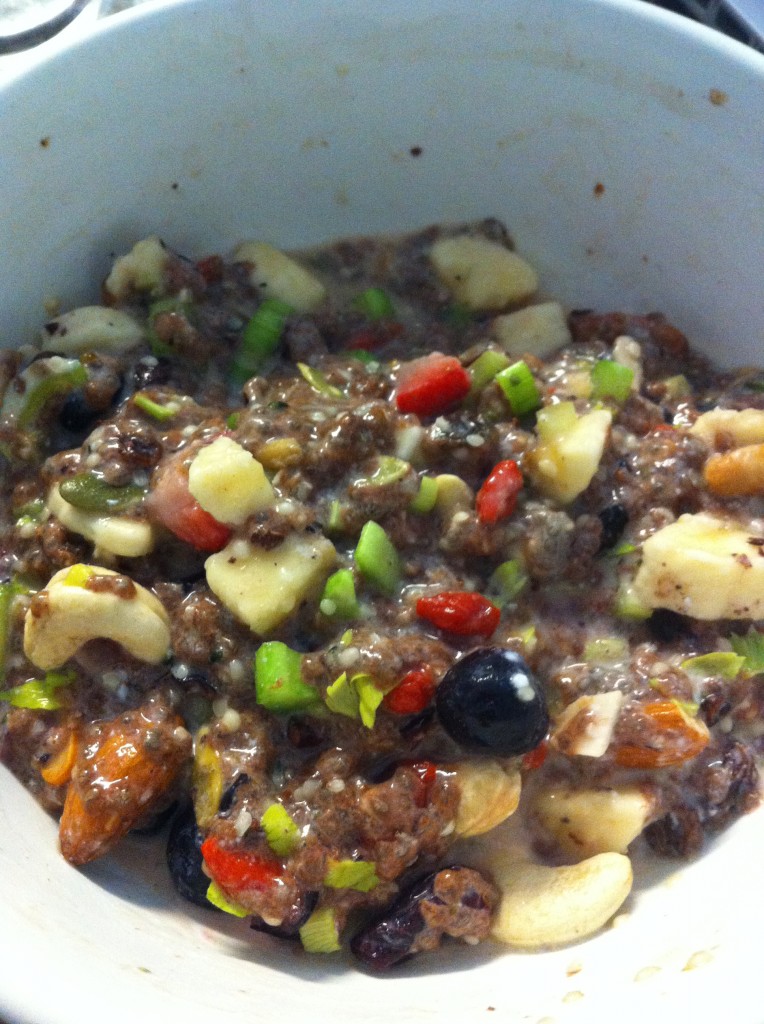
Chia porridgeI’m not sure if that picture looks really really appetizing, but it is delicious AND amazingly nutritious!  My friend Simela motivated me to experiment even more with

the idea of “Chia Porridge”

I decided to have Chia Porridge for lunch.  It is super easy to make.  But you and the kids might prefer to have it for breakfast! I’m giving you the quantities for one serving, to make more just use a bit more of everything!

  • 1 Tablespoon chia seeds
  • water to cover the seeds

Allow the chia seeds to sit for 10-15 minutes and they will soak up the water and become gelatinous!  So do that first while you are collecting all the other ingredients and chopping whatever you like.  Or, make yourself a cup of tea!

  • 1 tsp cinnamon
  • 1 tsp cacao powder (optional)
  • 1 tsp lucuma powder (optional)
  • raisins
  • cacao nibs
  • honey
  • yogurt, kefir or nut milk of your choice

I also added cashews, almonds, frozen blueberries, 1 chopped frozen strawberry, 1/2 chopped banana, dried coconut, goji berries, hemp seed and chopped celery (you can never get enough celery and I love crunchy things – and I was having this for lunch, and they do put celery in a Waldorf salad!).

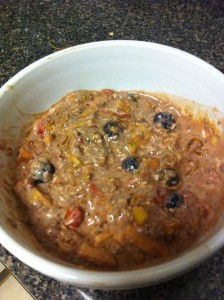
IMG_0900Here is a breakfast version I made for my husband: chia, goji, water, cinnamon, cacao, macs, honey, chopped apple, 2 chopped strawberries, blueberries, coconut, hemp, yogurt, kefir and a tad of homemade granola.

So, get creative and try it!  Stock your kitchen with healthy nutritiously dense items and then dream up new ways of combining them!  Let me know what you discovery in your experimentation!


Making Kefir

I’m assuming you know all the benefits of adding probiotics to your diet.  You’ve bought your own plain yogurt, bought plain kefir, even bought pro-biotic supplements and now you are looking for a more economical way to keep a regular supply of probiotics in your life.
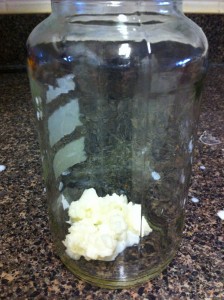
IMG_0843You are now ready to begin this new adventure of making your own kefir.  The first step you need is to find a friend who is currently making their own kefir and let them know you would love to have some kefir grains whenever they have an abundance.

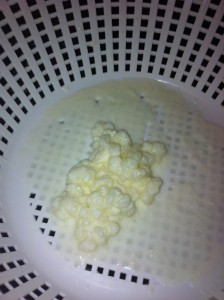
The word ‘grain’ is a bit of a misnomer because they are not ‘grains’ but more like cottage cheese curds that provide the positive bacteria to turn your milk into kefir.  You might not have to wait too long, so watch this video and prepare yourself.  You will need a couple of glass jars 16 – 32 ounces.

My friend gave me kefir grains in a ziplock bag with water to keep them hydrated. I wasn’t quite ready, so I put them in the refrigerator for a couple of days.  It turns out kefir grains are pretty hearty creatures and didn’t mind my neglectfulness!
IMG_0844

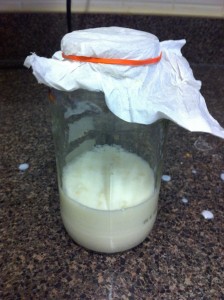
I started by draining the water off of the kefir grains and putting them into a clean jar.  I added about 2 cups of 2% organic milk, covered it with some tissue paper and a rubber band, and left it to sit on the counter for 24 hours.

The first batch took a bit longer than 24 hours (more like 36) and never seemed to get as thick as I thought it should.  The second batch was much better.  I started to get a bit overwhelmed with the amount of kefir I was producing, so for the next batch I only added one cup of milk.
IMG_0841

I have used raw milk and organic 2% milk from Kroger.  When I added only 1 cup, the kefir turned out a lot thicker – which I liked.

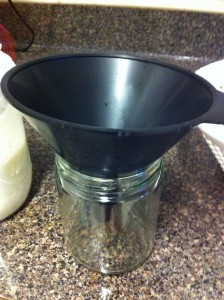
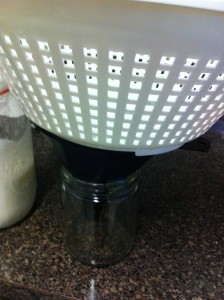
After sitting on the counter for about 24 hours it is time to strain the kefir, keeping the grains for your next batch.  I used a funnel (left) topped with a plastic strainer (below).  As the video mentions, it is preferable to strain it with plastic, or at least stainless steel.
IMG_0842

Pour the kefir into the strainer, and use a spatula to help push the kefir through.  Take the grains and put them in a clean jar to start all over again!
IMG_0825

It wasn’t too long before my grains had multiplied significantly and I had some to share with a friend!

Making kefir is a LOT EASIER than making plain yogurt.  It might not taste exactly the same, but to me, it is delivering all the good pro-biotics with very little effort.  It’s all about just keeping it going every day.

Many times I put the kefir into the refrigerator before I strain it. It can actually stay like that for many days. You can also strain and keep the grains in a small amount of milk in the refrigerator if you will be away from home for an extended time. To make the next batch, rinse the grains in pure water and start over.

Now my challenge is finding ways to use the kefir and trying to convert my girls from plain yogurt to kefir!  I’ve made kefir ice cubes for my morning smoothie, added as liquid to a smoothie snack and I even drank a whole glass just by itself!

I’d love to hear about your adventures with kefir!

More posts about kefir here, and here.

Author Becky Hastings, wife, mother, grandmother, health seeker and reporter. Becky shares health information especially to help parents raise healthy children. She loves sharing healthy recipes and kefir grains!

Chocolate Bar in a Jar

My hope is that this simple recipe will be made and enjoyed by my grandchildren for years and years!

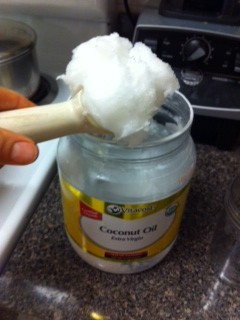
Start with an empty jar.                                              Put in a big scoop of coconut oil.

 2 coconut oil1 jar


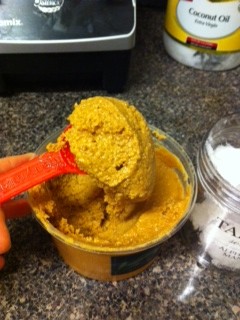
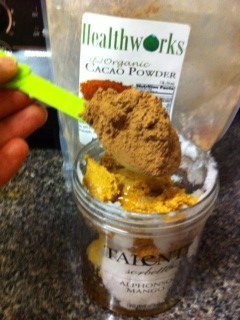
Add 2 spoons of all natural peanut butter.  Add two heaped spoons of raw cacao powder.

3 peanut butter

4 cacao powder


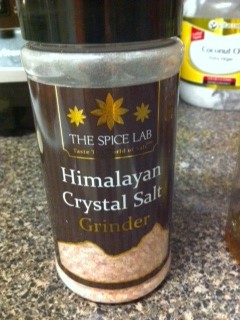
Add a generous spoon of honey.                                Add a pinch (or twist) of salt.

5 honey6 salt


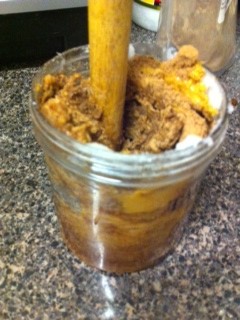
Mix it all together.                                                       Enjoy.

7 mixing8 eating


Other wonderful ingredients you can add:

  • raisins or other dried fruit (or even fresh berries)
  • seeds or nuts (pumpkin seeds and walnuts are what I chose this time)
  • cacao nibs (for a nice crunch)
  • hemp seeds/hearts (provides sustaining energy)
  • cinnamon (helps with blood sugar metabolism)

You can eat it right away, or you can put it into the fridge to get a little harder.  You can eat it out of the jar with a spoon, or scoop it into a flatter container and cut it into squares when it gets hard.  Whatever choices you make, enjoy it!

Let me know what your favorite version is.  How do you experiment with Chocolate Bar in a Jar?


Smoothie for Children

Girl Cook

One of my favorite activities as a child was “cooking” in my Easy Bake Oven.  I loved independently creating things to eat! Later I received a child’s recipe book with recipes aimed just at me.  I loved reading and following the recipes and sharing my creations with others.

I hope this recipe will be one children will find easy and delicious to make themselves!


Ask an adult to help you get these things ready.

Bananas

  • 1 Frozen banana
  • 1 Cup Kefir, plain yogurt or spring water
  • 5 big ice cubes, frozen Kefir cubes, or frozen pineapple chunks
  • 2 Tablespoons Raw Cacao Powder
  • 2 Tablespoons Coconut Oil
  • 2 Tablespoons Hemp Seeds
  • 1 Tablespoon Honey

Put them all into a blender.  Put the top on and start it and put it up to high speed. If your blender gets ‘stuck’ add a little more of your liquid.

Optional:  berries, fruit (frozen or fresh), Cacao nibs or beans, coconut


And then we had Sauerkraut!

Sauerkraut Jar

It all started on January 31.  First I chopped up some organic cabbage.

Sauerkraut start

The recipe I used was very helpful.  It also motivated and inspired me to get started and just do it! I’d been reading and hearing about the benefits of sauerkraut for a long time, but reading how simple it was with this method, got me excited and started!

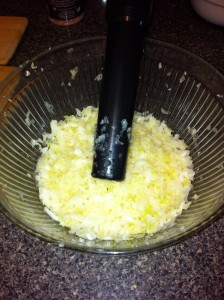
Basically, you chop the cabbage and then layer with salt in the bowl. Once you’ve added it all, the recipe said to “punch” the cabbage with your fist to get the cabbage/salt mixture to create the brine.  Punching the cabbage was not working for me, so I looked around and found the Vitamix tamper and started pounding the cabbage with that.  It worked much better.

Sauerkraut JohnFortunately I even got some help with this stage, as the recipe did not quite explain the effort that was required!  The tamper is in one hand and an orange spatula in the other to help slide the cabbage back down from the side of the bowl.  Did I mention how happy I was to get some help?

The process produces brine and the aim is to get enough brine to cover the cabbage.  After the liquid covers the cabbage you find a way to seal it that still allows the gas to escape. And Voila! The fermentation process just happens!

Sauerkraut set


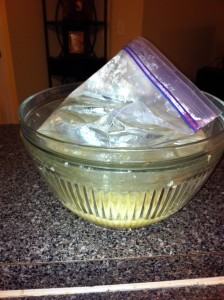
The recipe suggested putting a smaller bowl on top of the cabbage and then putting a large ziplock bag of water on top of the small bowl to keep it weighted down so the cabbage stays below the brine.  This is what I came up with and let it sit for five days or so.

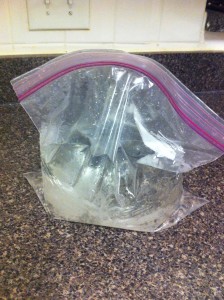
When I checked it, there was a lot of mold (as expected) around the edges and not much fermentation. In the meantime I think I read a few more blogs and as I was about to put the washed small bowl back on top of the cabbage, I suddenly thought ‘why not just put the plastic bag straight on top of the cabbage and leave the small bowl out completely,’ which is what I did.  I then put a kitchen cloth on top of the bowl to give it some darkness and left it on the kitchen counter until today, February 15.

Sauerkraut bagThe whole process is really an illustration of faith! You do each step and trust that the instructions you’ve been given will give you the result you want!  And it worked!

I tentatively removed the towel, lifted off the bag of water, and found the cabbage looking quite a bit different.  I tasted it and it was sauerkraut!

I’m assuming you know all about the excellent pro-biotic benefits of fermented foods.  Learning more about fermented foods has given me a great desire to consume more – and it turns out sauerkraut is easy to make!

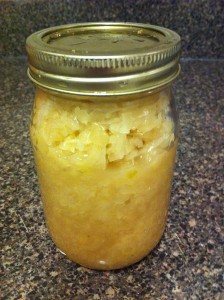
Sauerkraut JarSo the plan is to start eating a little bit 15 minutes before a meal and gradually work up to about 2 tablespoons.

Let me know when you make your first sauerkraut attempt!  Also, if you have any ideas on how to get my daughters (13 and 20) to love eating sauerkraut – let me know!

Clean Chicken Chili Con Cashew

DSC_0040My older daughter can sometimes be my biggest food critic and she RAVED about this chili – which is why I decided to share it on my blog!

Economical – Healthy – Easy – Food Preparation – we all need more ideas!  Here’s one:

Feed a family of four two meals (supper and lunch for the following day) using two chicken breasts (organic from $8-$10) and all the other ingredients you generally might have on hand. Since I’ve been buying organic in the USA I’ve been using a lot more of the vegetable than ever before! I’ve included the prices of some of the ingredients to give an idea of the total cost.

  • 2 organic or hormone free chicken breasts cut into chunks
  • 1 Tablespoon coconut oil

Put large, deep pan on medium low heat (if you are not eating raw, it is preferable to cook low and slow to maintain most nutrients) and allow to ‘brown’ (stirring once or twice) while you are chop the following:

garlic

  • 1 organic onion  ($.50-$1.00)
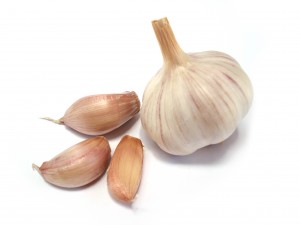
  • 5-10 cloves of garlic
  • ½ – 2 chilis , depending on your need for heat.  I used 1 whole fresh jalapeño
  • 1 stalk organic celery (more or less) with tops
  • ½ – 1 Cup organic cauliflower.  I used all the green leafy bits at the bottom and one big stem section.  I am not wasting the stalk or leafy bits of organic veggies! If you don’t have cauliflower, you can substitute any other vegetable, i.e. broccoli, carrots, beans, etc.

Add those to the pan and stir. The chicken might still be pink.  That is ok.  Keep the heat low.  Now chop these things:

  • 1 organic tomato ($1)
  • coriander, cilantro, dhania (did you know these three words all refer to the same herb???) as much as you like.  Fresh if possible.  I just chopped the rest of my bunch which ended up being about ¼ cup chopped.

Add to pot and stir.  By now, the chicken should be mostly not pink, but it is ok if it is not thoroughly cooked through, as that is what is going to happen as the chili continues to simmer.  Now add:

  • ½ – 1 C Black beans (I buy organic black beans from Kroger because those are the only organic beans I see on the shelf.  I cook more than I need – usually in a slow cooker – and keep some in the fridge or freezer to add to stews or soups). If I didn’t have any cooked beans on hand, I would have left them out.
  • ½ jar Organic tomato sauce (±12 oz or 350 ml). (±$1.60) This is one “cheat” I allow myself.  It is a processed food that has more than 5 ingredients (a guideline that can sometimes be helpful).  If you want to avoid it, you could make your own at the peak of tomato season, or just add more tomatoes and maybe more herbs and spices.
  • Spring water – add to empty tomato sauce jar to make sure not to waste any organic ingredients! Never use tap water. If no spring water, filter or boil water?
  • Salt Himalayan or other organic crystal, to taste
  • Pepper, organic whole freshly ground
  • ¼- ½ C raw cashews
  • ¼ C organic raisins

photo 1

Put the top on, turn the heat onto the lowest setting and walk away for 20 -40 minutes. You could set your timer for 30 minutes and then go and turn the heat off, leaving the pan on the stove until your family is gathered for the meal. Or, if you were really advanced in planning you could cook it all in the slow cooker. I add the last two ingredients because they come from a recipe I loved in the Whole Foods for the Whole Family Cookbook published by La Leche League International A LONG TIME AGO and the add to the deliciousness!

I served my Clean Chicken Chili Con Cashew with organic tortilla chips (just a few per person!), a little bit of grated organic cheddar cheese and a coleslaw (really “chopped organic cabbage” with a tiny bit of salad dressing – because it was all I had left! – and organic plain yogurt). Stay health – eat more cabbage!

small head shot

It was a huge hit with everyone and we all enjoyed the leftovers the following day.

What modifications do you enjoy to make your recipes clean and economical?

Best Chocolate Ever!

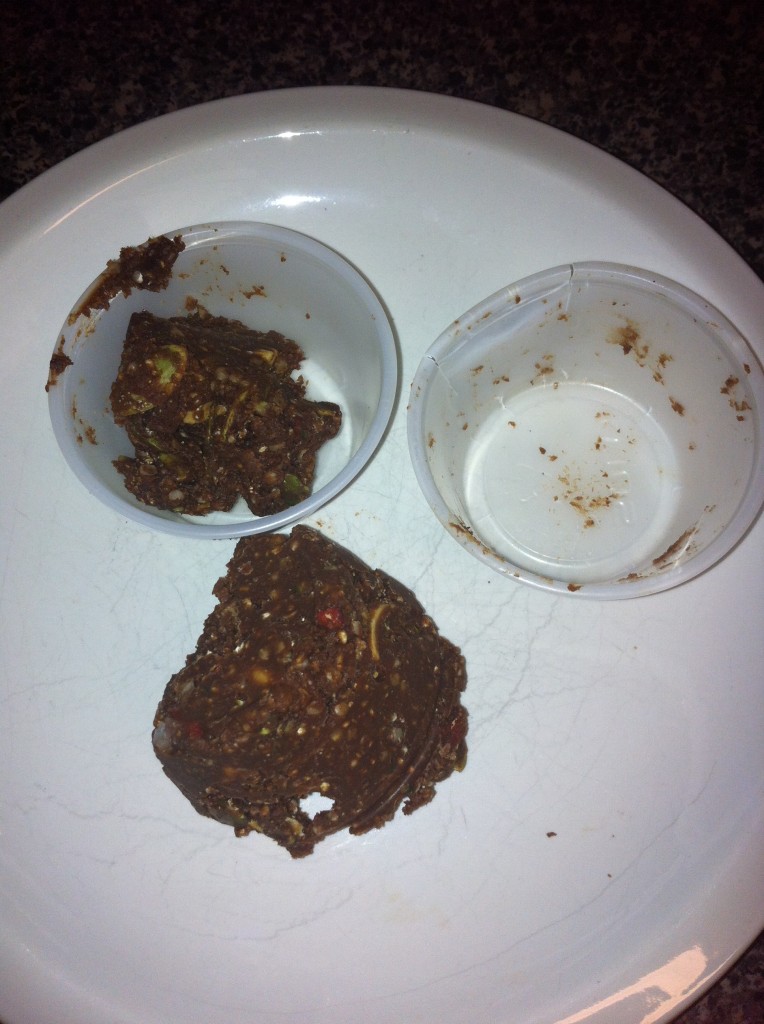
chocolate bowlIn case you haven’t noticed my recipes are not exactly structured, so I thought I would share how I came up with my latest greatest chocolate recipe!

I’m busy working, going about my day.  I suddenly have a desire for something delectable – sweet and gooey, yet nutritiously dense and still good for me!

I go to the kitchen with no prepared plan.  I ask myself ‘what have I got?’  And I start.  This is what happened today….

I took a small bowl out and started adding things. Of course, I didn’t measure anything, I’ve just added approximate quantities!  Use what you feel works for you.

  • 2 Tablespoons of coconut oil with a rich coconut smell. Every brain needs more coconut oil.  It improves cognitive function in everyone!
  • 1 Tablespoons organic FRESHLY ground peanut butter NOW STOCKED AT MY LOCAL KROGER – thank you Kroger!!!
  • ½ Tablespoon honey, local raw organic
  • 1 Tablespoons organic pumpkin seeds now stocked by same Kroger!!
  • 1 Tablespoons roasted cashews also from Kroger
  • 1 Tablespoons of goji berries – because I just read more about their awesome anti-aging properties!  I love goji berries more than ever!
  • 1 Tablespoons hemp seed
  • 1 heaped teaspoon raw cacao powder

Best Choco EverI just spooned it into a smallish bowl and stirred.  No heating, nothing!  Just stirred it all until it was all mixed up and then spooned it into 4 small containers and popped them into the freezer because I decided I would share it with my family!  I was very tempted just to spoon it into my mouth – so they should really be thankful!

Alternatively I was thinking of plopping the whole bowl straight into the freezer to get hard and then spoon it into my mouth a bit later!

Anyway you look at it, it’s an instant chocolate bar worth 5000 times more than the highly processed stuff you can buy sold by large companies that I have been told exploit slave labor.  So it is a labor of love for my body, my taste buds and the welfare of Fair Trade.

Have you ever plunged into the delicious nutritious world of Fair Trade raw cacao?