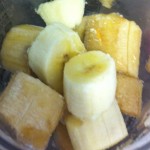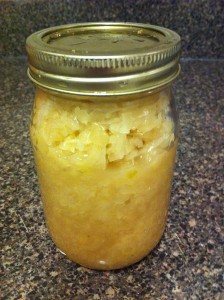
It all started on January 31. First I chopped up some organic cabbage.
The recipe I used was very helpful. It also motivated and inspired me to get started and just do it! I’d been reading and hearing about the benefits of sauerkraut for a long time, but reading how simple it was with this method, got me excited and started!
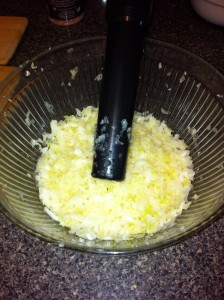
Basically, you chop the cabbage and then layer with salt in the bowl. Once you’ve added it all, the recipe said to “punch” the cabbage with your fist to get the cabbage/salt mixture to create the brine. Punching the cabbage was not working for me, so I looked around and found the Vitamix tamper and started pounding the cabbage with that. It worked much better.
 Fortunately I even got some help with this stage, as the recipe did not quite explain the effort that was required! The tamper is in one hand and an orange spatula in the other to help slide the cabbage back down from the side of the bowl. Did I mention how happy I was to get some help?
The process produces brine and the aim is to get enough brine to cover the cabbage. After the liquid covers the cabbage you find a way to seal it that still allows the gas to escape. And Voila! The fermentation process just happens!
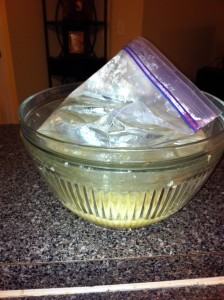
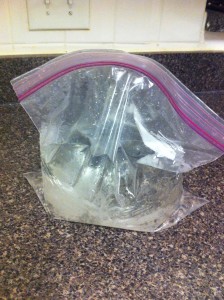
The recipe suggested putting a smaller bowl on top of the cabbage and then putting a large ziplock bag of water on top of the small bowl to keep it weighted down so the cabbage stays below the brine. This is what I came up with and let it sit for five days or so.
When I checked it, there was a lot of mold (as expected) around the edges and not much fermentation. In the meantime I think I read a few more blogs and as I was about to put the washed small bowl back on top of the cabbage, I suddenly thought ‘why not just put the plastic bag straight on top of the cabbage and leave the small bowl out completely,’ which is what I did. I then put a kitchen cloth on top of the bowl to give it some darkness and left it on the kitchen counter until today, February 15.
 The whole process is really an illustration of faith! You do each step and trust that the instructions you’ve been given will give you the result you want! And it worked!
I tentatively removed the towel, lifted off the bag of water, and found the cabbage looking quite a bit different. I tasted it and it was sauerkraut!
I’m assuming you know all about the excellent pro-biotic benefits of fermented foods. Learning more about fermented foods has given me a great desire to consume more – and it turns out sauerkraut is easy to make!
 So the plan is to start eating a little bit 15 minutes before a meal and gradually work up to about 2 tablespoons.
Let me know when you make your first sauerkraut attempt! Also, if you have any ideas on how to get my daughters (13 and 20) to love eating sauerkraut – let me know!
