I’m assuming you know all the benefits of adding probiotics to your diet. You’ve bought your own plain yogurt, bought plain kefir, even bought pro-biotic supplements and now you are looking for a more economical way to keep a regular supply of probiotics in your life.
 You are now ready to begin this new adventure of making your own kefir. The first step you need is to find a friend who is currently making their own kefir and let them know you would love to have some kefir grains whenever they have an abundance.
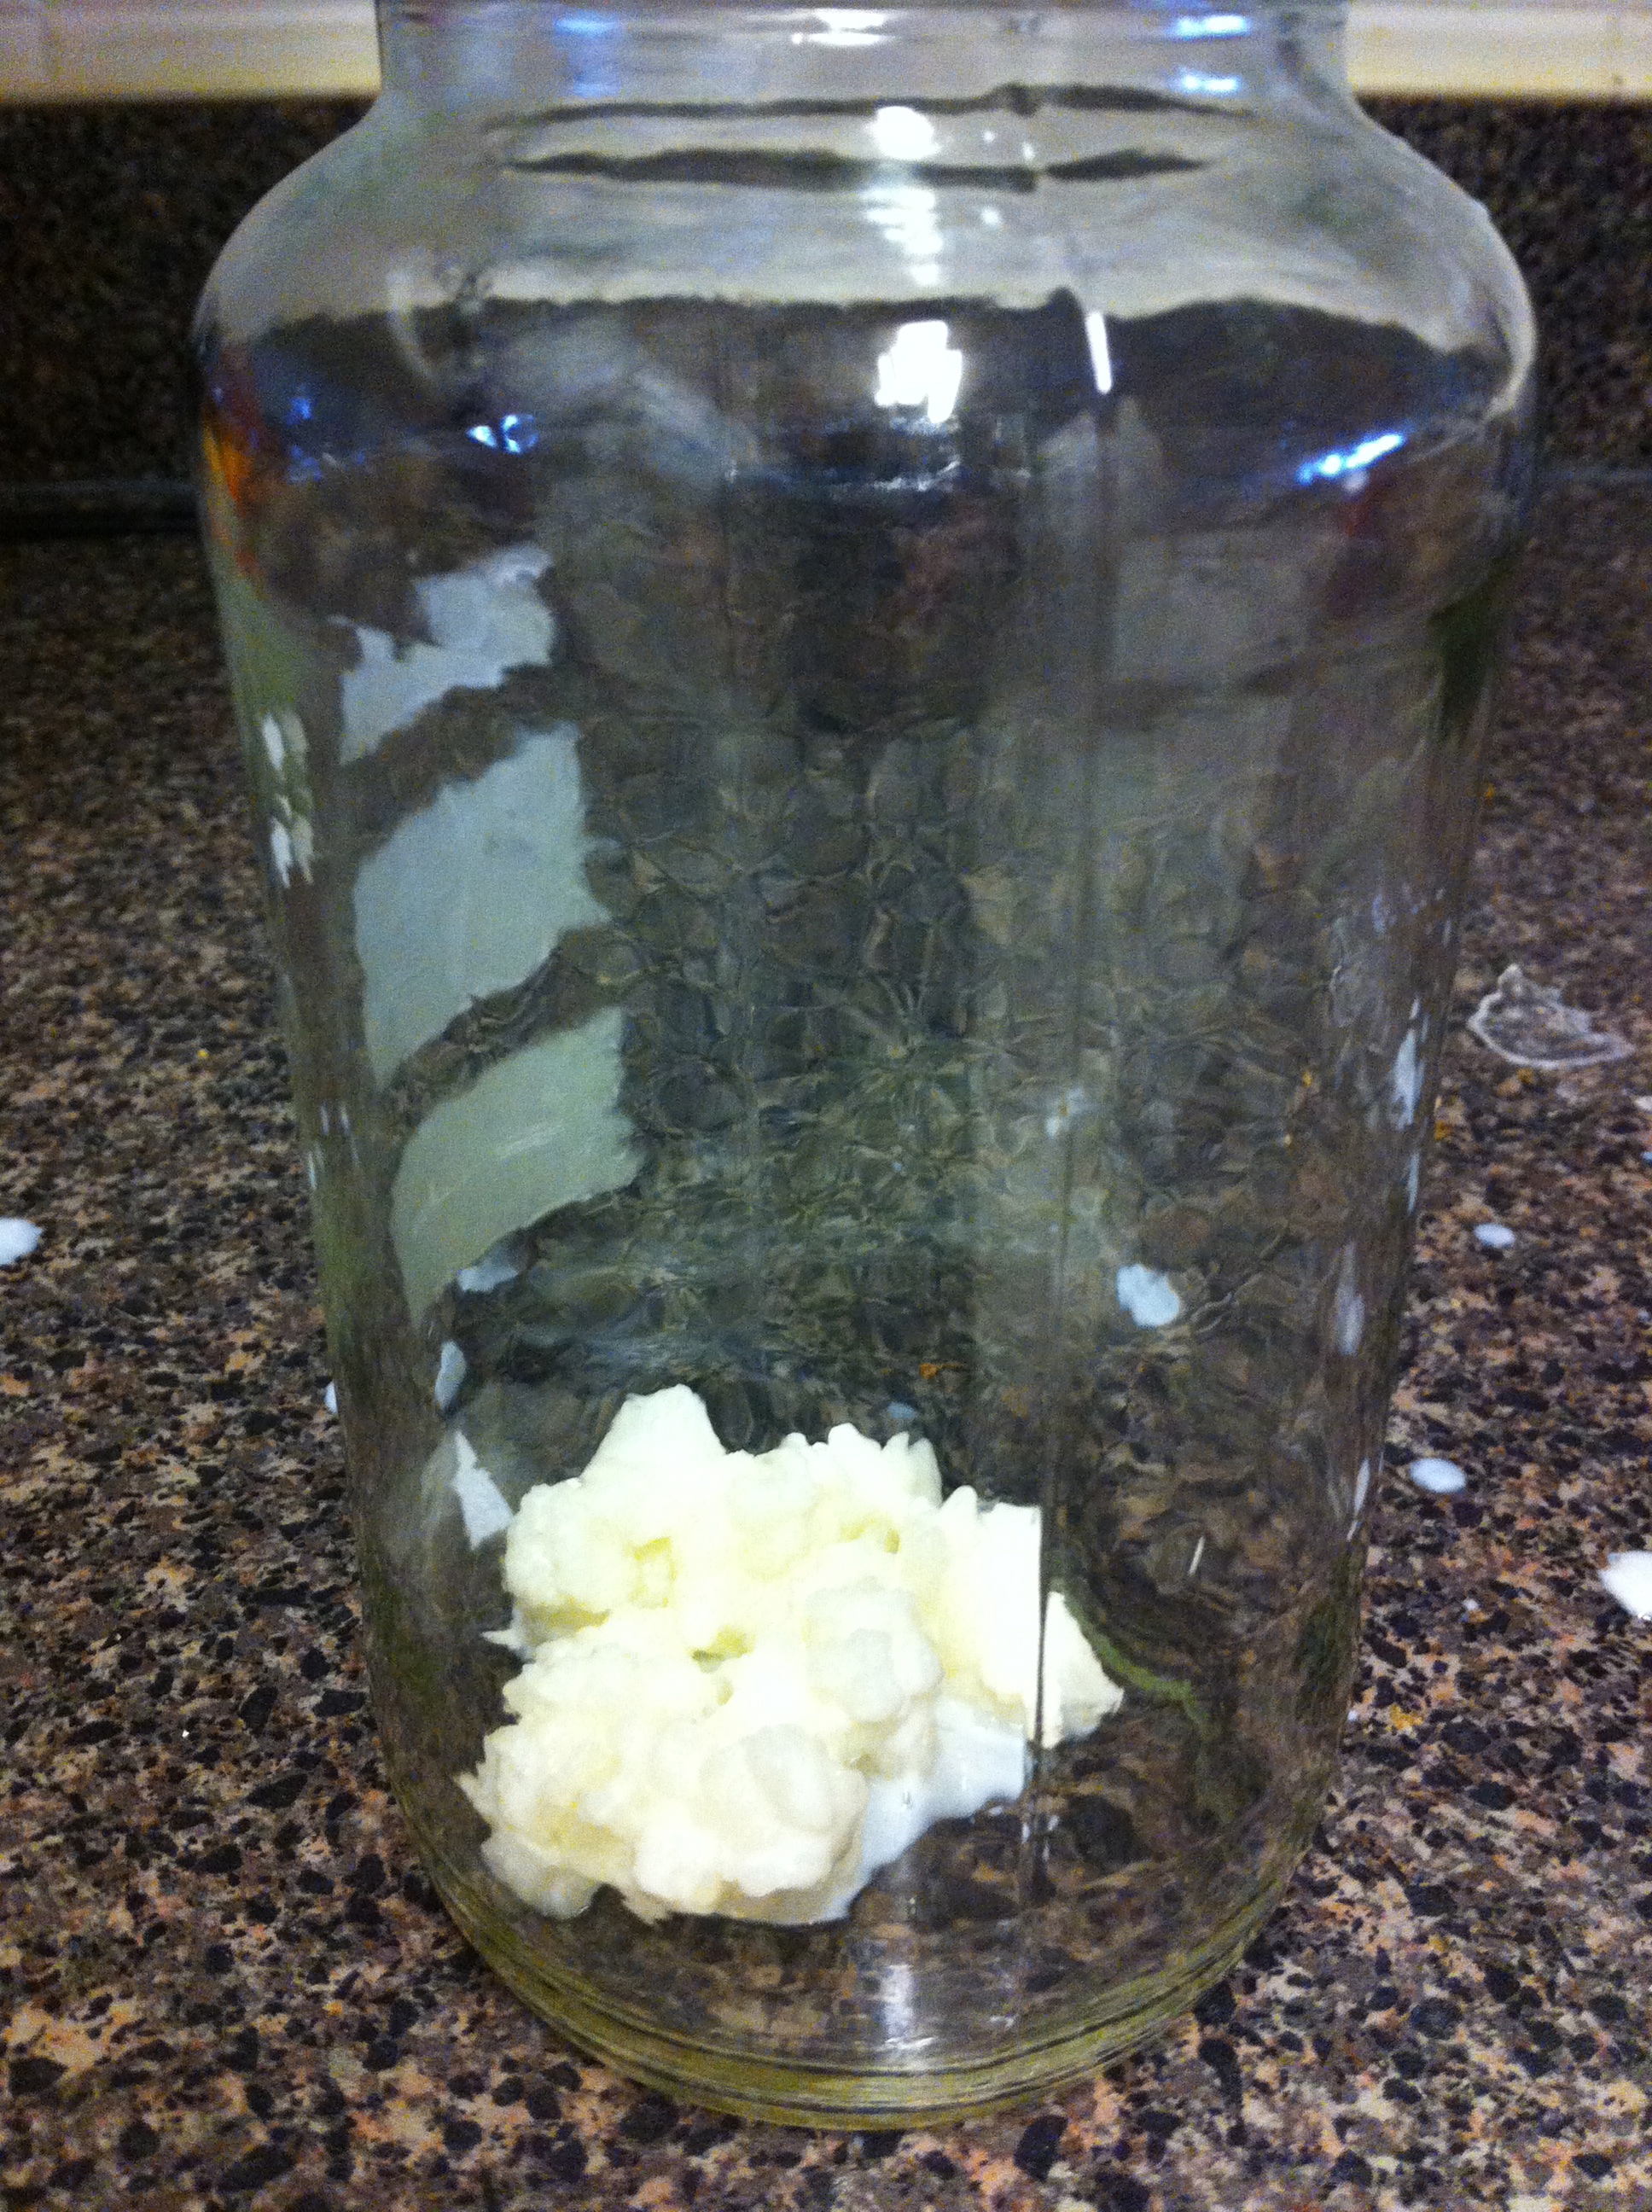
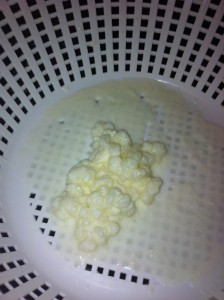
The word ‘grain’ is a bit of a misnomer because they are not ‘grains’ but more like cottage cheese curds that provide the positive bacteria to turn your milk into kefir. You might not have to wait too long, so watch this video and prepare yourself. You will need a couple of glass jars 16 – 32 ounces.
My friend gave me kefir grains in a ziplock bag with water to keep them hydrated. I wasn’t quite ready, so I put them in the refrigerator for a couple of days. It turns out kefir grains are pretty hearty creatures and didn’t mind my neglectfulness!
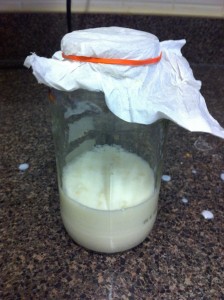
I started by draining the water off of the kefir grains and putting them into a clean jar. I added about 2 cups of 2% organic milk, covered it with some tissue paper and a rubber band, and left it to sit on the counter for 24 hours.
The first batch took a bit longer than 24 hours (more like 36) and never seemed to get as thick as I thought it should. The second batch was much better. I started to get a bit overwhelmed with the amount of kefir I was producing, so for the next batch I only added one cup of milk.
I have used raw milk and organic 2% milk from Kroger. When I added only 1 cup, the kefir turned out a lot thicker – which I liked.
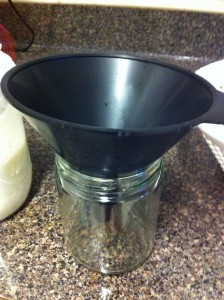
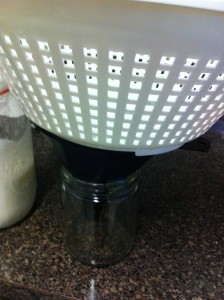
After sitting on the counter for about 24 hours it is time to strain the kefir, keeping the grains for your next batch. I used a funnel (left) topped with a plastic strainer (below). As the video mentions, it is preferable to strain it with plastic, or at least stainless steel.
Pour the kefir into the strainer, and use a spatula to help push the kefir through. Take the grains and put them in a clean jar to start all over again!
It wasn’t too long before my grains had multiplied significantly and I had some to share with a friend!
Making kefir is a LOT EASIER than making plain yogurt. It might not taste exactly the same, but to me, it is delivering all the good pro-biotics with very little effort. It’s all about just keeping it going every day.
Many times I put the kefir into the refrigerator before I strain it. It can actually stay like that for many days. You can also strain and keep the grains in a small amount of milk in the refrigerator if you will be away from home for an extended time. To make the next batch, rinse the grains in pure water and start over.
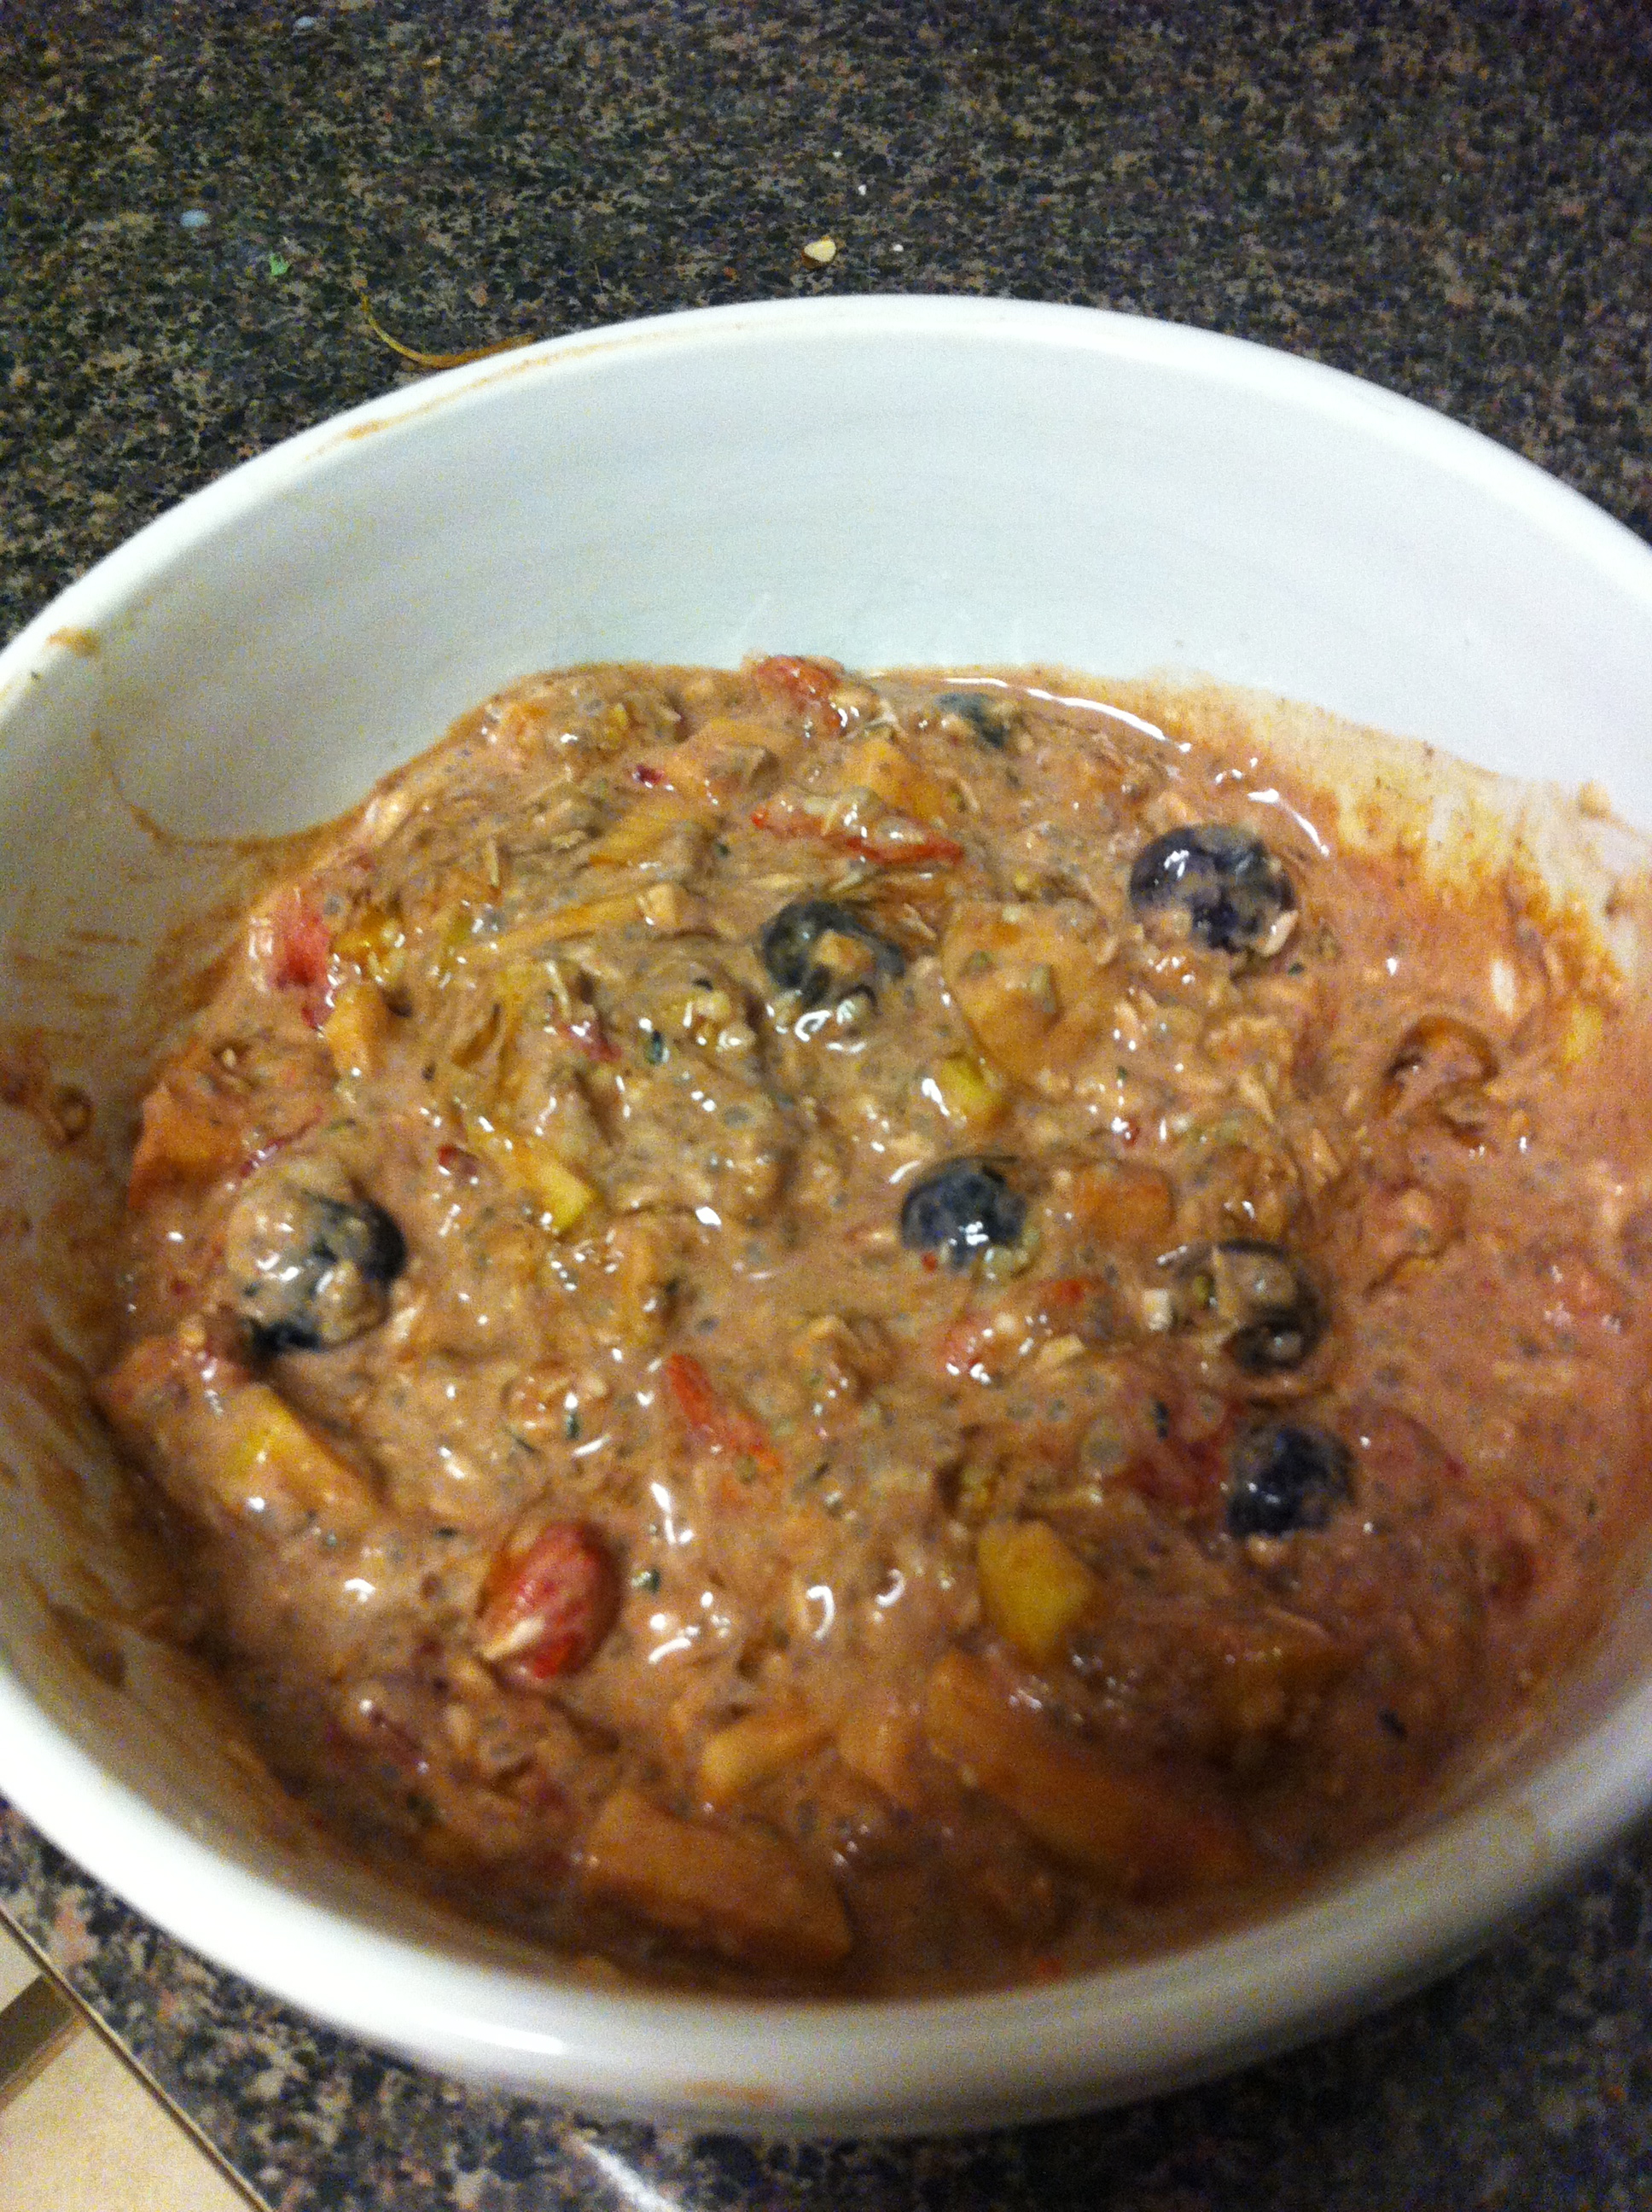
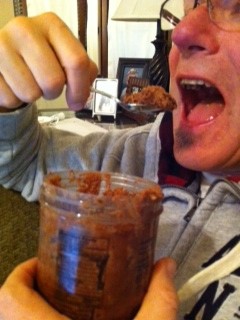
Now my challenge is finding ways to use the kefir and trying to convert my girls from plain yogurt to kefir! I’ve made kefir ice cubes for my morning smoothie, added as liquid to a smoothie snack and I even drank a whole glass just by itself!
I’d love to hear about your adventures with kefir!
More posts about kefir here, and here.
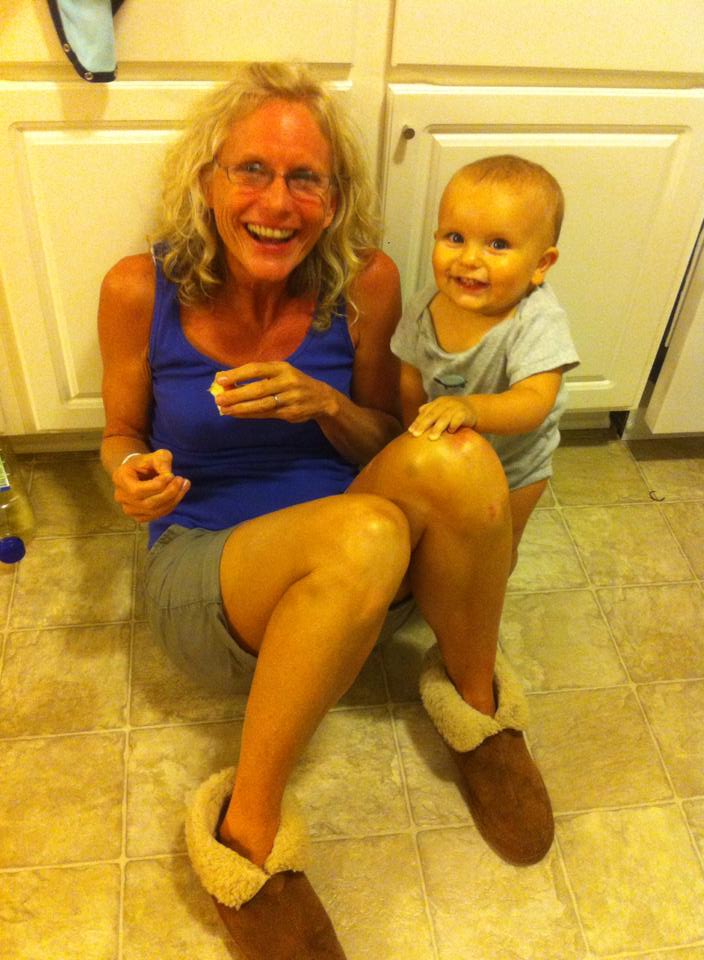
 Author Becky Hastings, wife, mother, grandmother, health seeker and reporter. Becky shares health information especially to help parents raise healthy children. She loves sharing healthy recipes and kefir grains!

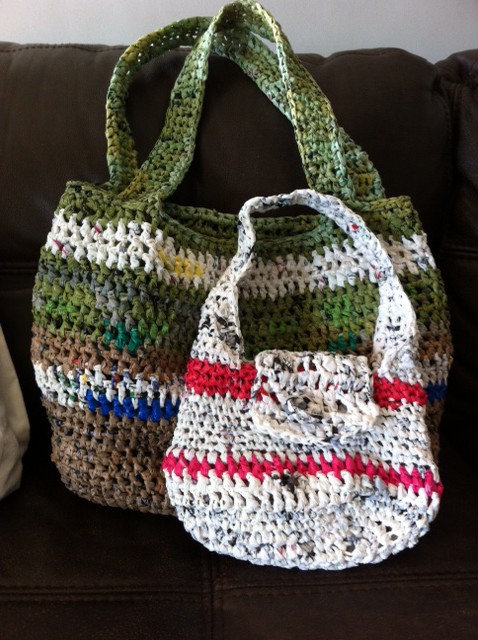 Creating something out of a product destined for a landfill can be quite fulfilling! I have made many plarn bags, in a variety of sizes, out of plastic grocery store bags. I find the activity relaxing, and completing a project brings satisfaction. I have gifted many of the bags, sold a few, and have a few for demonstrations. Each bag is a unique, one of a kind example of UpCycling.
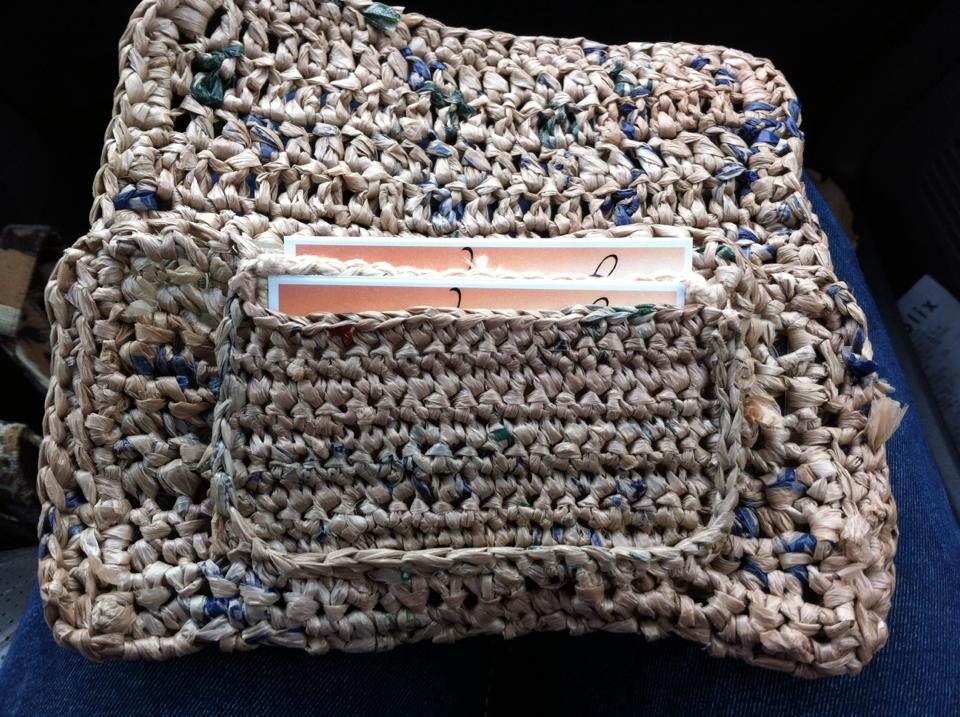 When my mother told me she was saving plastic grocery bags for me, I decided to make a video on how to prepare plarn from the plastic bags – with the hope that she might take her support one step further! Preparing plarn is the first step towards making an UpCycled Bag that will make a big impact on your friends!