Gluten Free Banana Bread

This recipe is gluten free, but does contain eggs and dairy. If you are also dairy free, you can substitute the milk with water (really – it doesn’t make a difference, or coconut or almond milk). If you also avoid eggs, you can substitute chia seeds, but I haven’t experimented with that.

Many people find tremendous health benefits from avoiding gluten. However, even gluten free processed flours should not really be a staple in most of our regular daily eating plans. However, it’s nice to have an occasional treat, or a way to spoil grandchildren when they come to visit!

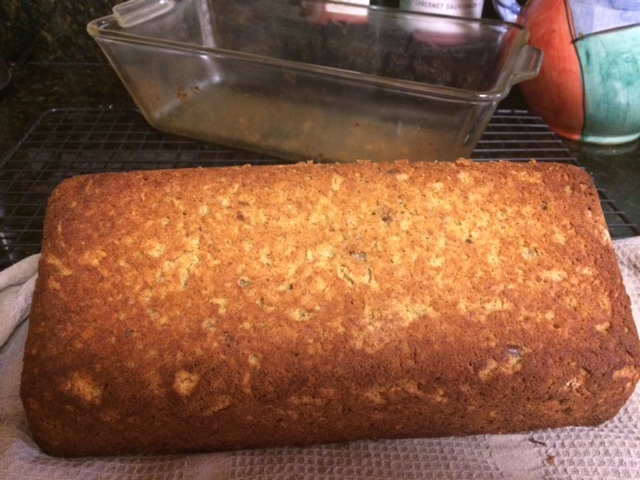
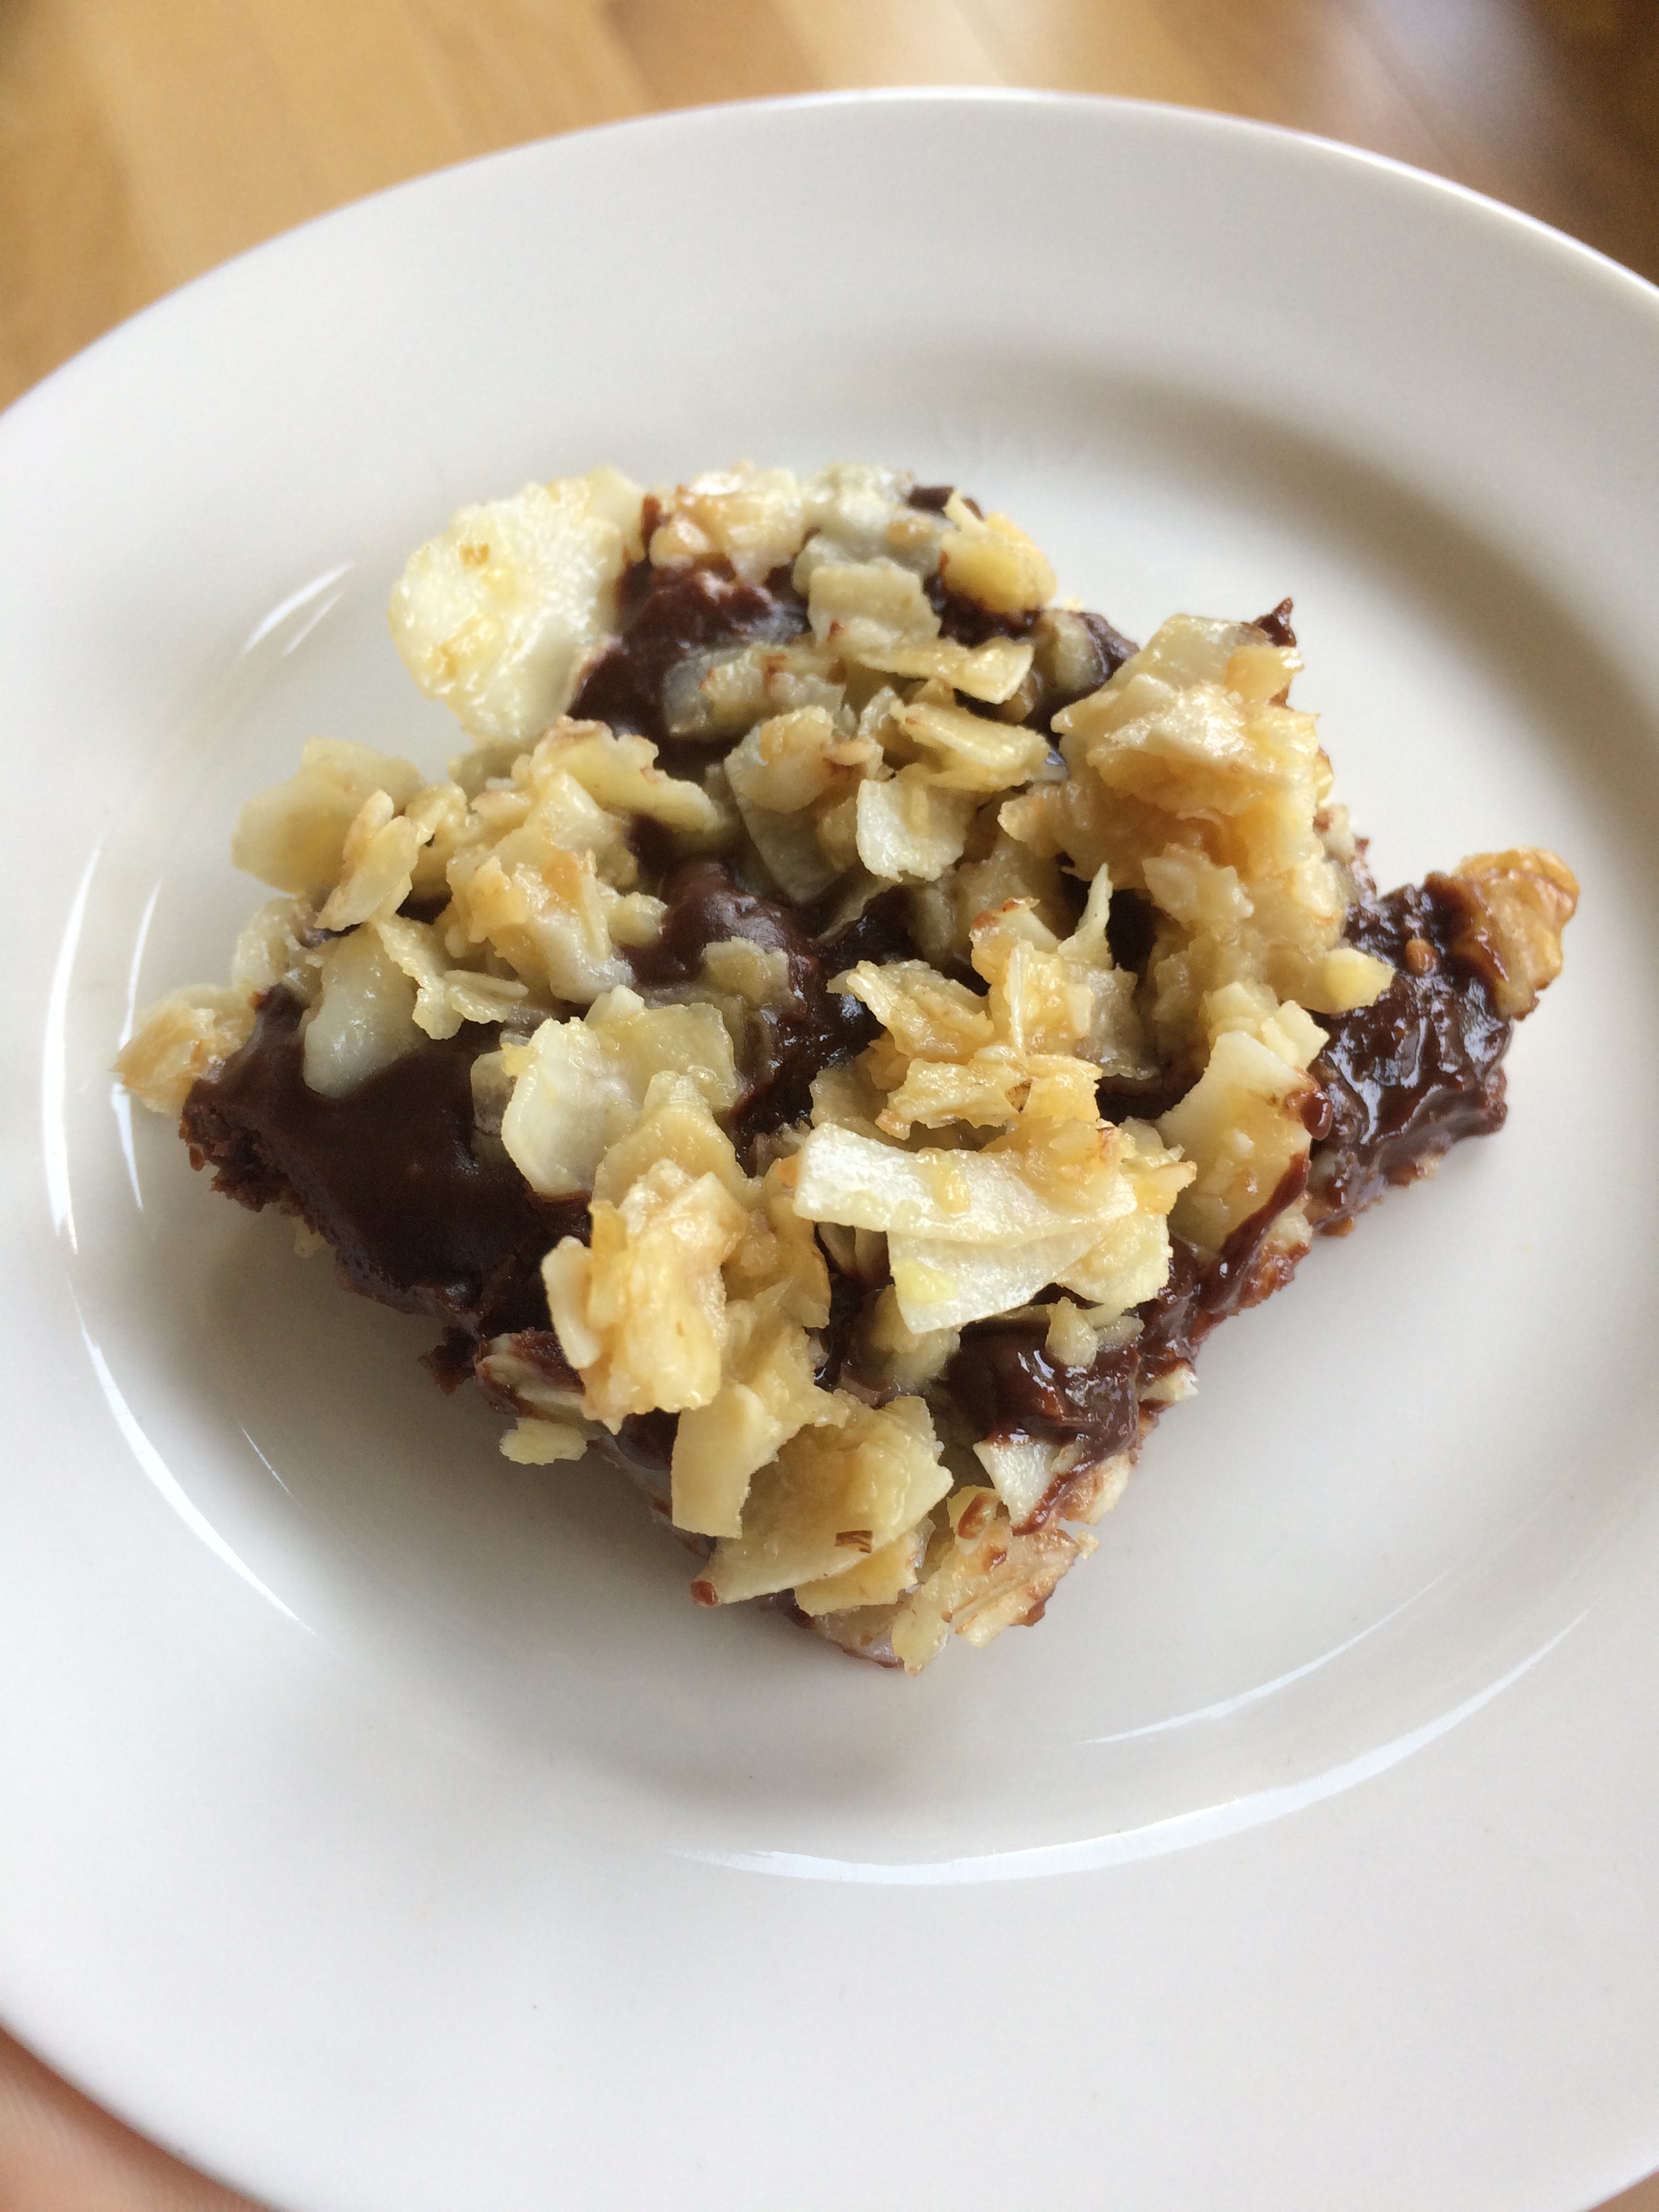
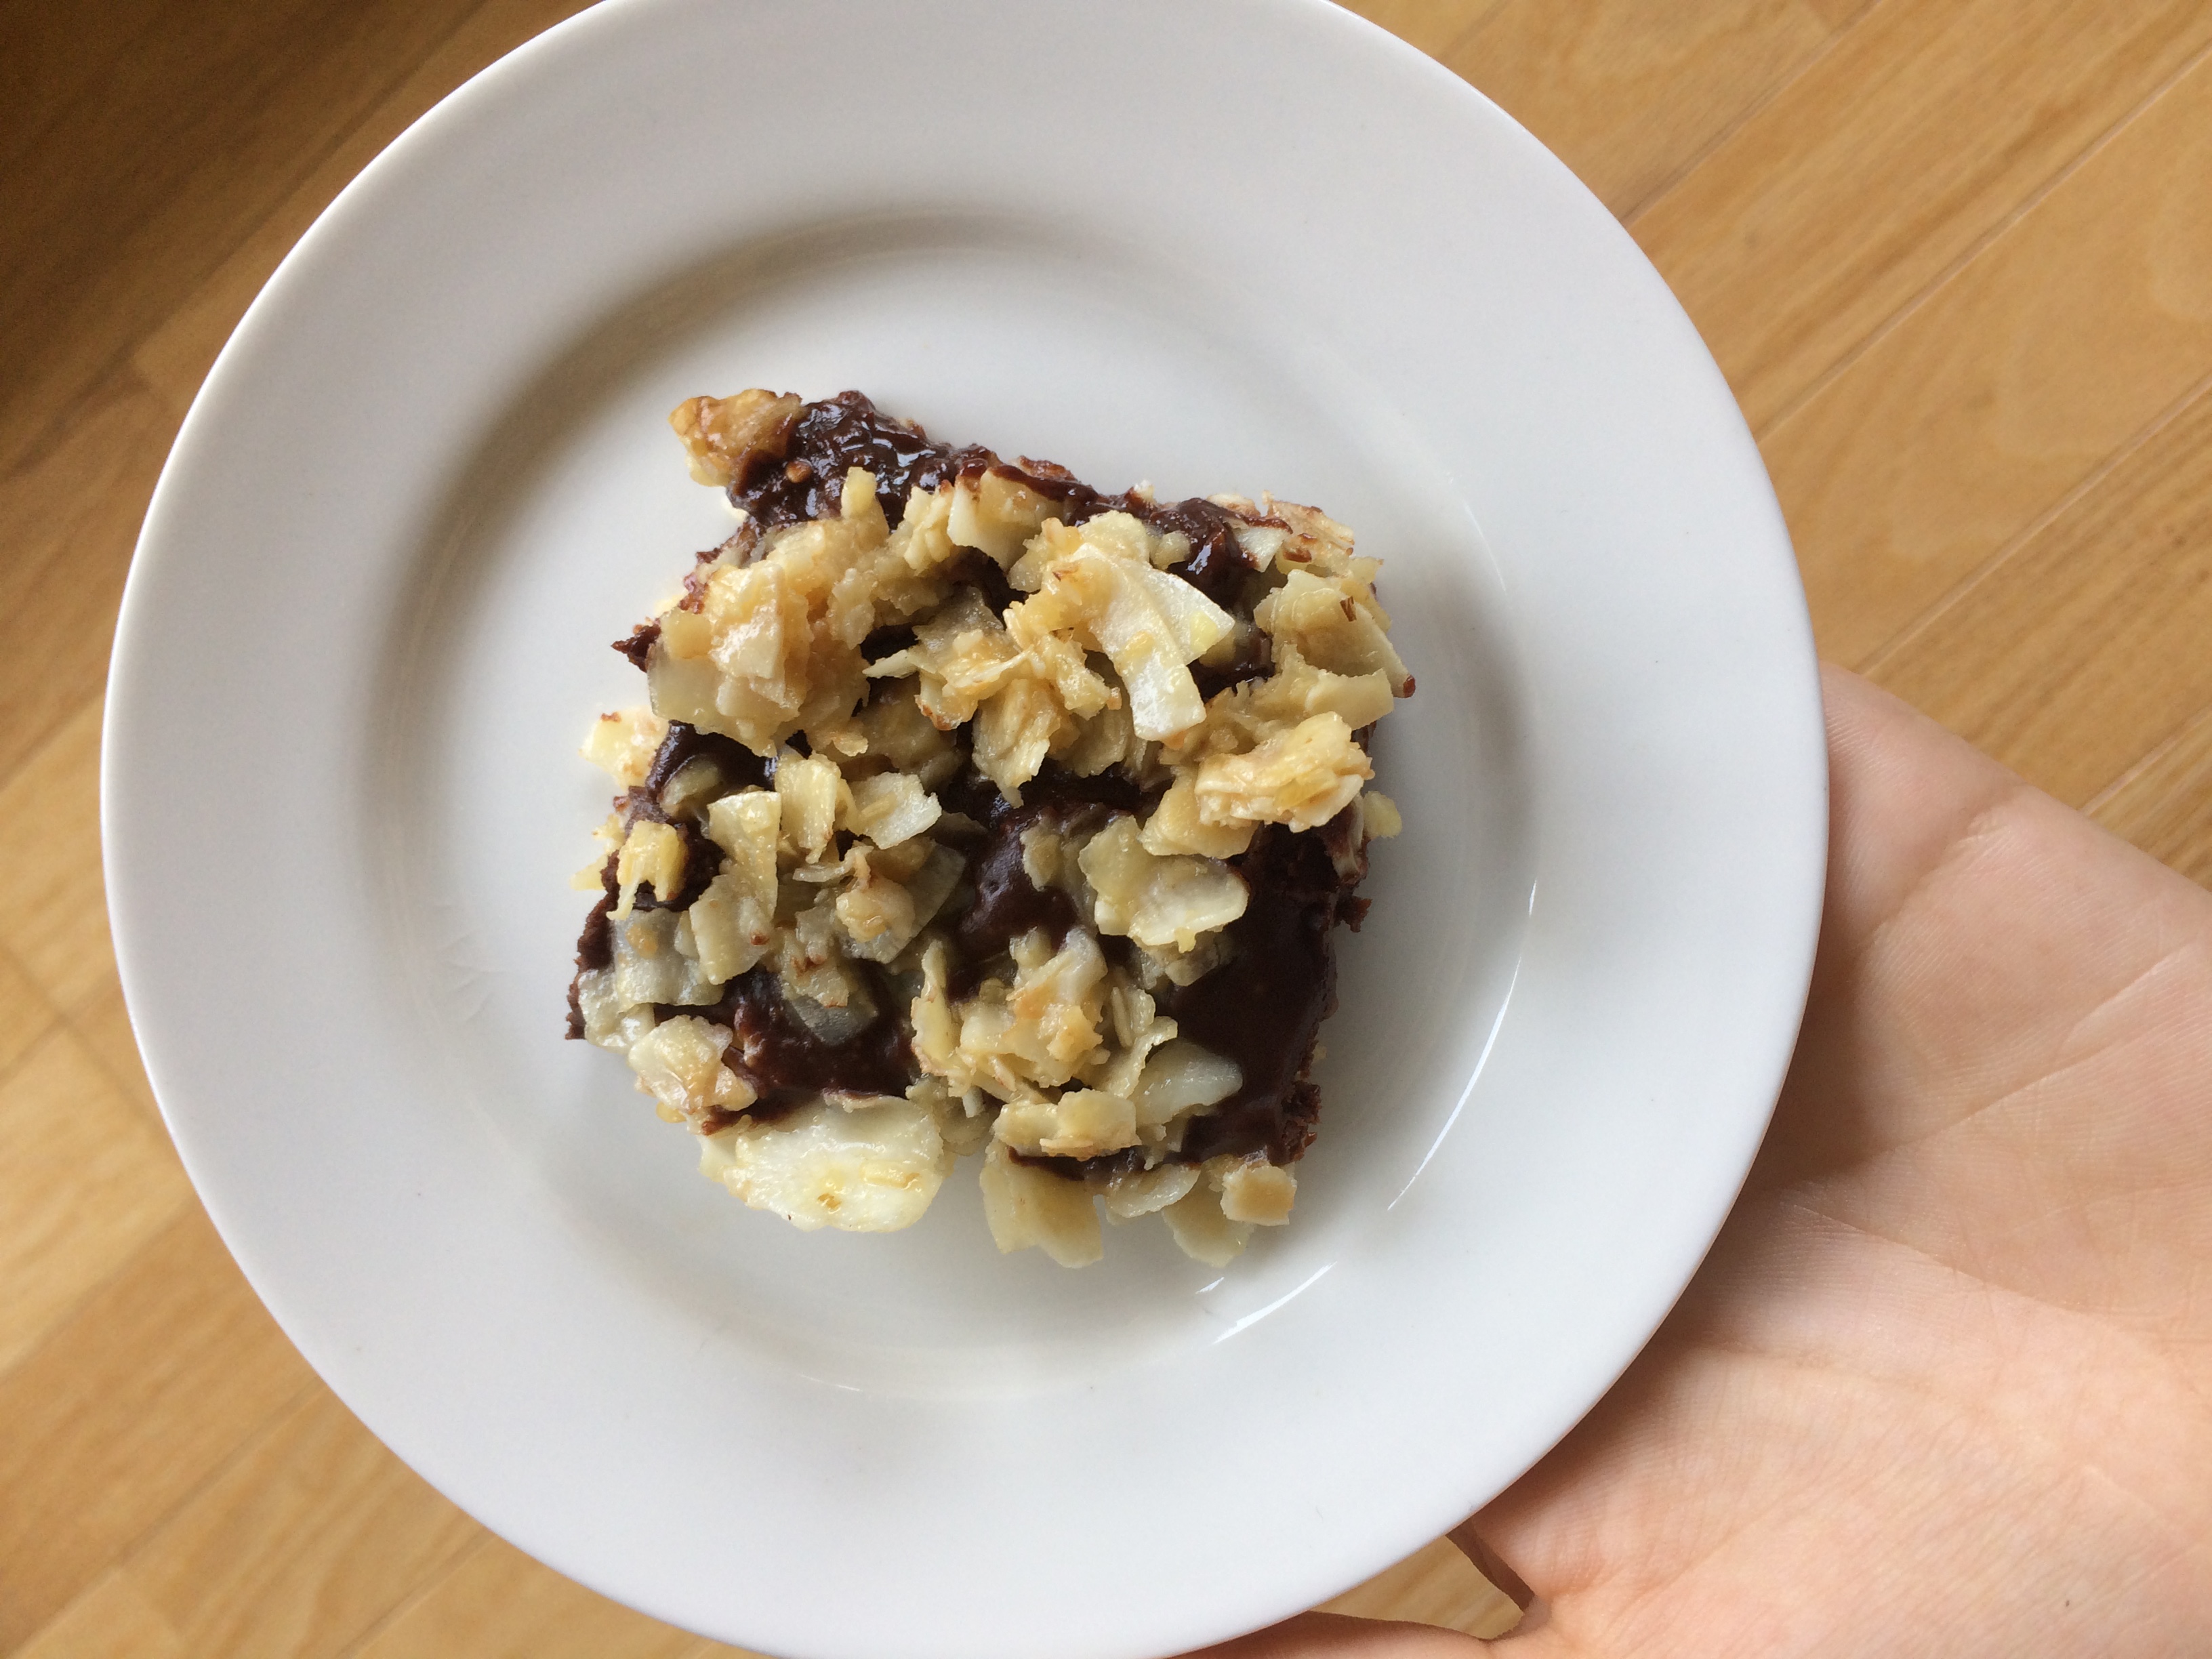
I’ve made this recipe twice and it is really easy, moist, and delicious!

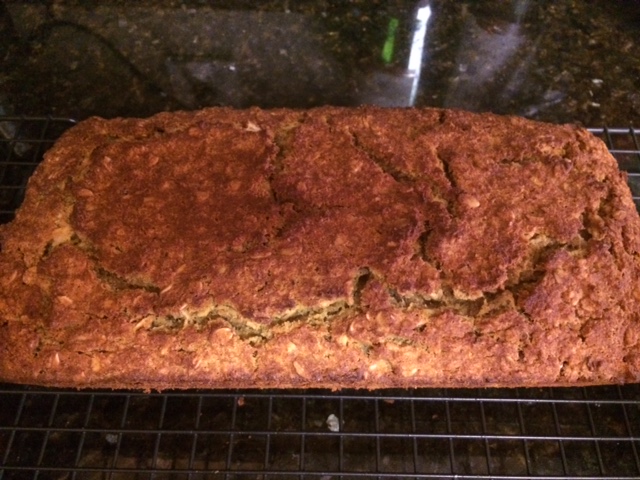
Also, I’ve NEVER had a loaf pop out of a pan more easily in one complete piece. That is saying a lot since I’ve been baking quick loaves for about 40 years! This recipe is based on another gluten free recipe, but I significantly reduced the amount of flour and increased the eggs. Perhaps every loaf I’ve ever made in the past was too dry because I had followed a recipe and put TOO MUCH FLOUR into it! Every day is another opportunity to learn.


Gluten Free Banana Bread

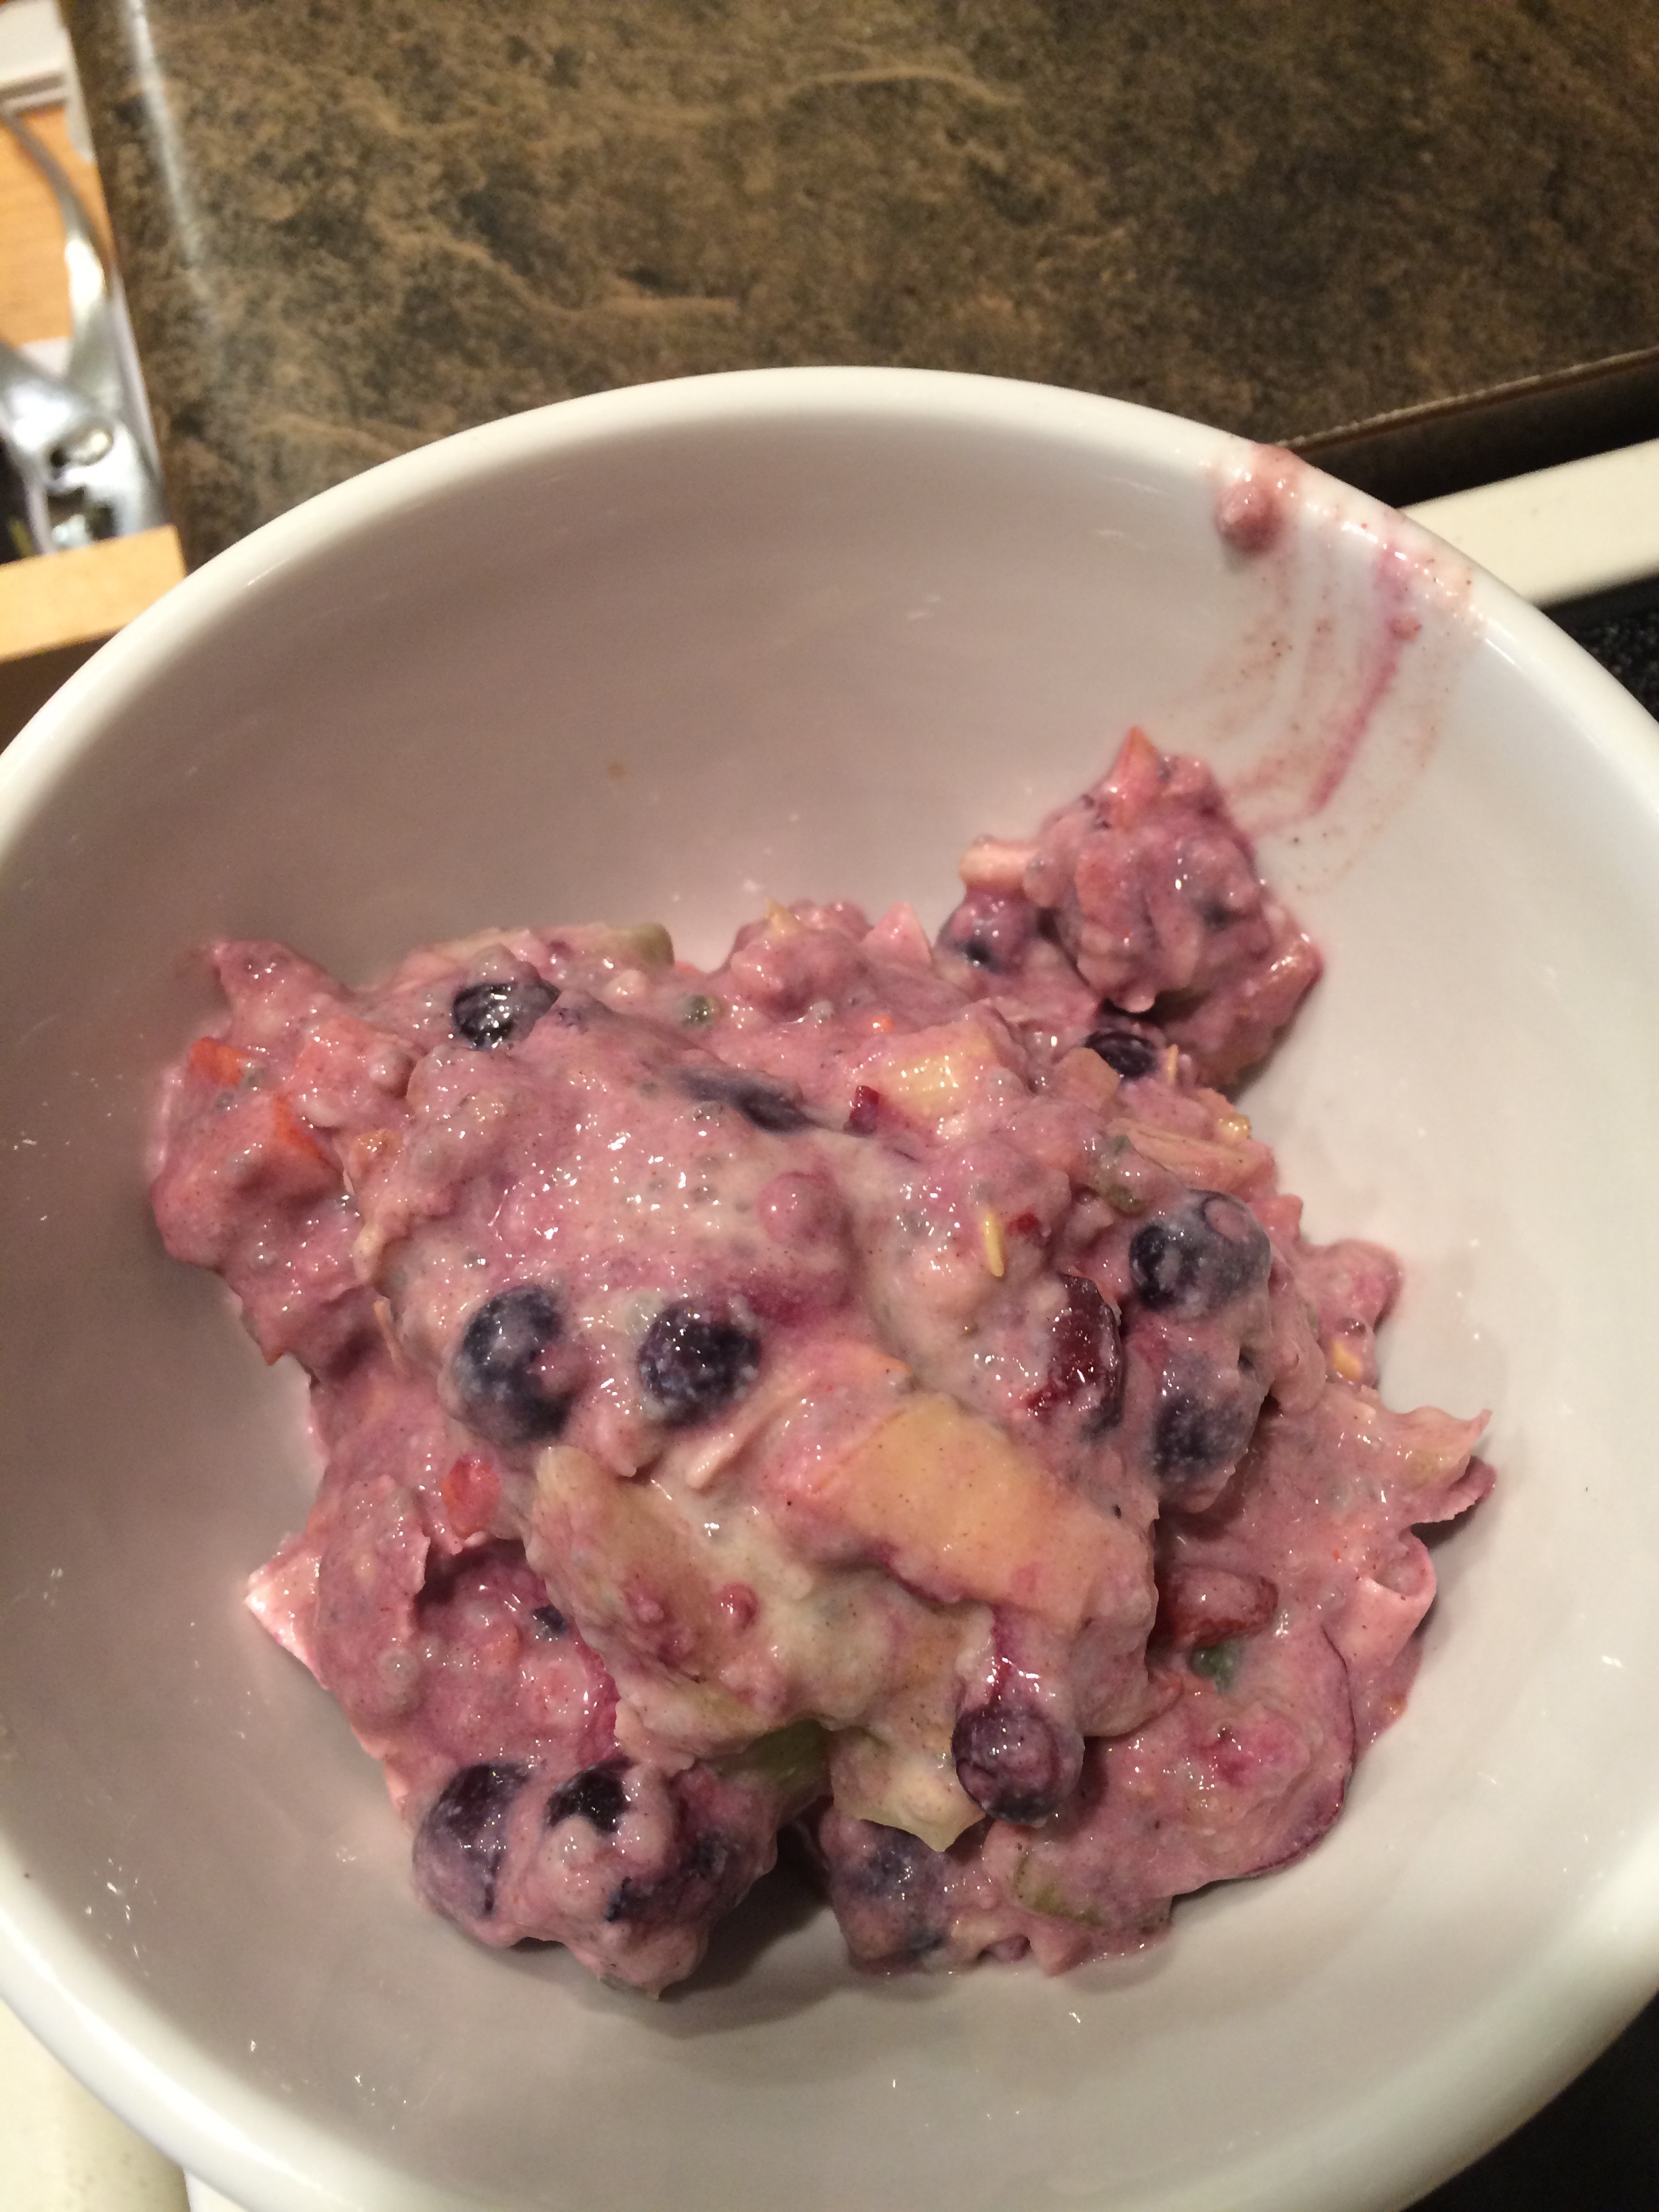
Liquid ingredients: Combine in a bowl (mash the bananas) or blend gently.

3
Medium
bananas (frozen and thawed works well)
2
Eggs
Organic* of course
3
Tbl**
Butter, coconut oil or a combination
½
Tsp***
Vanilla
2
Tbl
Maple syrup
¾
Cup
Milk (or water)

Combine dry ingredients in a bowl:

1 ¼
Cup
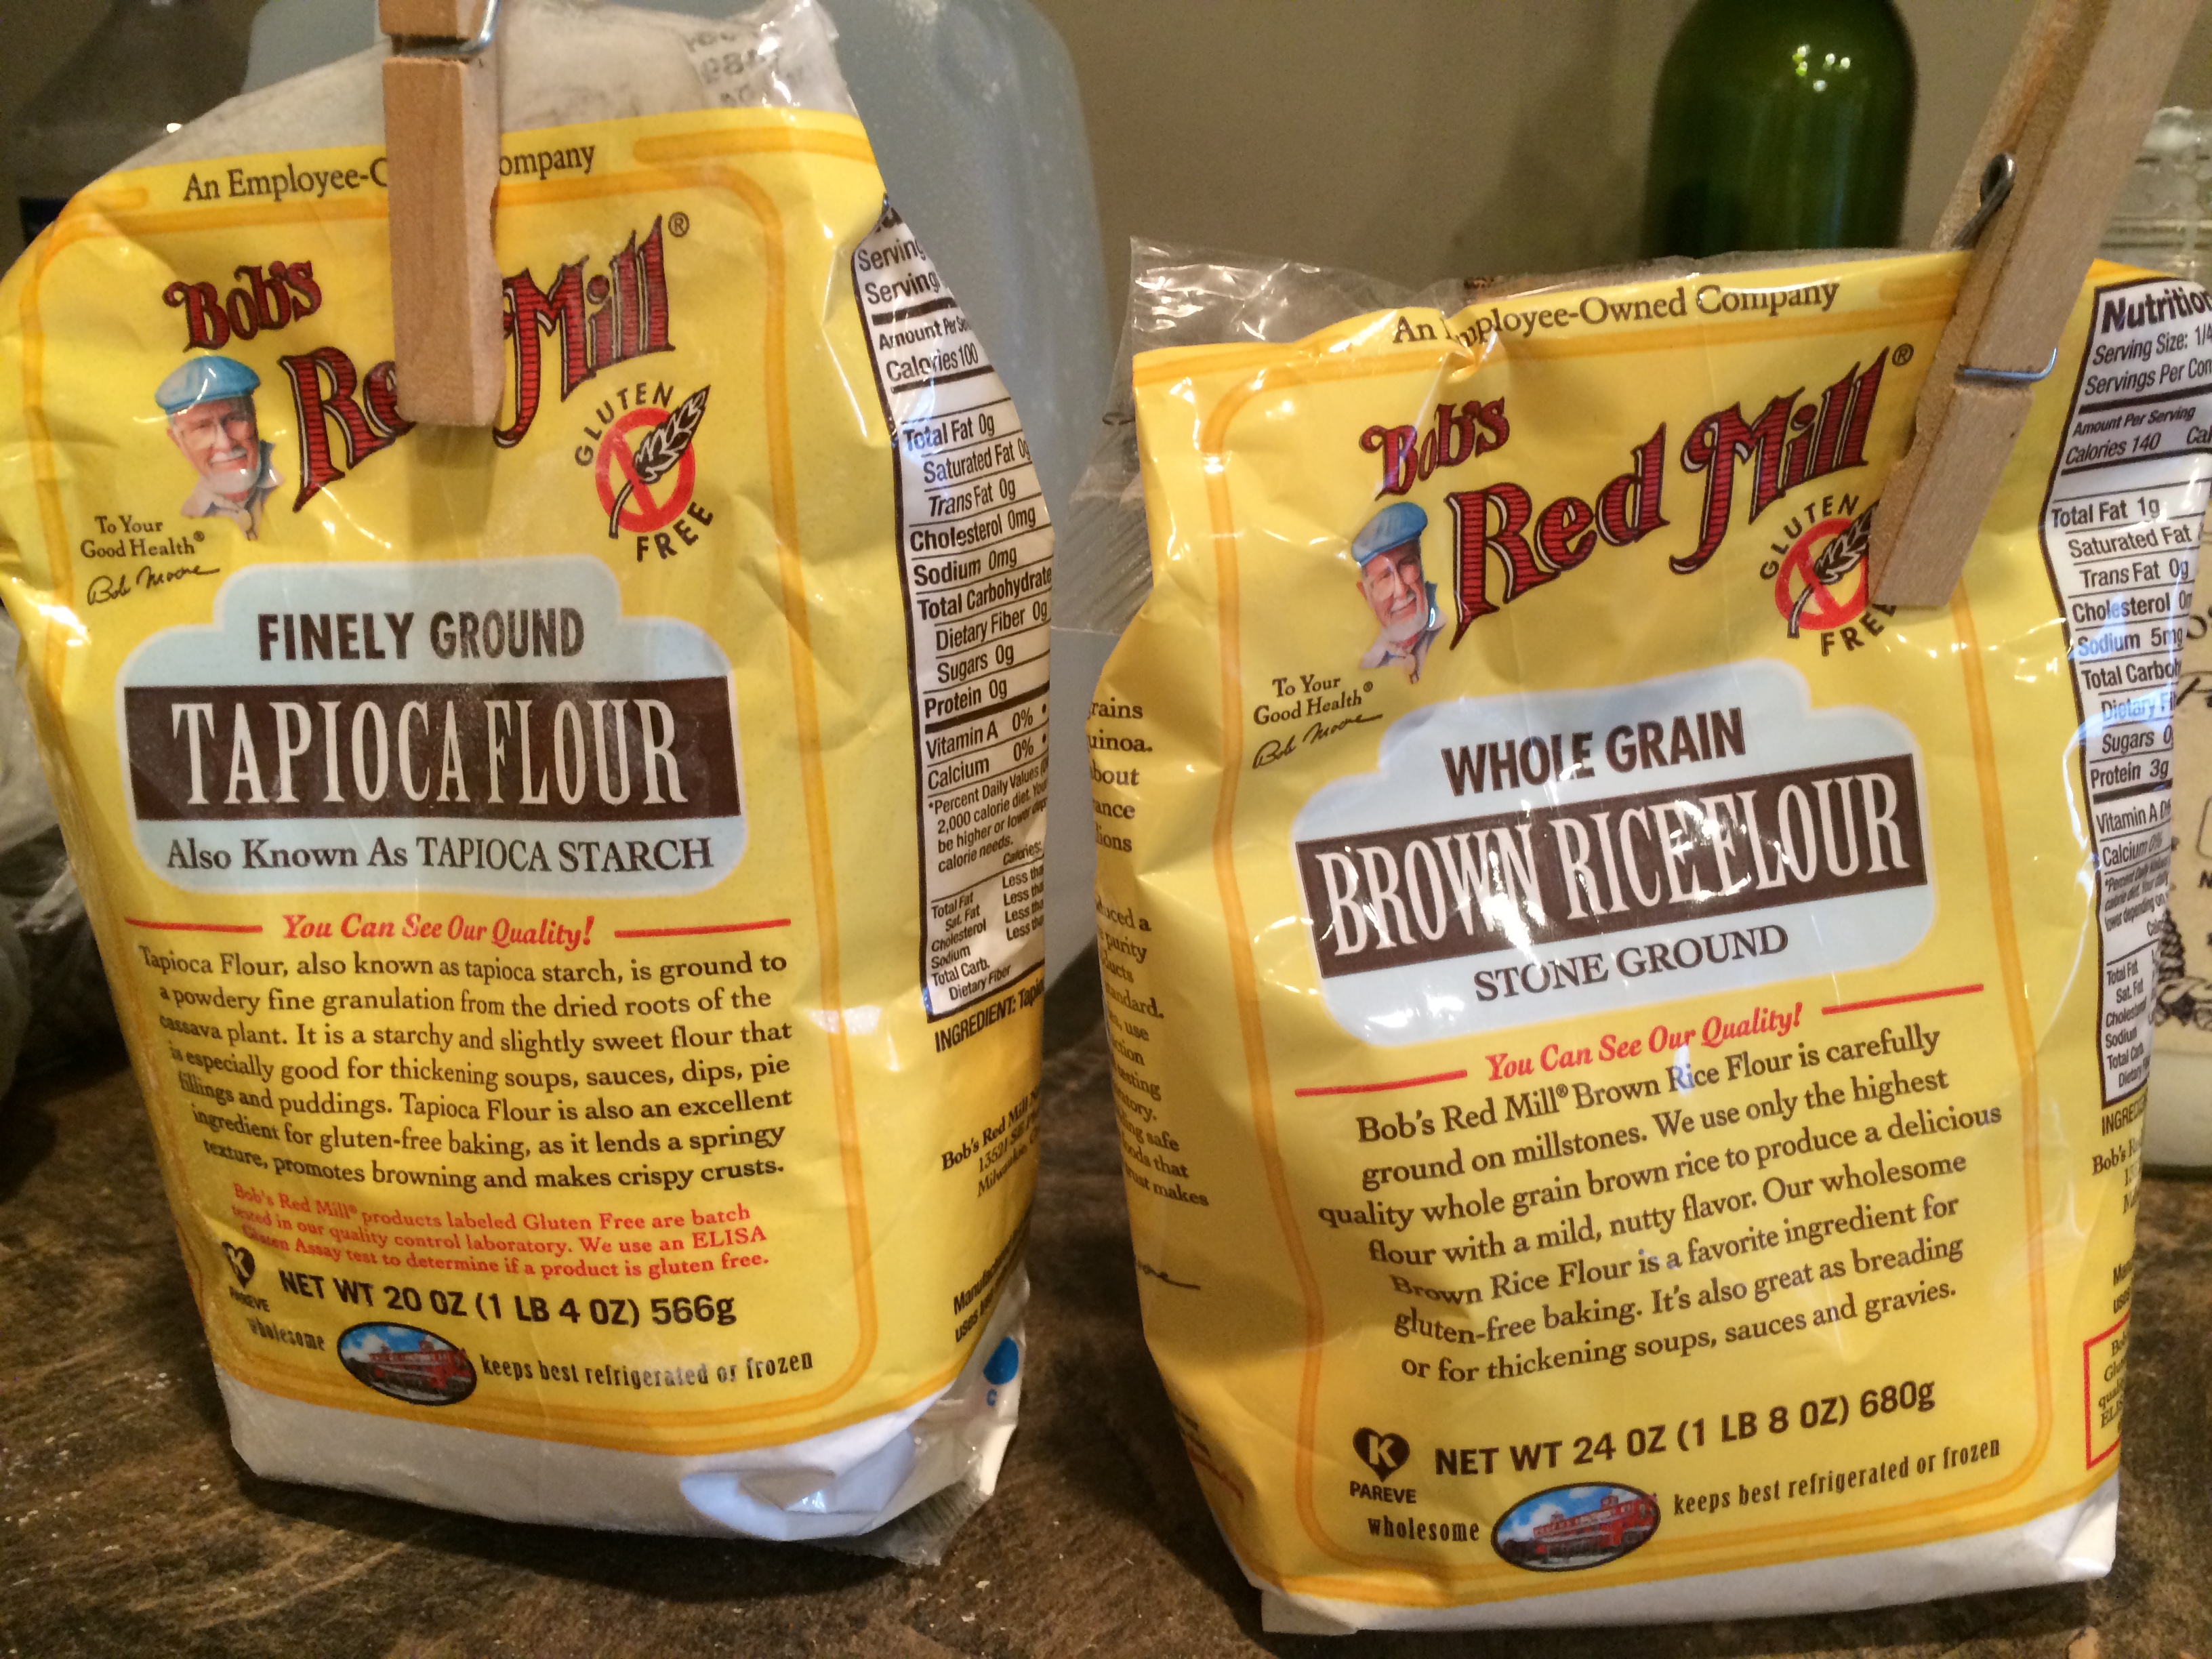
Gluten free flour (½ cup each white rice & coconut, 1/8 cup each tapioca & potato flours)
1 ¼
Cup
Organic whole gluten free oats
1/3
Cup
Organic sugar
3
Tsp
Aluminum free baking powder
1
Tsp
Salt
1
Tsp
Cinnamon
½-1
Tsp
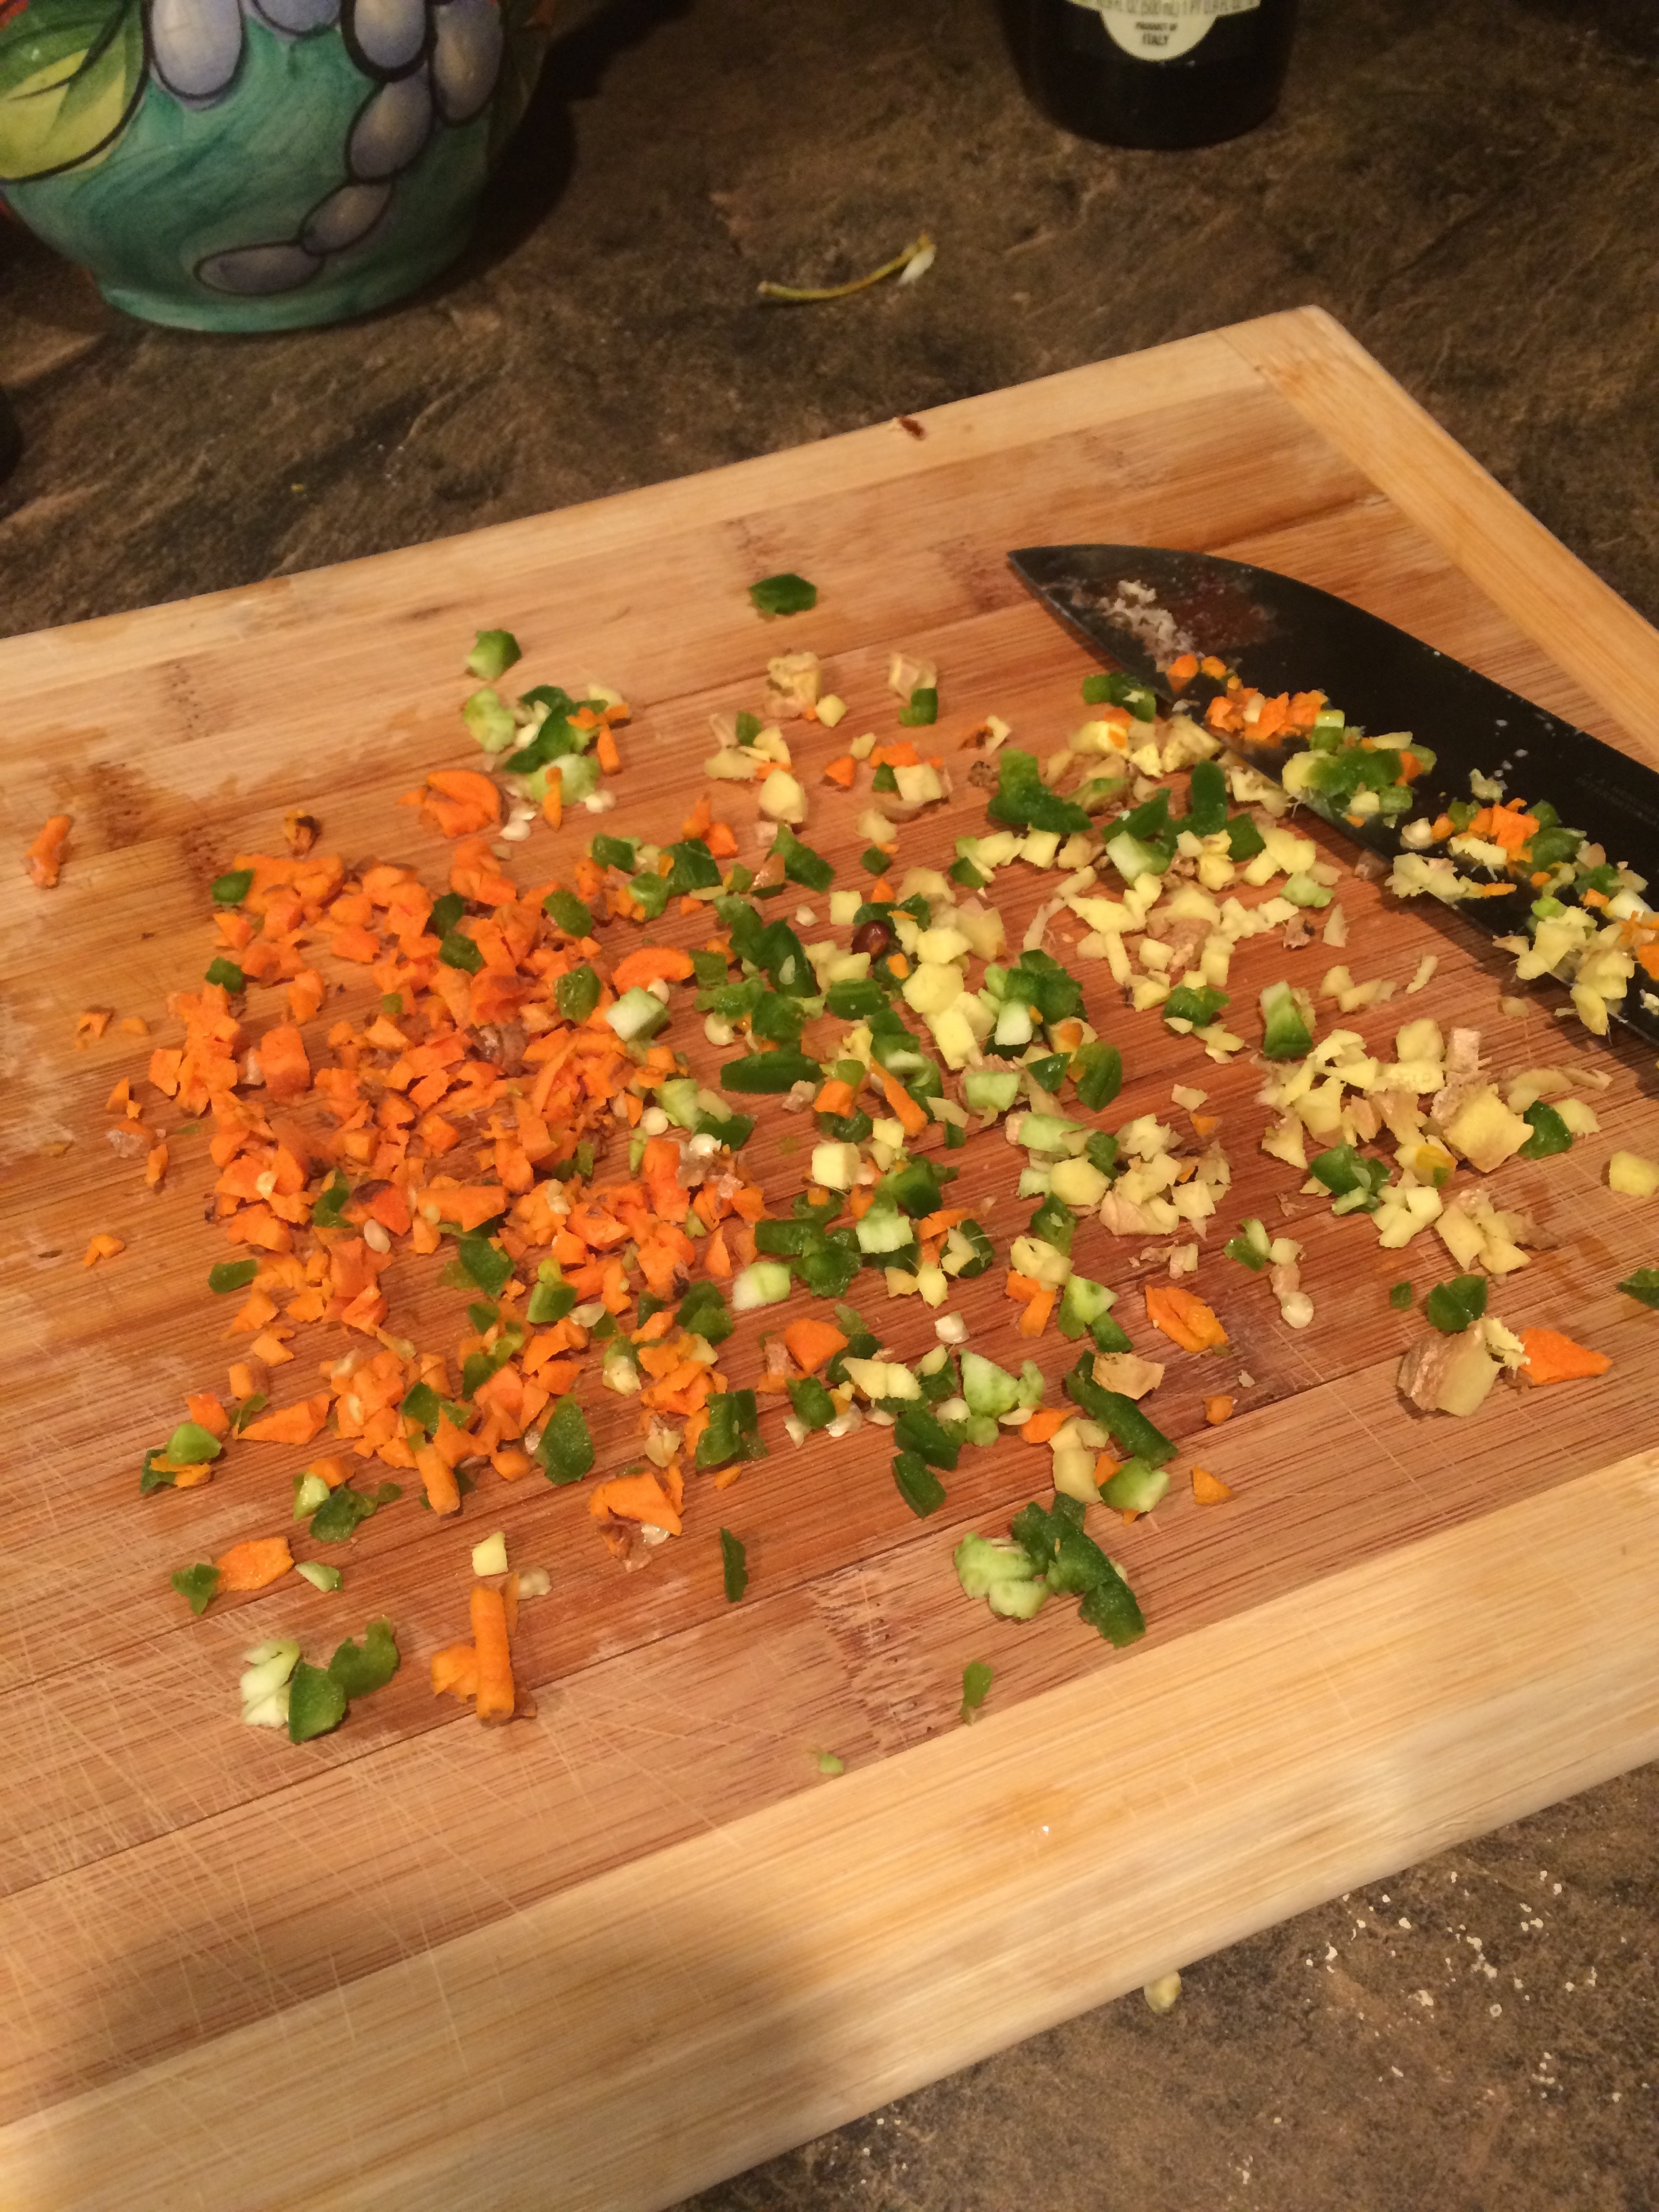
Turmeric (optional, but everything benefits from turmeric!)
¼ – ½
Cup
Chopped Walnuts
 **Tbl = Tablespoon. ***tsp = teaspoon, approximately 5 ml


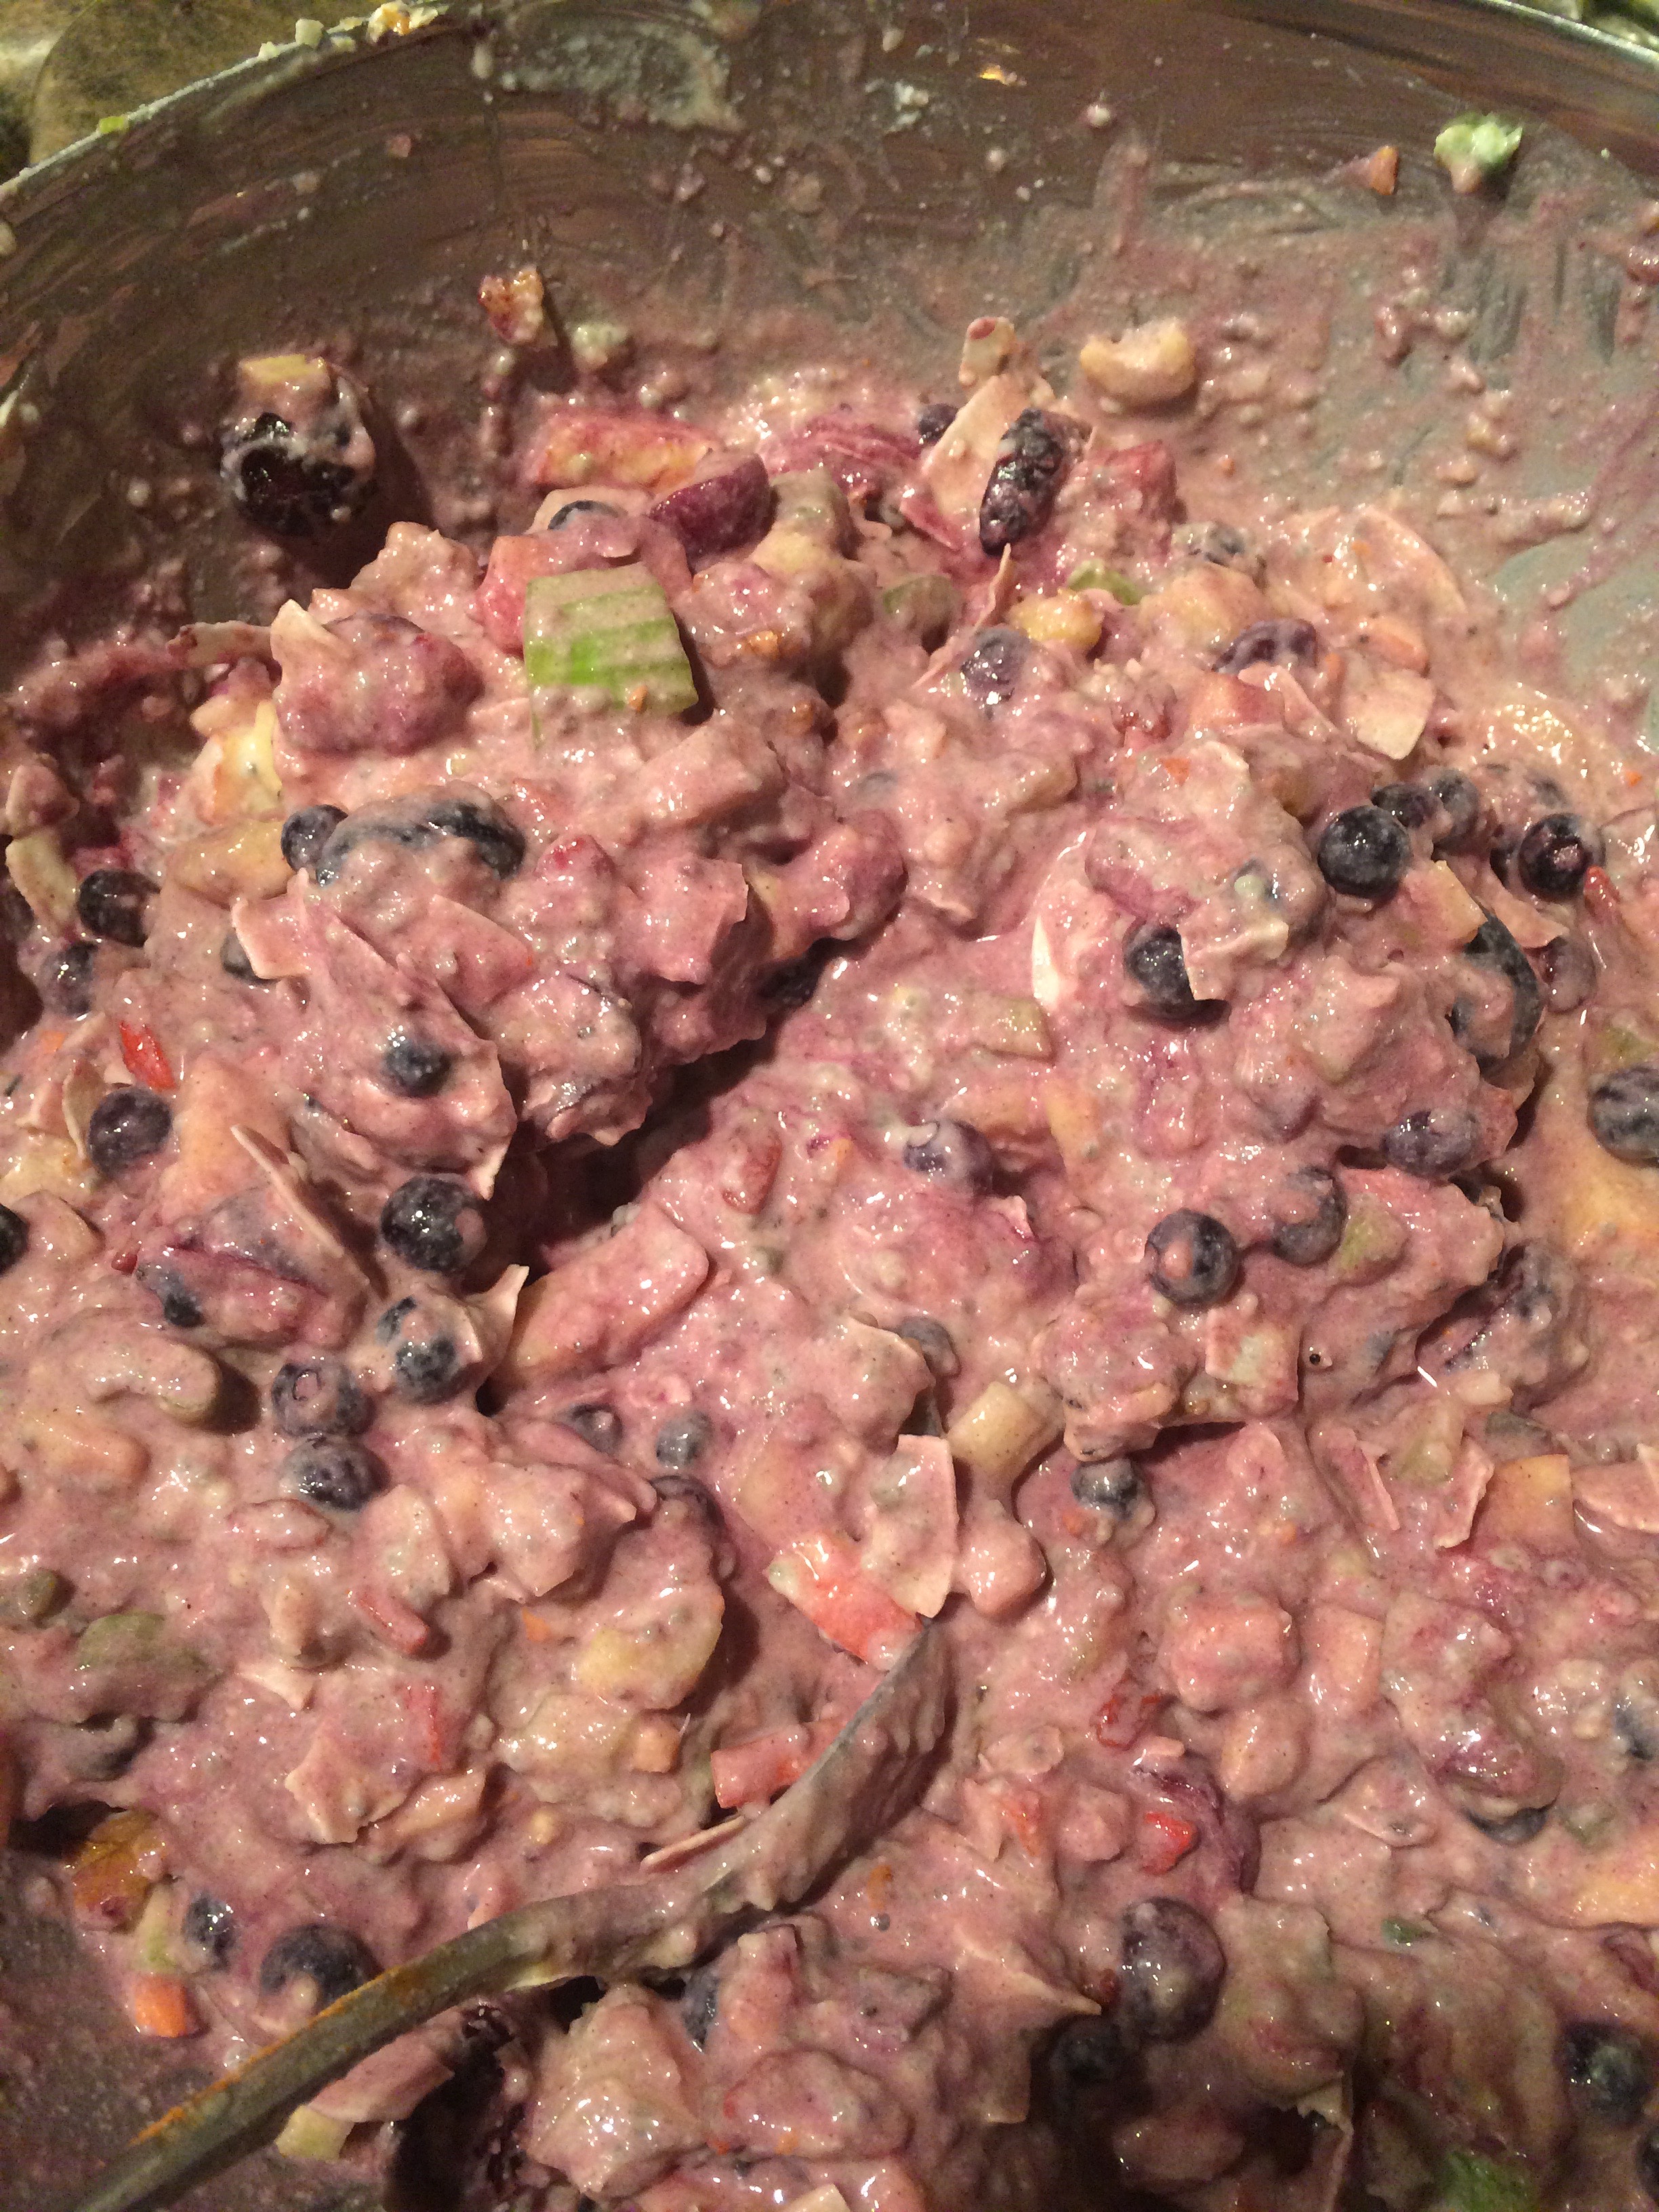
Stir dry ingredients, then combine with the liquid ingredients and stir until just mixed (never over mix quick breads). Pour batter into a buttered loaf pan (I used glass). Bake at 350 for 45 minutes, turn down the oven temperature to 325 and bake for 15 more minutes, until toothpick inserted into the center comes out clean. Allow to sit for 10 minutes, then loosen the sides with a knife (or Cutco spatula spreader) and remove from the pan onto a wire rack to cool. ENJOY! With butter or plain.

*I try to purchase and use only organic ingredients as far as I am able. A quick note on organic ingredients. The reason it is important to avoid non-organic foods is because of the glyphosate (which is in Roundup) is generally sprayed on all crops that are not organic. Most of us have a glyphosate burden that can wreak havoc with our longterm health. Eating organic only has been shown to significantly reduce the amount of glyphosate your body has to deal with and leads to robust health – mental and physical. Many people think organic is a fad, is too expensive, and one man I spoke to in the grocery store was repulsed by the idea of organic because he thought it would not be enjoyable to eat! The good news is 1) there is more and more organic options available in local grocery stores with better and better labels; 2) the price is not so much higher than non-organic brands, but when considering the cost we all need to realize that the cost of sickness today is extremely high; 3) organic actually tastes and FEELS better!

DSC_0062Becky Hastings, wife, mother, grandmother, passionate follower of Jesus, seeker of truth and health. Facing a world quite different from the one in which I grew up, I seek to research and understand the very real dangers threatening the health and freedom of today’s parents, providing information to navigate towards joyful family living!  Posted 31 January 2017

Best Wellness Tip EVER!

Kefir is an amazing living food that provides multiple benefits especially when ingested every day. Kefir is known to play a curative role in diabetes, cancer, autism, gastritis, IBS, arthritis, and many more. In fact regularly ingesting kefir might be the single most beneficial thing you can do to ensure wellness!

Kefir has the benefits of a pro-biotic since it is rich in vitamins, minerals and polysaccharides, with a diversity of bacteria, yeast and mould which are beneficial to the human micro-biome.

Kefir provides over 70 different pro-biotic species which keep harmful bacteria in check, help bring healing to the gut, and enhance immune function. Even people who are lactose intolerant are able to consume kefir because the live organisms consume the lactose leaving it 97% lactose free.

Making kefir is simple – far easier than making yogurt – but you can use it in all the same ways as yogurt, or just drink it straight to make sure you get the daily benefits. Add to soup, stews, waffles, breakfast, salad dressings, etc.

Your kefir grains are often dehydrated for travel and delivery.

  • To revitalize your kefir grains, place in a glass jar and pour in milk – leaving about a 1 inch space at the top. Cover with a piece of paper towel held by a rubber band. Choose the size of jar based on the amount of kefir you desire. A bigger jar of milk will take longer than a smaller jar.
  • Leave the jar sitting on the kitchen counter. Kefir is ready when you shake the jar and it jiggles. The first batch from dried grains may take slightly longer, but generally kefir is ready in 24 – 36 hours.
  • If you leave kefir for too long – several days – it can separate into ‘curds’ and ‘whey’. It is still fine to consume, just mix. Or if you like it thick you can pour off the whey, or use it in soup or baking, and have a thick creamy kefir.
  • Once kefir is firm you can remove the grains and begin your next batch.
  • To remove the grains you can try with a plastic fork, simply stir around and see if you find the firm kefir grains. This works if the grains are near the top. Other times it is more difficult to find and you need to work the kefir through a plastic Place a large funnel into a clean glass jar then put the plastic colander on top. Pour in the kefir in batches and use a spatula to push it through the holes. You will know when you find the grains because they will not go through the holes!
  • If you don’t have time to strain, but the kefir is firm, place the jar ‘as is’ into the refrigerator. It will be fine for many days like that, until you have a chance to strain it.
  • If you know you are going to be away from home for a week or more, or you just want a bit of a break from making kefir, you want to keep your kefir grains alive. Place the kefir grains in a jar, pour milk just to cover, put on a top and keep it in the refrigerator. It will hibernate. When you are ready to make your next batch of kefir, pour out the milk, rinse the grains in spring/filtered water or fresh milk, then place in a glass jar and start at the top. Never expose your kefir to tap water than contains fluoride.
  • When kefir grains have multiplied they will work faster in producing the thick kefir. You can divide the grains, share some of your grains with a friend, add them to smoothies, freeze some in milk, or dry them. To share fresh kefir grains simply put them in a jar of milk, or pure water if they won’t be there for too long. The milk provides food to the living organisms.
  • To dry them, after straining rinse with pure water or fresh milk, place them on a piece of parchment paper. It will dry in a few days. Dried kefir grains can safely be mailed in an envelope so you can share with family or friends far away!

Historically, kefir grains originate in the Caucasus Mountains between Russian and Georgia where the local people have consumed kefir and experienced remarkable health throughout history. “The census of 1970, revealed that 5,000 centenarians then lived in the Caucasus.”[1] Because of the beneficial probiotics in kefir, regular “consumption reinforces the intestinal flora, helps with digestion, restores the digestive system and strongly stimulates the immune system.” [2]

Kefir grains were considered part of the family’s wealth and the tribe’s wealth and they were passed on from generation to generation. For centuries the people of the northern Caucasus enjoyed this food without sharing it with anyone else. Other peoples occasionally heard strange tales of this unusual beverage, which was said to have magical properties. Marco Polo mentioned kefir in the chronicles of his travels in the East.[1]

The BIG Bonus!

From my reading, it would seem that homemade kefir made using raw cow’s milk provides a good source of GCMAF, which has been used to treat and heal autism and other serious brain disorders. GCMAF is a harmless and naturally occurring glycoprotein with a profound potential to heal. It is produced in human breast milk and plays a significant role in innate immunity. All higher order animals have this glycoprotein which functions to transport Vitamin D to all the cells in our body, including our immune cells. Lack of this protein causes immune suppression.

Becky Hastings, a wife, mom, grandmother, passionate follower of Jesus, health promoter, breastfeeding counsellor helping moms for 22+ years, and someone who seeks to research, understand and share truth so people can make wise choices in our crazy mixed up, deceived world! Sometimes I share recipes and homespun teaching videos.

[1] Sharla. Kefir – The Mystical Side. Web. 11 Aug. 2017. .

[2] Sekkal-Taleb, Nezha. “Chemical and microbiological composition of Kefir and its natural benefits.” Mediterranean Journal of Biosciences1.4 (2016): 174-83. Web. 11 Aug. 2017. .

Straining Milk Kefir Video

I just made a homespun video to show you how easy it is to strain out your milk kefir grains. This must be done after every batch of kefir so that you can make another batch! The kefir grains will multiply over time so that you will be able to share the joys of kefir making with your friends.

I’ve posted other information on kefir, including some of my favorite recipes:

I prefer to use local jersey raw milk because there are many benefits. Recently I have learned that one of the benefits is that it contains GCMAF. Do some research on the benefits!

Many people who have been diagnosed with CDif or other serious intestinal infections are looking for kefir. You can become a source of kefir grains as you spread the wonder of kefir!

Let me know if you have questions about kefir!

Becky Hastings, a wife, mom, grandmother, passionate follower of Jesus, health promoter, breastfeeding counsellor helping moms for 22+ years, and someone who seeks to research, understand and share truth so people can make wise choices in our crazy mixed up, deceived world! Sometimes I share recipes and homespun teaching videos.


Granola – How to Make Your Own

Standing in the cereal aisle of any major food store can be an overwhelming perplexing experience, especially for those of us who aim to choose healthy non-chemical laden food for our families. There are many ‘natural’ cereals to choose from, so we begin reading the labels. What do we find?

soy, canola oil, other unhealthy oils, non-pronounceable ingredients, lots of sugar, preservatives.

Finding healthy granola seems easy – until you start reading the labels. What is the answer? Is there a brand I can trust?  If you finally find a mostly natural granola with a short list of mostly acceptable ingredients, when you look at the price, and work out how many servings it will give your family, you find another long pause as you consider the economics and your budget. Such is the stress of grocery shopping with health and economy in mind.

Making your own ‘fast foods’ for breakfast can be extremely easy, very satisfying, and by far your healthiest option. If you have children, you are BUSY, but one of your best time-saving resources will one day be your children! Teach your children to make this recipe for the whole family.

I’ve written the following recipe in three versions: small, medium and large to make it easy to double or triple the recipe depending on your need.

Some notes about the ingredients:

  • In order to ensure that we are not consuming large amounts of glyphosate (from Roundup) I HIGHLY RECOMMEND choosing organic options for all ingredients. Buying organic also sends a message to retailers, suppliers, growers, etc. that we want healthy food without harmful chemicals. Eventually, if enough people vote with their wallets, price reductions and increased availability will follow.
  • Local, raw honey is the healthiest sweetener, but if you have a large family and a small budget, you may opt to choose organic sugar. Honey is generally considered to be sweeter, so you may need slightly more sugar to reach your desired sweetness.
  • The addition of water (of course non-fluoridated, pure water is the ONLY option you would ingest, how to find it is the topic of another blog) to the liquid ingredients stretches the recipe to make it go further, but you can reduce the amount of water and increase the healthy oils and sweetener for a more indulgent granola.
GRANOLA from the Hastings Family Kitchen
SMALL MEDIUM LARGE
½ – ¾ cup 1 – 1 ½ cup 1 ½ – 2 ¼ cup Honey (or slightly more organic brown sugar)
2/3 cup 1 1/3 cup 2 cups Coconut oil, butter or a combination
2/3 cup 1 1/3 cup 2 cups Water
1 Tablespoon 1 ½ T 2 T Molasses
½ teaspoon 1 tsp 1 ½ tsp Vanilla
Combine these ingredients in a saucepan. Heat over low heat until the sugar dissolves fully. Remove from heat. Add 1 tsp vanilla.
In a huge bowl combine:
1 box (500 g) 2 boxes (1 kg) 3 boxes (1.5 kg) Oats
1 tsp 1 ½ tsp 2 tsp Cinnamon
Pinch Pinch + Pinch ++ Salt
½ cup 1 cup 1 ½ cup Unsweetened Coconut such as Bob’s Red Mill
Optional:

Seeds: hemp hearts, sunflower, pumpkin, and/or sesame. You can also add dried fruit like raisins, and/or any nuts you like. You can add them either before or after cooking, but raisins are usually nicer to add after. I don’t add any raisins or nuts because of different individual preferences (ie some family members complain!). Add nuts and raisins to individual servings, as desired.

METHOD:

In a large bowl mix dry ingredients well. Pour the liquid mixture over and stir thoroughly. Distribute into deep baking trays – 1, 2 or 3 depending on the recipe size you have used. Bake at 350 F for 20 – 30 minutes, but stir thoroughly every 10 minutes and check for even browning. After approximately 30 minutes, stir and turn the oven off, but leave the pans in the oven to cool and for the granola to dry (as long as it looks like it is not burning).

Once the granola is cool and thoroughly dry, break apart and store in airtight containers.   If you make more than you can use in a couple of weeks, store part of it in the freezer.

Enjoy!

Let me know about your experiments in making your own granola! I have written about other breakfast ideas such as Chia Breakfast and Waffles.

Author: Becky Hastings, wife, mother, grandmother, passionate seeker of Jesus, truth and health. Most of my writing is aimed at helping young families find health and joy through making wise choices. Sometimes I share recipes!

Toasted Coconut Chocolate Gooey Treats

There are so many wonderful things about making and eating your own raw chocolate creations. NO GUILT about eating your creations might top the list. Because the ingredients are good – and good for you, there is no need to feel guilty! You can also tailor any recipe to exactly the taste you love.

Feel free to modify the recipe I created after seeing something similar.

The ingredients.

I use local raw honey because it is good in so many ways and makes the top 10 Superfood list by David Wolfe. You can adjust the amount if you prefer it more or less sweet. I avoid sugar as much as possible and I don’t like to substitute with sugar substitutes, even the ‘natural’ ones.

I use fresh ground ‘peanut only’ peanut butter, avoiding the processed brands which add other ingredients like sugar or oils.

Salt always means Himalayan salt because it comes with other minerals.

I soak the walnuts (when I remember) for a few minutes – up to 24 hours – because it gives them a nice texture, and reduces phytates making them even more beneficial. Walnuts provide nutrients to improve brain function and are a good choice to add to your snacks.

Toasting your raw coconut is easy and adds a boost to the taste. I make sure my coconut has no added sugar. I enjoy buying Bob’s Red Mill coconut flakes because Bob’s is employee owned and I want them to succeed! To toast your coconut, simply place it in a large skillet and cook over medium-low heat, stirring constantly until it gets a beautiful golden brown color. Be sure to transfer it to a new bowl immediately since it can scorch quickly!

I use raw milk (the creamy top layer is best!) because that is what I have, but any milk will work.

Coconut oil (extra virgin organic) is also excellent for your brain and most of us need to eat more good fats. Contrary to the popular philosophy that dominated US culture for years, fats make you feel satisfied and you end up eating less.

Raw cacao powder has so many benefits with the mineral content and off the charts ORAC scores. Do some research – eating raw chocolate is a good daily habit! Making your own ensures you know exactly what you are eating.

Here’s what you do, prepare a coconut mixture, which will go on the bottom and the top. Prepare the chocolate mixture for the center.

Coconut layer

  • 1/3 cup butter
  • 1/3 cup coconut oil
  • ¼ cup honey
  • 1 tablespoon molasses
  • ¼ tsp salt
  • 3 cups toasted coconut
  • 1 cup chopped walnuts (soak in water first – if you remember!)
  • ½ tsp vanilla

Melt butter and coconut oil gently, add honey, molasses and salt, stir until well combined. Add coconut and walnut and stir thoroughly. Put 2/3 of the mixture into a pan (line with parchment paper). Place in the refrigerator to harden.

Chocolate layer

  • ½ Cup coconut oil
  • ½ Cup peanut butter
  • ½ Cup raw cacao powder
  • ¼ Cup honey
  • ¼ tsp salt
  • ¼ Cup milk (almond, coconut, or dairy)

Melt coconut oil, peanut butter, and honey just enough to combine thoroughly. Add salt and milk and stir well. Pour over hardened coconut mixture and spread around gently. Sprinkle the remaining 1/3 coconut mixture on the top. Put in the refrigerator to harden.

It doesn’t take too long to harden, then you can cut into squares and arrange on a tray or place into an air tight container and store in the refrigerator. The bars will melt if left out for too long, and they might be a little bit crumbly so be sure to eat with a plate or napkin underneath.

Enjoy – guilt free! Satisfying, delicious, nutritious!

Author: Becky Hastings, wife, mother, grandmother, and passionate follower of Jesus and truth. As a breastfeeding counselor for over 23 years Becky is devoted to helping parents make wise decisions for the long-term health and wellbeing of their babies. As a member of a Vaccine Safety Education Coalition, Becky writes and speaks on the topic of vaccine safety. From time to time Becky shares easy recipes that can help you have a healthier life!


Make Your Own Easy Milk Kefir

I just made a quick video to show how easy it is to make your own milk kefir! I’ve been making my own milk kefir for around 3 years. When I started it was a bit of a daunting procedure, but I’ve figured out how to make it easy and delicious. In this under 3 minute video I share some great tips and insight I’ve discovered. This is the real me. Not too much make-up, and just a normal kitchen. My daughter helped me by recording, but we only had one take!

Adding probiotics to our diet has a lot of immune boosting benefits. Here are some of my recipes that contain kefir:

Chia Breakfast Salad
GF Waffles
The Best Curry You Ever Made
GF Banana Bread

If you’d like some dried kefir grains, I have a limited supply, but am happy to send them to you for the cost of postage.

Thanksgiving 2015

Author: Becky Hastings is a wife, mother, grandmother, and passionate follower of Jesus and truth. As a breastfeeding counselor for over 23 years Becky is devoted to helping parents make wise decisions for the long-term health and wellbeing of their babies. As a member of a Vaccine Safety Education Coalition, Becky writes and speaks on the topic of vaccine safety. From time to time Becky shares easy recipes that can help you have a healthier life!


Make Your Own Tomato Soup

Since we try to eat clean, organic, non-processed foods, there aren’t too many restaurants we frequent in our town that majors on the franchise model. But, I do have a confession: I love Panera Bread’s tomato soup. It’s a little expensive for a bowl, and I don’t eat the bread, but occasionally I indulge myself. Many times I considered trying to match their recipe, but last week, after having a significant molar pulled, I really needed some soup! So I finally attempted it, and was delighted with the result.

For the same price as a bowl of tomato soup from Panera, I can make a huge pot. Not only is it delicious and economical, it is also quick and easy. I encourage you to give it a try. As always with my cooking, I use a great deal of flexibility. I have made it two times and both times were different, but still great.

I added jalapeño and cayenne pepper just because I enjoy hot flavors and they are both really beneficial for healing and the immune system. You can leave them out to have a milder flavour. See notes at the end on optional ingredients to add.

  • 2 Tablespoons oil suitable for heating (avocado, coconut, or butter)
  • 1 chopped onion
  • 4 – 8 cloves garlic, chopped
  • 1/2 – 1 jalapeño, chopped (optional)
  • 28 oz can of diced tomatoes ( I used Simple Truth Organic)
  • Either one 25 oz jar of your favorite tomato pasta sauce (I used Simple Truth Organic Tomato Basil) OR another 28 oz can of diced tomatoes.
  • 1 cup chicken stock (the 2nd time I used beef stock)
  • 1 Tablespoon honey
  • 1 Tablespoon dried basil, or 5 leaves fresh
  • 1/2 Tablespoon dried oregano
  • 1 teaspoon salt
  • black pepper
  • cayenne (red) pepper (optional)
  • 1/2 cup (or more) half and half, cream, or milk

In a heavy bottomed saucepan, sauté the onion and garlic in your preferred oil until translucent. Add jalapeño, if you like the heat. Add the remaining ingredients, except for the half and half. Bring to a boil. Allow the pot to simmer on low with the top off for about 15 minutes, then add the half and half, milk or cream and allow to heat through. Use an immersion blender or transfer all (or part) to a regular blender. Serve with whatever you enjoy. It’s great plain, but it was also really good sprinkled with cheese!

Optional variations: For an additional nutrition boost, the second time I made it, I added 4 carrots to the above recipe. When it was put through the blender, there was no obvious indication of carrots, except that it may have been a little thicker – and the beta carotene content was boosted!

[Edit: I just made this again on 29 March 2017 and included about 1 1/2 cups of butternut squash cut into cubes, a handful of leafy green beet tops, 1 whole peeled fresh tomato (because it was very ripe and needed a place to be useful) and 3/4 inch of fresh turmeric root! I only added the turmeric at the blending stage, so it wasn’t cooked. Because the butternut is sweet, I omitted the honey. It was great!]

I’m sure it will be easy to freeze and reheat, but I didn’t have enough left over to try!

DSC_0062Becky Hastings, wife, mother, grandmother, passionate follower of Jesus, seeker of truth and health. Facing a world quite different from the one in which I grew up, I seek to research and understand the very real dangers threatening the health and freedom of today’s parents, providing information to navigate towards joyful family living!  Posted 31 January 2017


Waffles – Again!

Belgium style waffle makers have larger indentations

Belgium style waffle makers have larger indentations

All recipes are a work in progress! I am getting consistency good results with this combination and wanted to share it with you! Where possible I use local organic ingredients! Bob’s Red Mill is a great company to support because it is employee owned, AND is the best source of brown rice flour and tapioca flour I have found. In presenting recipes I like to intermingle my ingredient list with the method. I hope this is helpful to you! This recipe makes about 6 ‘not quite full’ size waffles in a ‘Belgium waffle’ style waffle iron. It you fill it full, it will probably make 4 waffles. When I used my other waffle iron – which has now been retired – it would make about 8 ‘not quite full’ size waffles. I combine everything in one bowl and mix by hand. Make extra to freeze for a handy future breakfast! The recipe can be doubled, perhaps tripled if you have a lot of people to feed, or want a lot to store in the freezer!

  • 2 eggs
  • 1 cup kefir (or buttermilk, or milk with 1 Tbl lemon added)

Add:

  • 1/2 tsp baking soda
  • 1 tsp baking powder
  • 1/2 tsp Himalayan  salt

Whisk all together. It should be bubbly, then Add:

  • ± 1/2 cup melted coconut oil or butter, or a combination

Add:

  • ½ cup Bob’s Red Mill tapioca flour
  • 1 cup Bob’s Red Mill brown rice flour

Mix just until thoroughly combined. Spoon about 1/3 cup of the batter onto the hot waffle iron. Cook until the light changes colors (or follow the procedure for your particular brand of waffle maker).

img_3412

This recipe is #glutenfree and #sugarfree. If you are following a strict #dairyfree diet, I would substitute pure water for the milk kefir. I have substituted water in pancake recipes in the past and found excellent results. Let me know (in the comments below) if you try it!

Thanksgiving 2015

Author: Becky Hastings, wife, mother, grandmother, passionate follower of Jesus and truth. As a breastfeeding counsellor for over 23 years Becky is devoted to helping parents make wise decisions for the long-term health and wellbeing of their babies. As a member of a Vaccine Safety Education Coalition, Becky writes and speaks on the topic of vaccine safety. As a diversion, she sometimes posts recipes!

Yummy Pancakes

img_3388

These delicious pancakes are not only YUMMY and LOVED by all ages, they are also  #paleo, #glutenfree #dairyfree #sugarfree and #healthy! All ingredients are as organic and local as possible!

Batter blended in a Vita Mix. Pours easily and makes nice circles.

Batter blended in a Vita Mix. Pours easily and makes nice circles.

My good friend, April, mom of many, shared this amazingly simple recipe with me. It’s too good not to share…

  • 1 or 2 very ripe bananas
  • 2 eggs
  • 1/8t. baking powder
  • a squirt of vanilla
  • dash of Himalayan salt

Mash everything together with a fork. Or, if you have a blender or food processor, dump in all the ingredients and process for a minute or so. I prefer the texture and result from using the Vita Mix, but use what you have.

Batter made using the mashed method. Still delicious!

Batter made using the mashed method. Still delicious!

Heat coconut oil in a skillet for several minutes to a medium heat (if skillet is too cool the batter may stick and be much harder to turn). Pour by spoonfuls and cook. Flip and cook on the other side. Makes 14 or so small pancakes and can easily be doubled. Serve with organic maple syrup, honey, fruit, yogurt, cinnamon, butter, etc. Choose whatever combination appeals to you!

So simple. So fast. So delicious! So healthy! A great treat for anyone trying to adjust to  gluten free.

Thanksgiving 2015Author: Becky Hastings, wife, mother, grandmother, passionate follower of Jesus and truth. Sometimes she blogs about recipes so that they will be easy to find in the future!  As a breastfeeding counsellor for over 23 years Becky is devoted to helping parents make wise decisions for the long-term health and wellbeing of their babies. As a member of a Vaccine Safety Education Coalition, Becky writes and speaks on the topic of vaccine safety. 

Chia Breakfast

img_3352

A refrigerator stocked with six portions of Chia Breakfast! What a great way to start the day!

We all love fast food.  Many times we NEED fast food.  We have a deadline, a place to be, an important reason to be there, but not enough time for eating our healthy breakfast. Chia is a great plant based source of Omega 3 Fatty Acids and is extremely versatile.

img_3350It is time to think differently.  What can I make that is fast, nutritious, good for me, AND will travel well? Chia breakfast to go.  The following is more of a guide than a recipe – personalise this process and make it your own! My quantities are only rough estimates – I very rarely measure anything!

Foundation ingredients:

  • Chia seeds (about 1/2 T per serving)
  • Water to cover
  • Homemade kefir or plain yogurt (±1/3 Cup per serving)
  • Nuts
Chopped fresh ginger, jalapeño pepper, and turmeric

Chopped fresh ginger, jalapeño pepper, and turmeric

  • Goji Berries, Raisins or other dried fruit
  • Seeds, sunflower or pumpkin
  • Honey
  • Fruit, chopped (apple, pear, pineapple)
  • Berries, fresh or frozen (cherries, blueberries, strawberries, etc.)
  • Veggies, chopped especially celery, cucumber, or kale. Celery is a great to add because it naturally helps pull metals from the body i.e. ‘detox’ and I love the crunch it provides!
  • Ginger, chopped fresh
Fresh Turmeric

Fresh Turmeric

Optional ingredients, adjust to taste:

  • Cinnamon (boosts metabolism)
  • Salt (Himalayan for mineral boost)
  • Turmeric (fresh is available, great anti-inflammatory)
  • Jalapeño pepper, fresh, chopped (anti viral)
  • Coconut, fresh or large flake
  • Coconut oil (A great brain boost, stir in fast after you add the veggies, so it doesn’t clump!)
  • Hemp seeds (also known as Hemp Hearts)
  • 1 Tbl raw cacao powder
  • 1 Tbl raw maca powder
  • Flax seeds, ground (not too much)

For those who are more hard-core focus on more veggies (celery, cucumber, kale), more superfoods and less fruit. Adding hemp can be expensive, but it provides a great energy source. We’re all at different stages of our journey, but I think most people will be able to find some way to modify this concept so that they can enjoy it.  If you decide to have eggs for breakfast, or want to do “intermittent fasting”, you could always save your chia breakfast for lunch!

img_3349If it seems like a lot of effort, remember, you are preparing breakfast for several days in advance. I like to organise my breakfast ingredients into three categories: refrigerator, freezer, and pantry. This helps me streamline the preparation process.

I wrote about my previous Chia Breakfast variations here and here and here

Thanksgiving 2015Author: Becky Hastings, wife, mother, grandmother, passionate follower of Jesus and truth. As a breastfeeding counsellor for over 23 years Becky is devoted to helping parents make wise decisions for the long-term health and wellbeing of their babies. As a member of a Vaccine Safety Education Coalition, Becky writes and speaks on the topic of vaccine safety.